
The complete guide
How to Choose and Fit a Washing Machine Drain Hose
The problem nobody plans for
You buy a new washing machine, slide it into the gap, and then discover the drain hose is about 40cm short of the waste pipe. Or you rearrange the kitchen and the machine has to move two cupboards along. Suddenly the hose that was fine for years is stretched tight, pulled at an angle, and looping in a way that makes the pump groan on every cycle.
This is one of those small jobs that feels like it should need a plumber and usually does not. A drain hose is not under mains pressure. It carries waste water out of the machine during the pump-out phase, and the connections are push-fit rather than threaded. If you can reach behind the appliance and tighten a clamp by hand, you can do this yourself in about ten minutes.
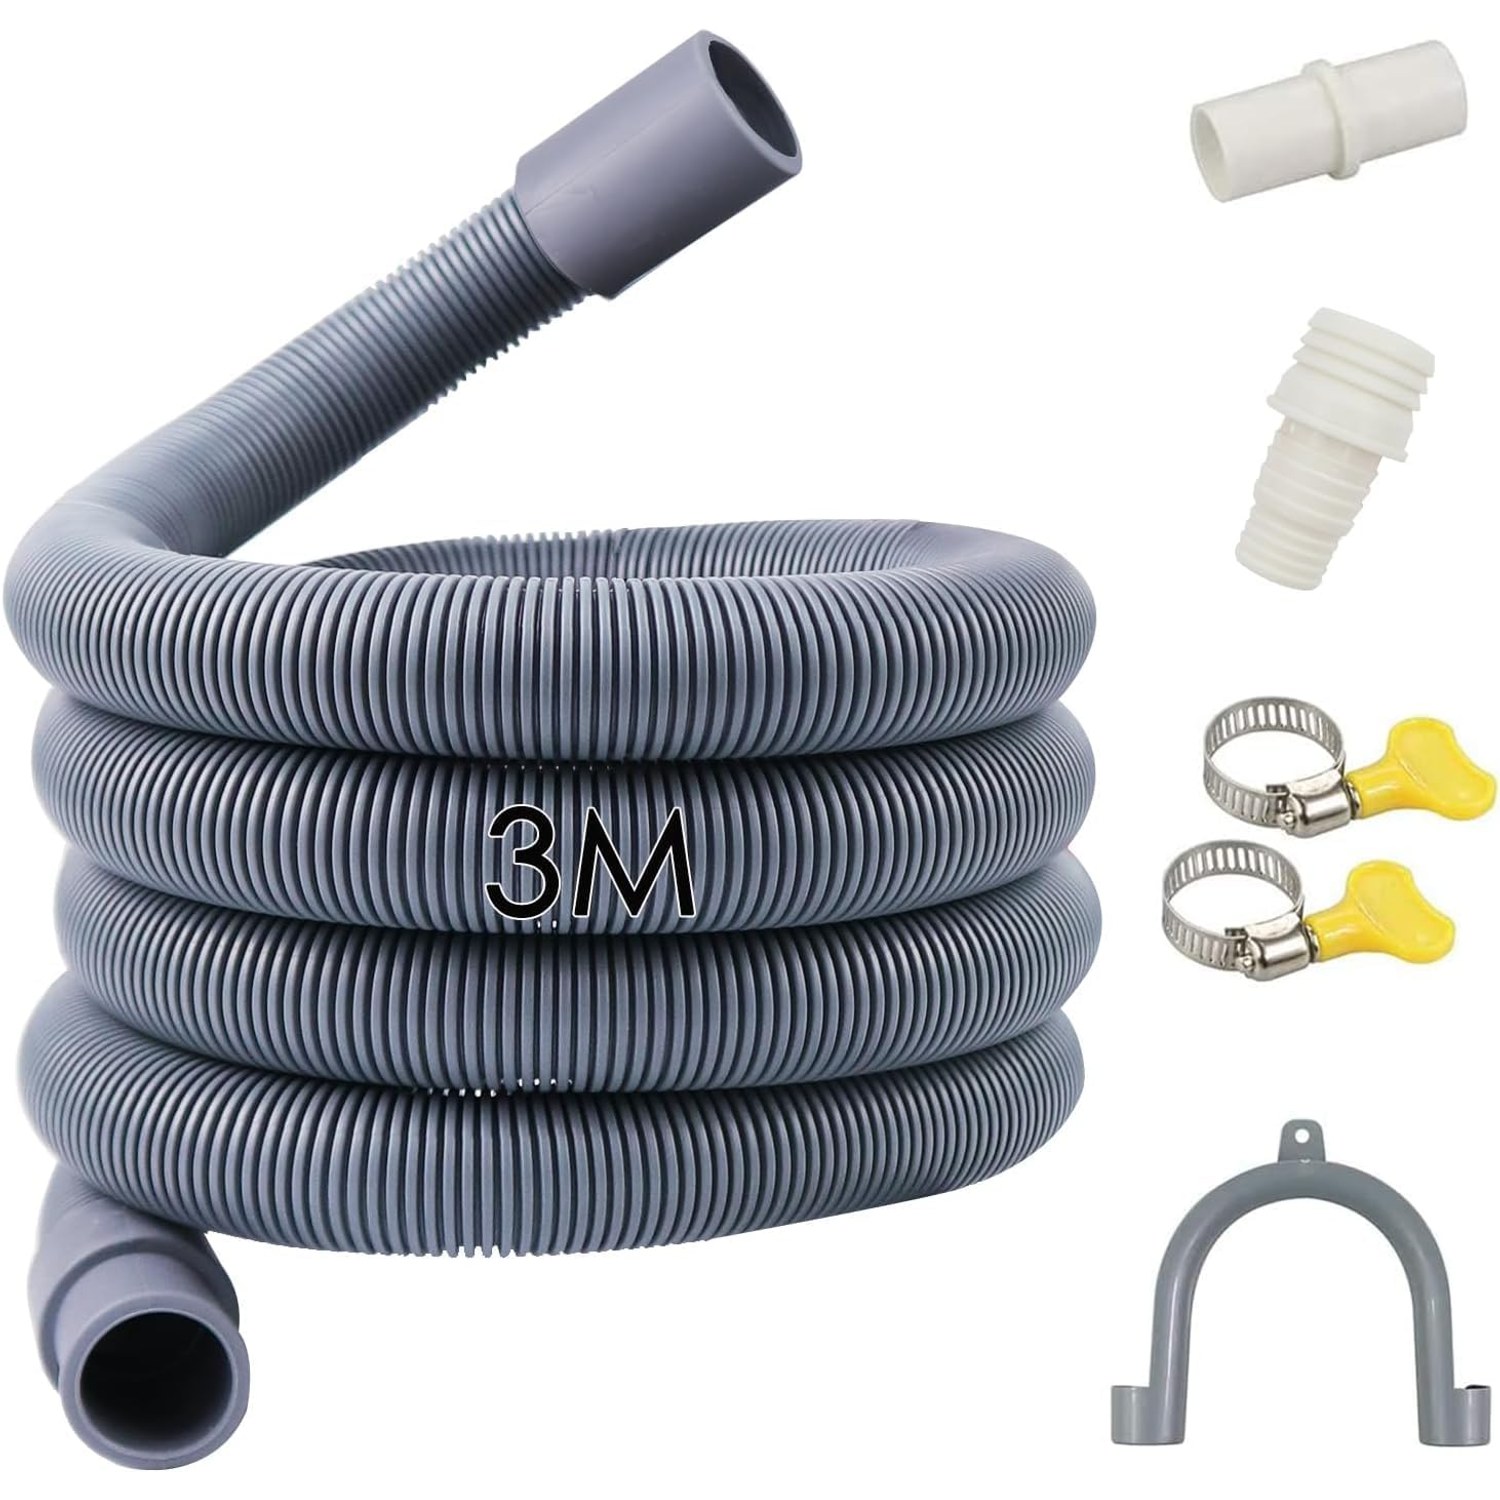
The 3 metre kit exists because short hoses cause more trouble than long ones. A hose with a bit of slack can be routed sensibly. A hose stretched to its limit cannot.
What a drain hose actually does
When the wash cycle finishes, a small pump pushes used water out through the drain hose and into your waste system. That is it. There is no clever valve, no pressure regulator, just a tube that needs to stay open and point in the right direction.
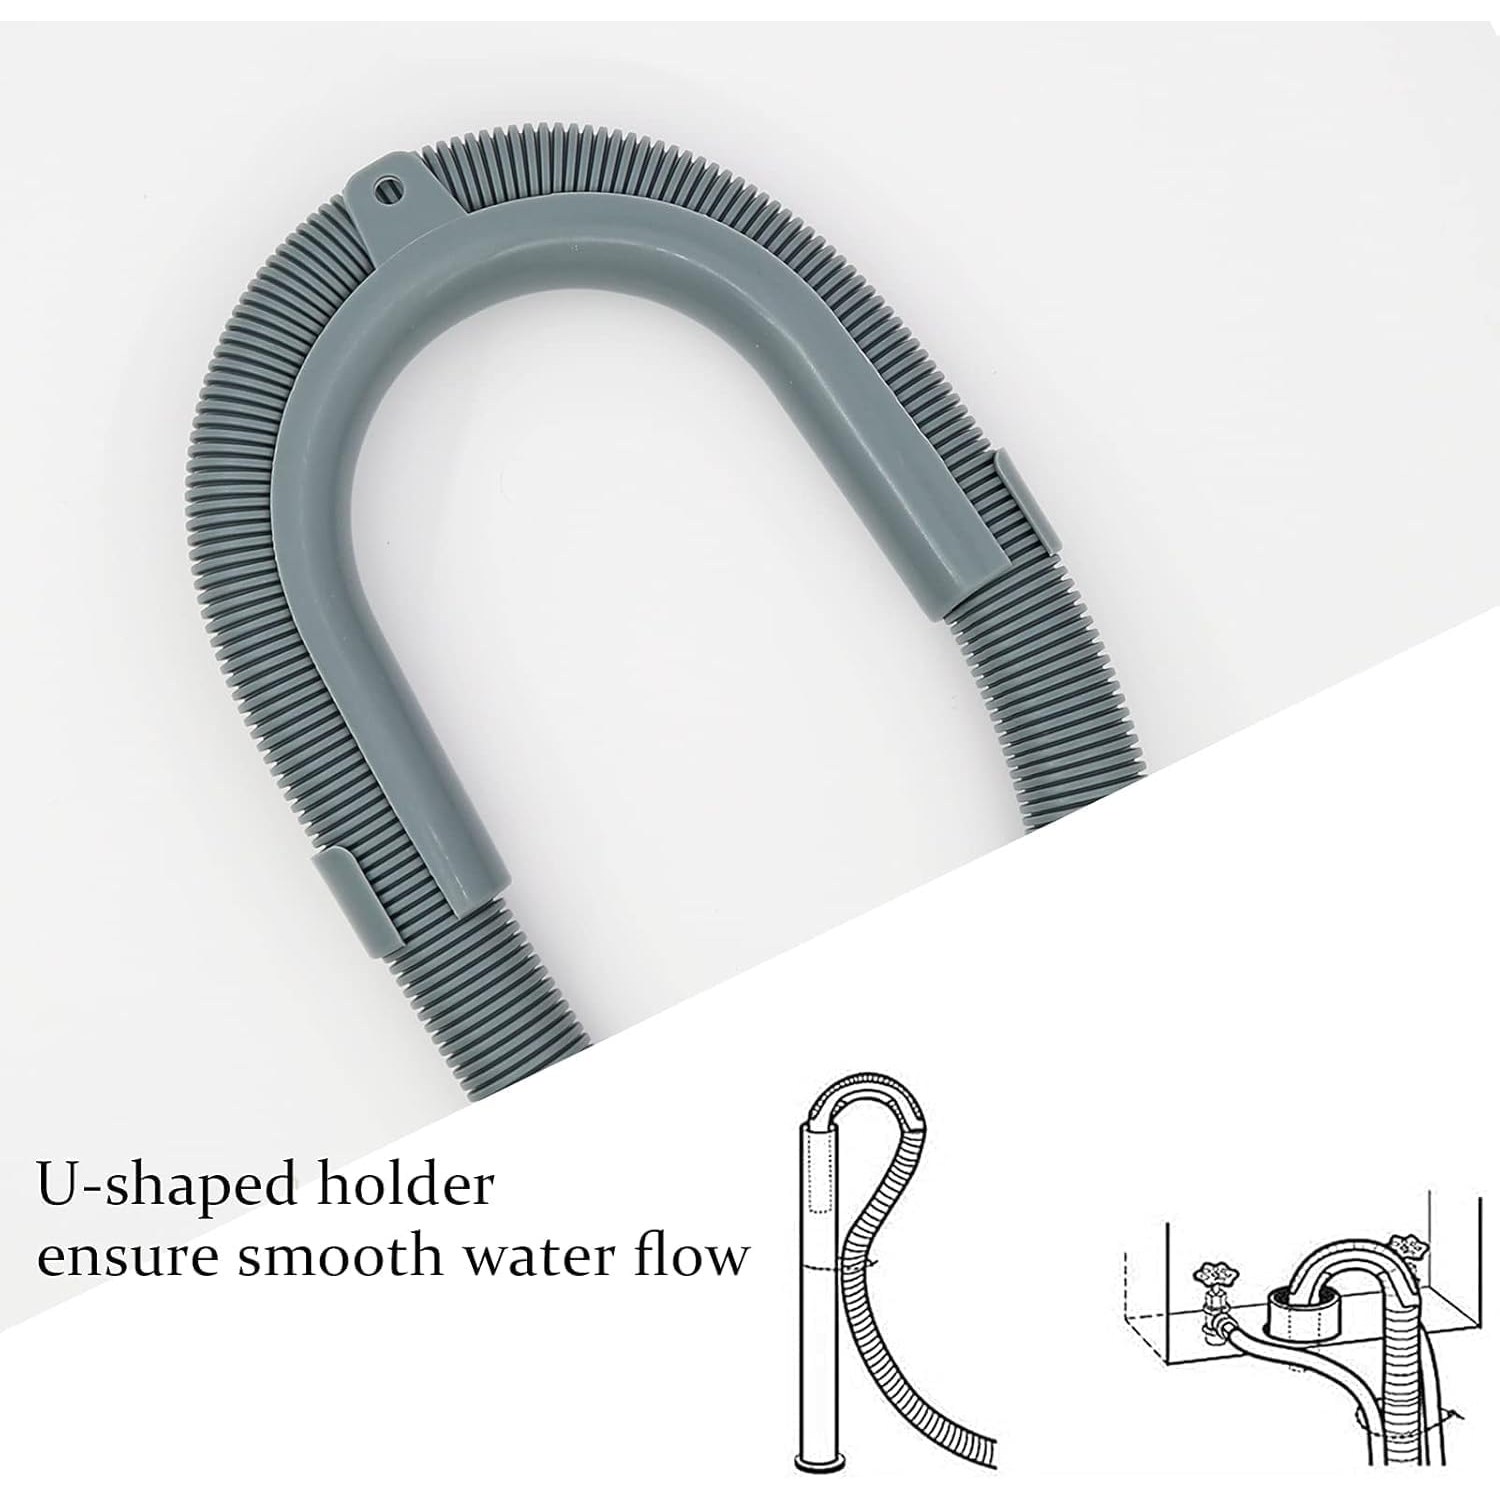
Two things make it work properly. First, the hose has to keep its round shape. If it flattens or kinks, the pump pushes against a restriction and the cycle takes longer. Over time that strains the pump. Second, the hose end has to sit high enough. Appliance makers specify a height, usually somewhere between 60cm and 100cm above the floor, because that high point stops water siphoning back down into the drum. The U-shaped bracket in this kit exists purely to hold that shape.
Get those two things right and a drain hose will quietly do its job for years.
Why wall thickness matters more than length
A 3 metre hose is easy to sell. The spec that actually separates a good hose from a poor one is the wall.
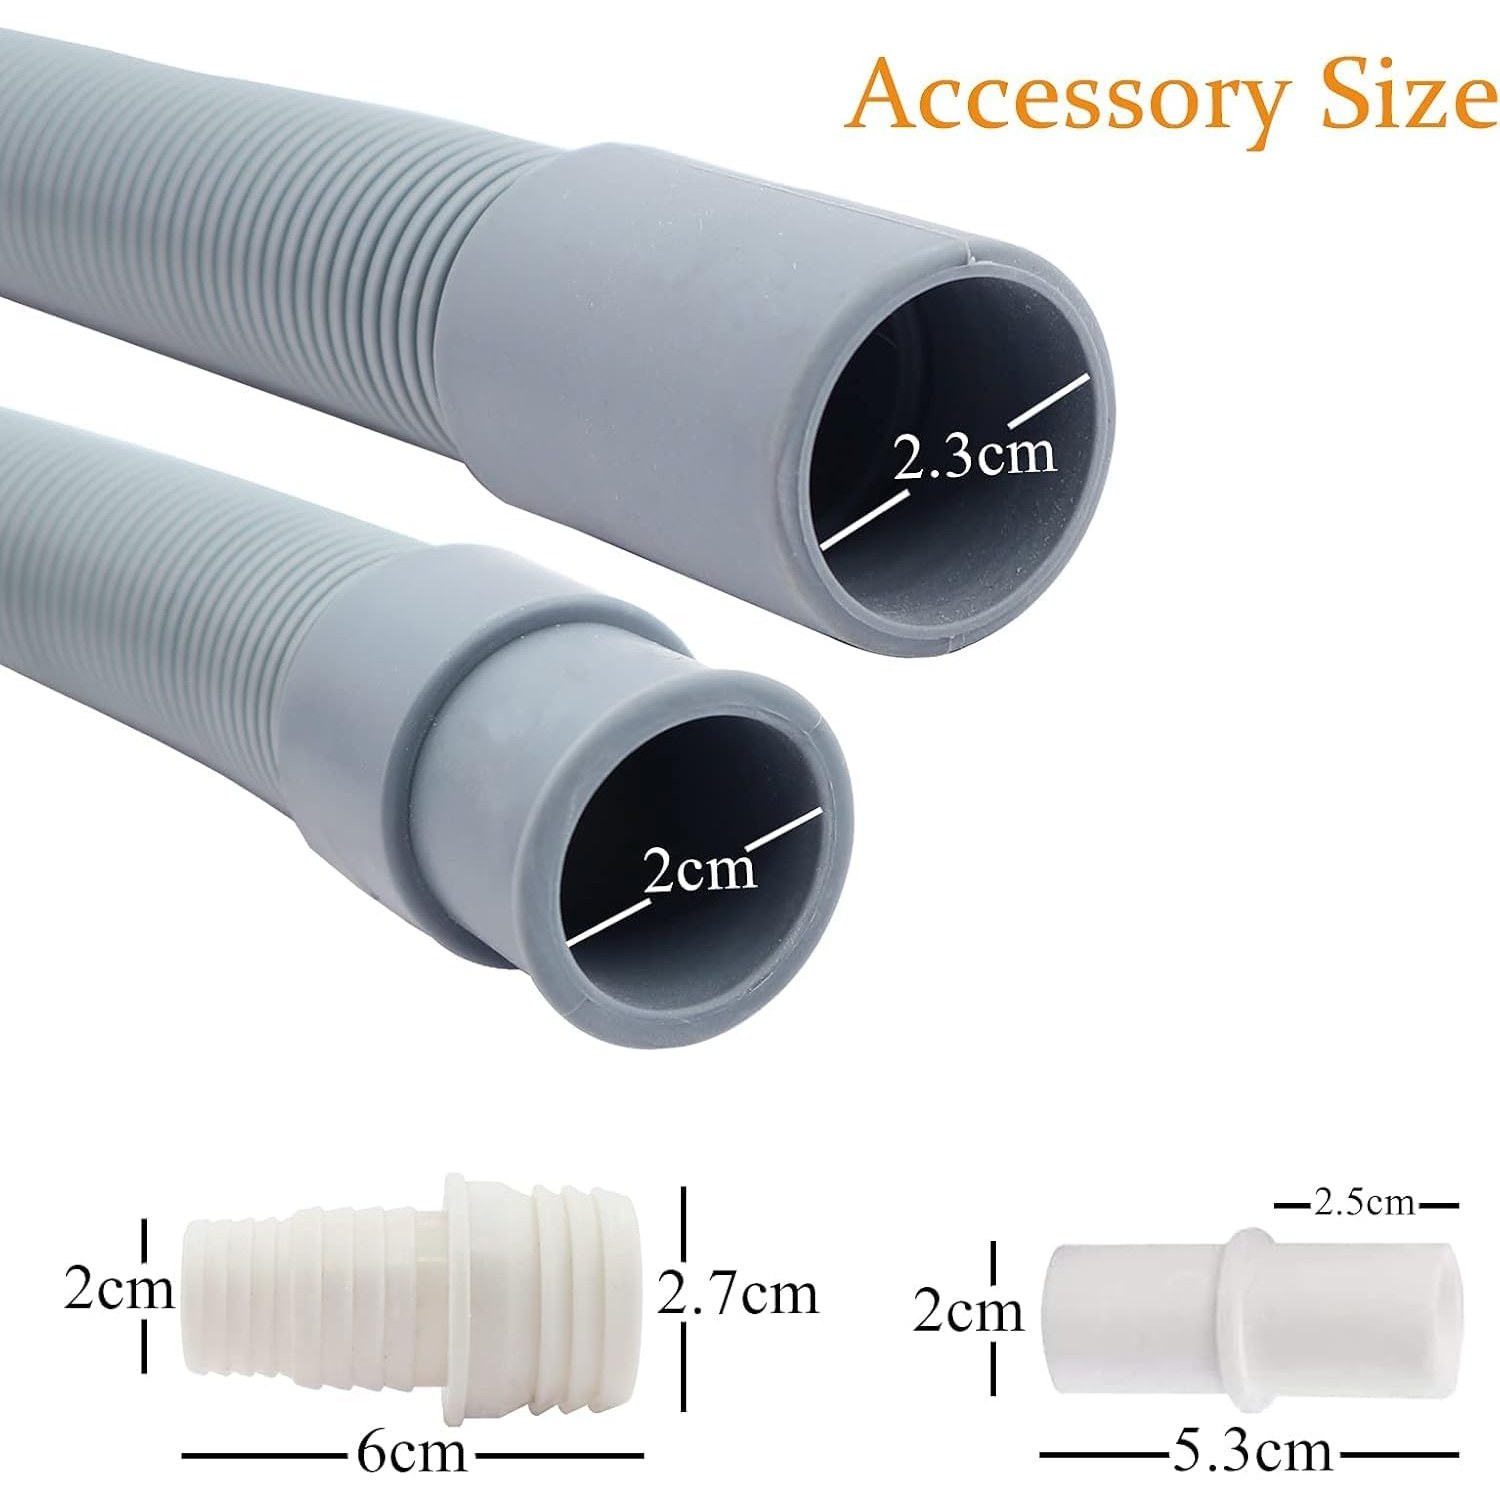
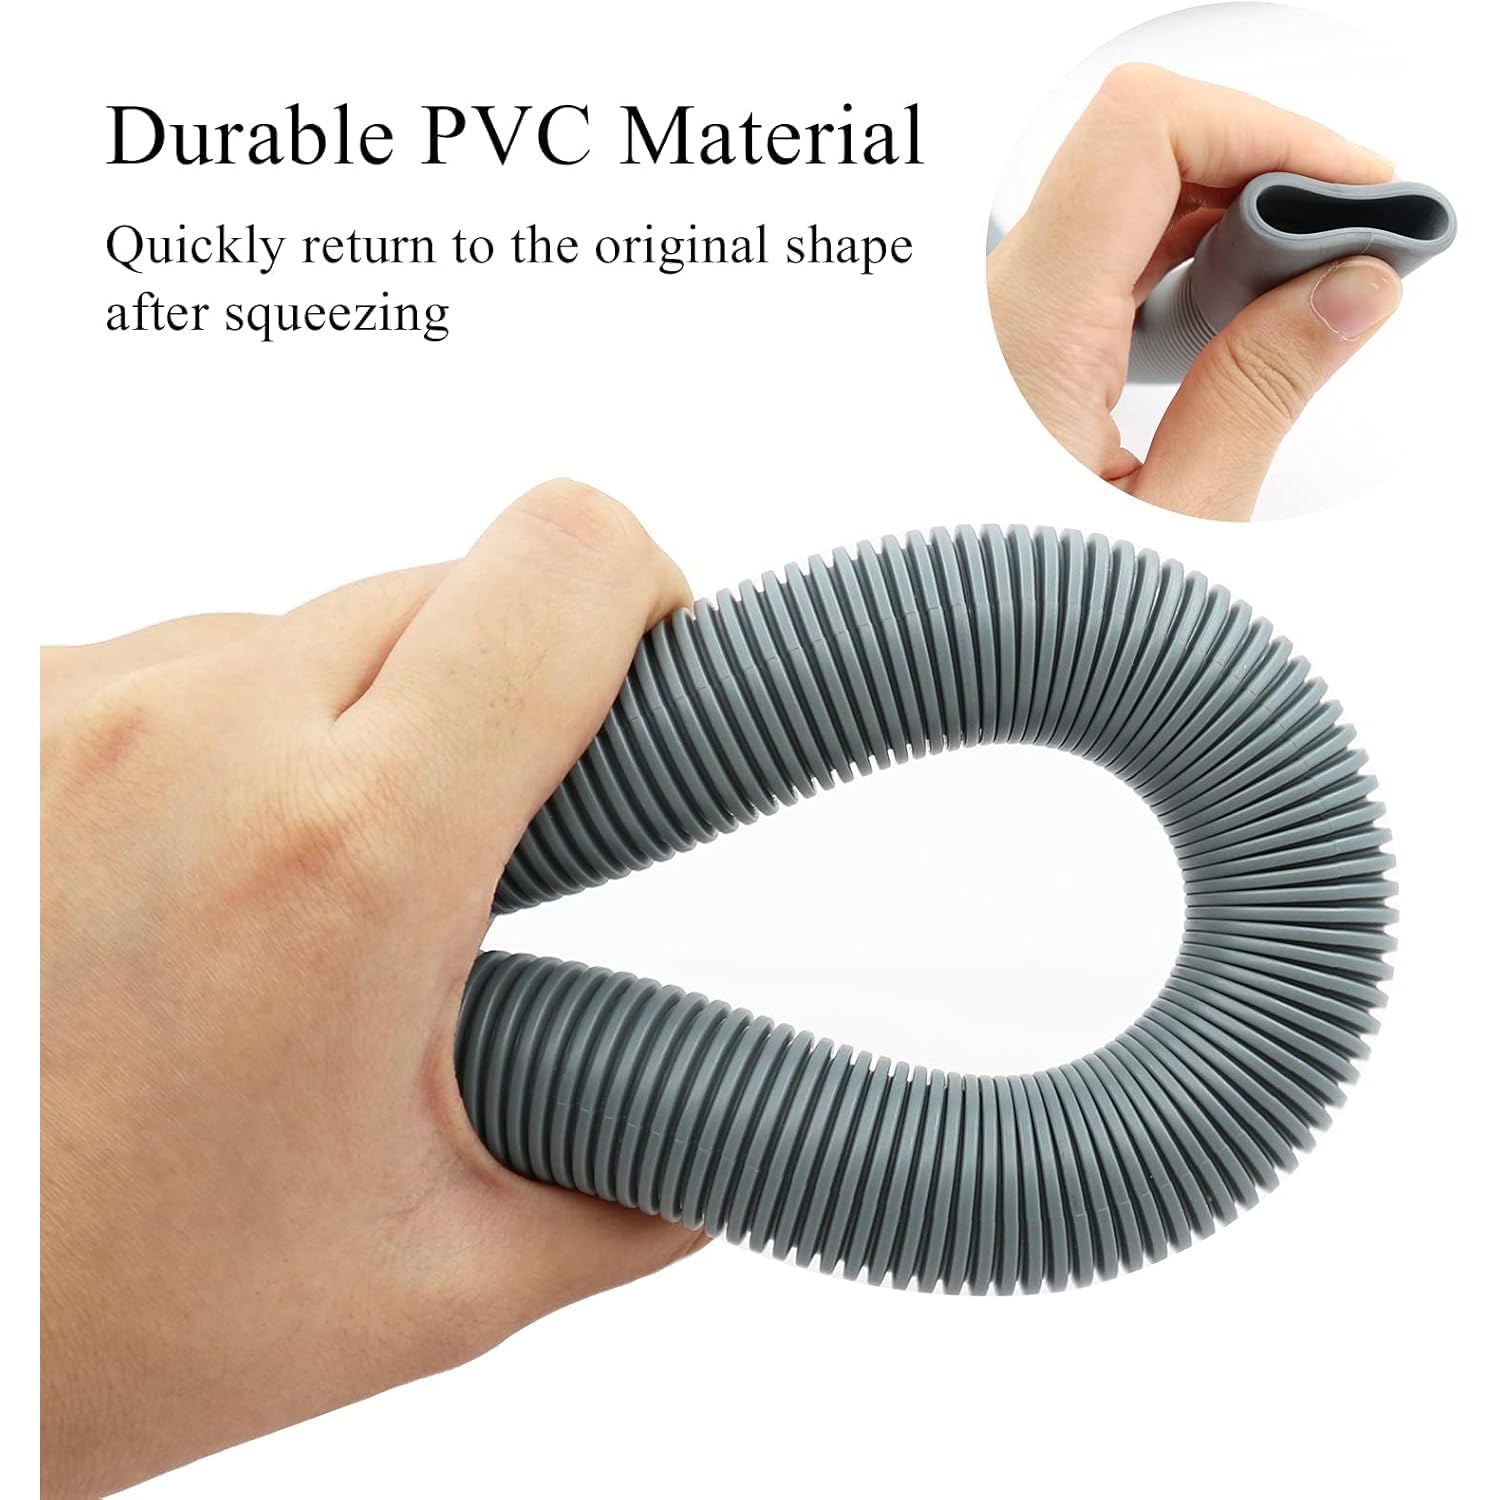
This hose has a 30mm outside diameter and a 2mm nominal wall. Cheap hoses often use a much thinner wall to save on material, and the result is a tube that collapses the moment you push an appliance back against it. Once it collapses, water slows, lint settles in the flat section, and you get a partial blockage that looks like a pump fault but is really just a squashed pipe.
A 2mm wall holds its shape through a bend. You still should not fold it sharply, but you can route it around a corner or behind a cabinet without worrying that the whole run has pinched shut somewhere you cannot see.
The polypropylene also matters. PP is used across appliance plumbing because it handles warm water, resists detergent residue and does not go brittle quickly. A hose that has gone hard and chalky is a hose waiting to split, and splits tend to happen during a pump-out when nobody is watching.
Extending versus replacing
There are two ways to solve a short hose, and this kit supports both.
Replacing means pulling the old hose off the machine entirely and fitting the new one in its place. That gives you one continuous run with no joints, which is the neatest result. It also means moving the machine out far enough to reach the outlet spigot at the back, which is the slow part of the job.
Extending means leaving the original hose where it is and joining the new length onto the end of it with the connector supplied. You never touch the appliance connection. For most people this is the faster, easier route, especially if the machine is boxed into a tight space or sits under a worktop. The trade-off is one extra joint, so make sure the clamp is properly seated.
Neither approach is wrong. If the existing hose is in good condition and you just need more reach, extend it. If it is stiff, cracked or weeping, replace the whole thing while you have the machine out.
Checking the fit before you order
This is the step people skip and then regret. Appliance outlets are not perfectly standardised, and a hose that fits one brand snugly can be loose on another.
Pull the machine out far enough to see the drain outlet at the back. Measure the outside diameter of the spigot, or the inside diameter of the hose currently attached to it. Compare that number to the figures in the spec table above. The kit includes a 30mm adapter, which widens the range of fittings it will work with, but it cannot cover every possible size.
If you are extending rather than replacing, measure the outside diameter of the free end of your existing hose instead, since that is where the connector has to grip.
Five minutes with a tape measure beats a return every time.
Fitting it step by step
Turn the machine off at the socket and turn the water supply off at the valve. Even though the drain hose is not pressurised, there will be residual water in it, so have a towel and a shallow tray ready.
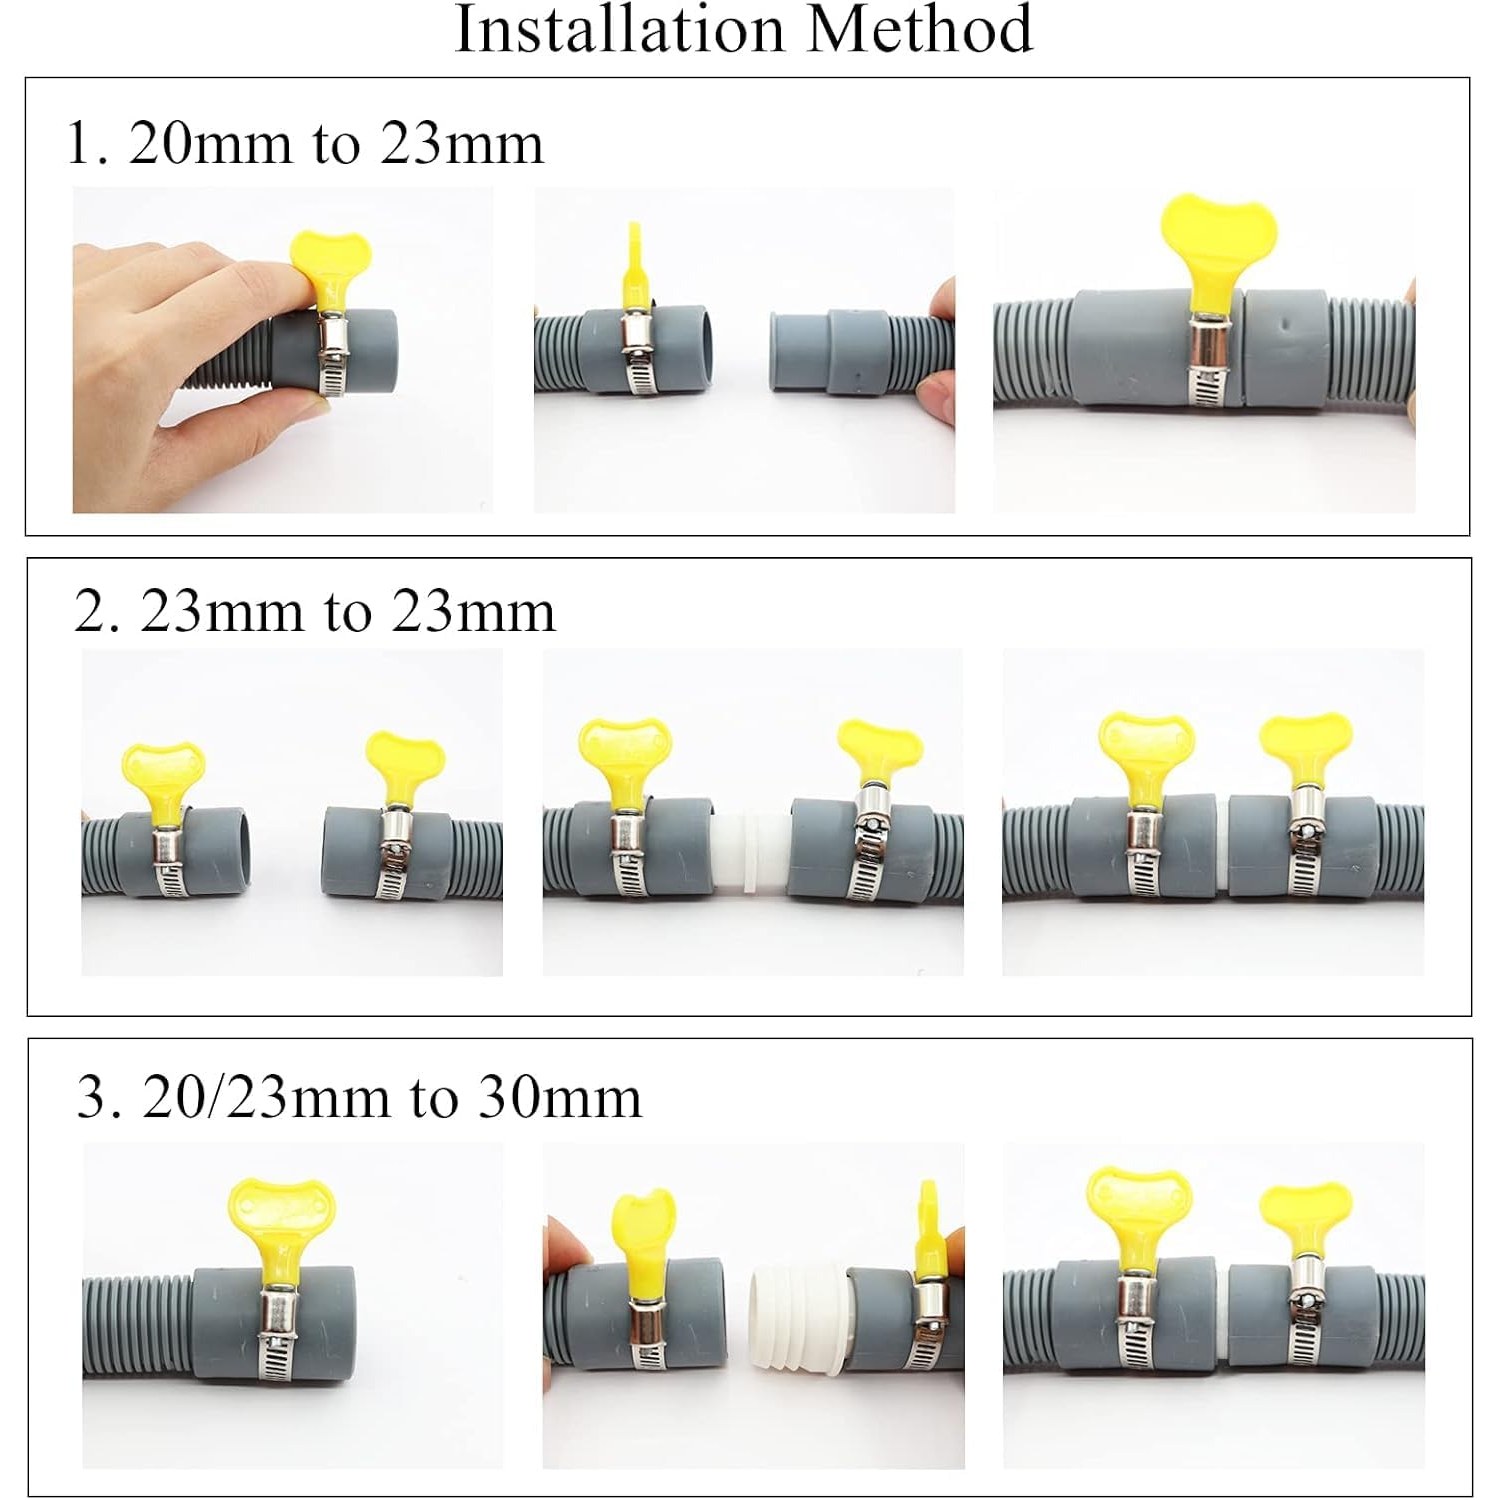
If you are replacing, loosen the clamp on the old hose, ease it off the spigot, and let it drain into the tray. Push the new hose on firmly until it seats fully against the shoulder of the spigot, then fit the clamp and tighten it by hand.
If you are extending, push the connector into the free end of your old hose, then push the new hose onto the other side of the connector. Fit a clamp over each side of the joint.
Route the hose to the waste point. Keep it off the floor where you can, avoid sharp folds, and do not let it dip into a long sagging low point where water will sit. Fit the U-bracket at the hose end and hook it over the standpipe or sink spigot at the recommended height.
Run a short rinse cycle and watch the joints while it pumps out. A weeping joint shows itself immediately. If you see a drip, tighten the clamp another turn.
Keeping it working
Drain hoses need almost no maintenance, but a quick annual check is worth the effort. Pull the machine out, look along the length of the hose for cracks or stiffness, and squeeze a few points to confirm it still springs back. Check that the clamps are still tight, because vibration from spin cycles can slowly loosen them.
If draining has become sluggish, suspect the hose before you suspect the pump. Disconnect it, flush clean water through from the machine end, and see whether a wad of lint comes out. That is the most common cause of a slow pump-out and the cheapest to fix.
Keep the hose away from radiator pipes, boiler flues and anything else that radiates sustained heat. Warm water inside is fine. External heat baking one spot year after year is what ages plastic prematurely.
Who this kit suits
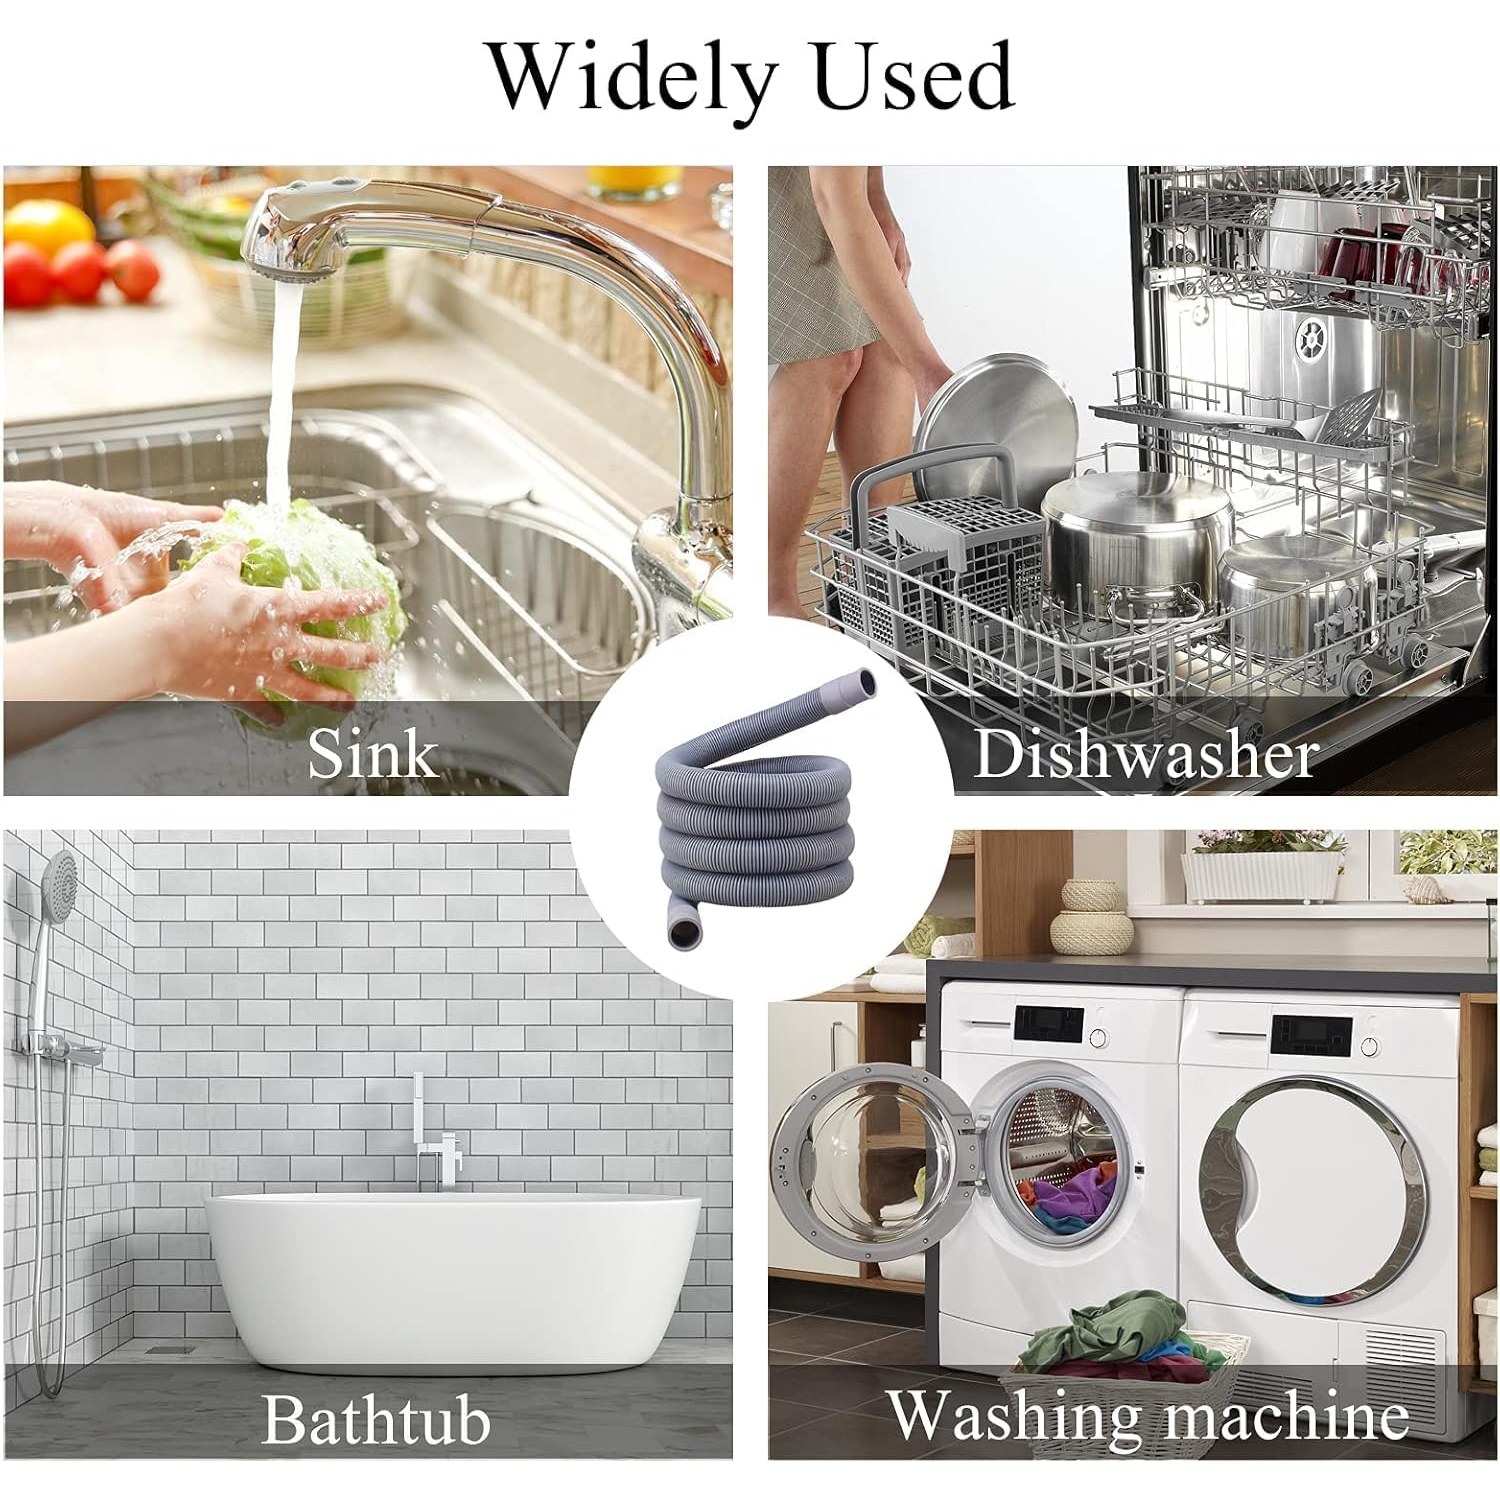
It is a good fit for anyone moving a washing machine or dishwasher to a new position, anyone setting up an appliance in a rental where the waste point is awkwardly placed, and anyone replacing a hose that has started to weep. It also makes sense as a spare to keep in the cupboard. Hoses rarely fail at a convenient moment.
It is less suitable if your appliance uses an unusual outlet size that falls outside the diameters listed, or if you need a run much longer than 3 metres, where extra joints and distance start to work against the pump.
The short version
A drain hose is a simple part that causes a lot of frustration when it is too short or too thin. This kit gives you 3 metres of polypropylene hose with a 30mm outside diameter and a 2mm wall, plus the connector, adapter, bracket and clamps you need to fit or extend without tools. Measure your outlet first, keep the hose free of kinks, hold the end at the height your appliance manual specifies, and check the clamps once a year. Do that and you will not think about it again for a long time.