
The complete guide
How to Choose and Fit a Washing Machine Drain Hose
The problem nobody thinks about until there is water on the floor
Washing machine drain hoses lead a hard life. They sit squashed behind a heavy appliance, they flex every time the machine moves on spin, and they carry hot soapy water several times a week. Then one day you pull the machine out and there is a damp patch, or the cycle stops halfway with a drain error, and the hose is the reason.
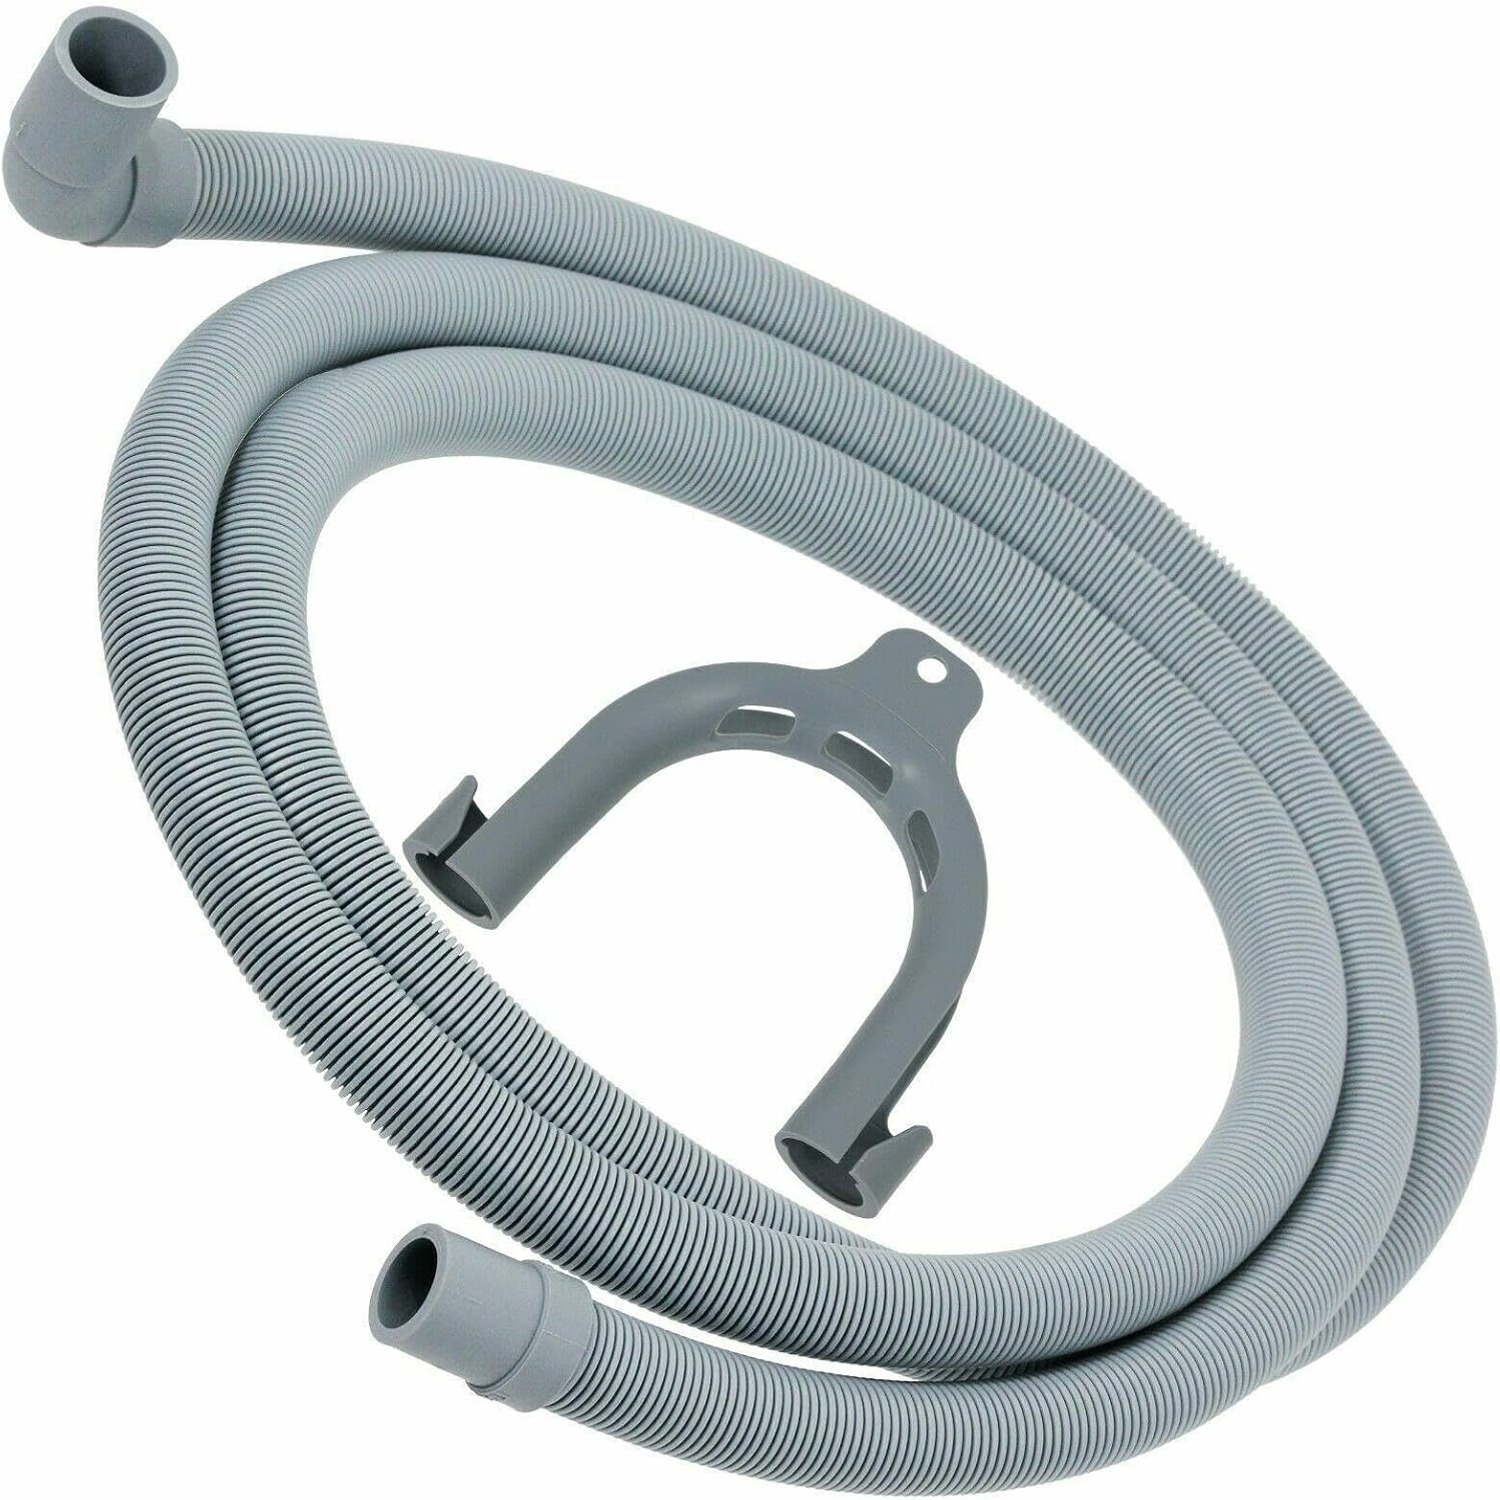
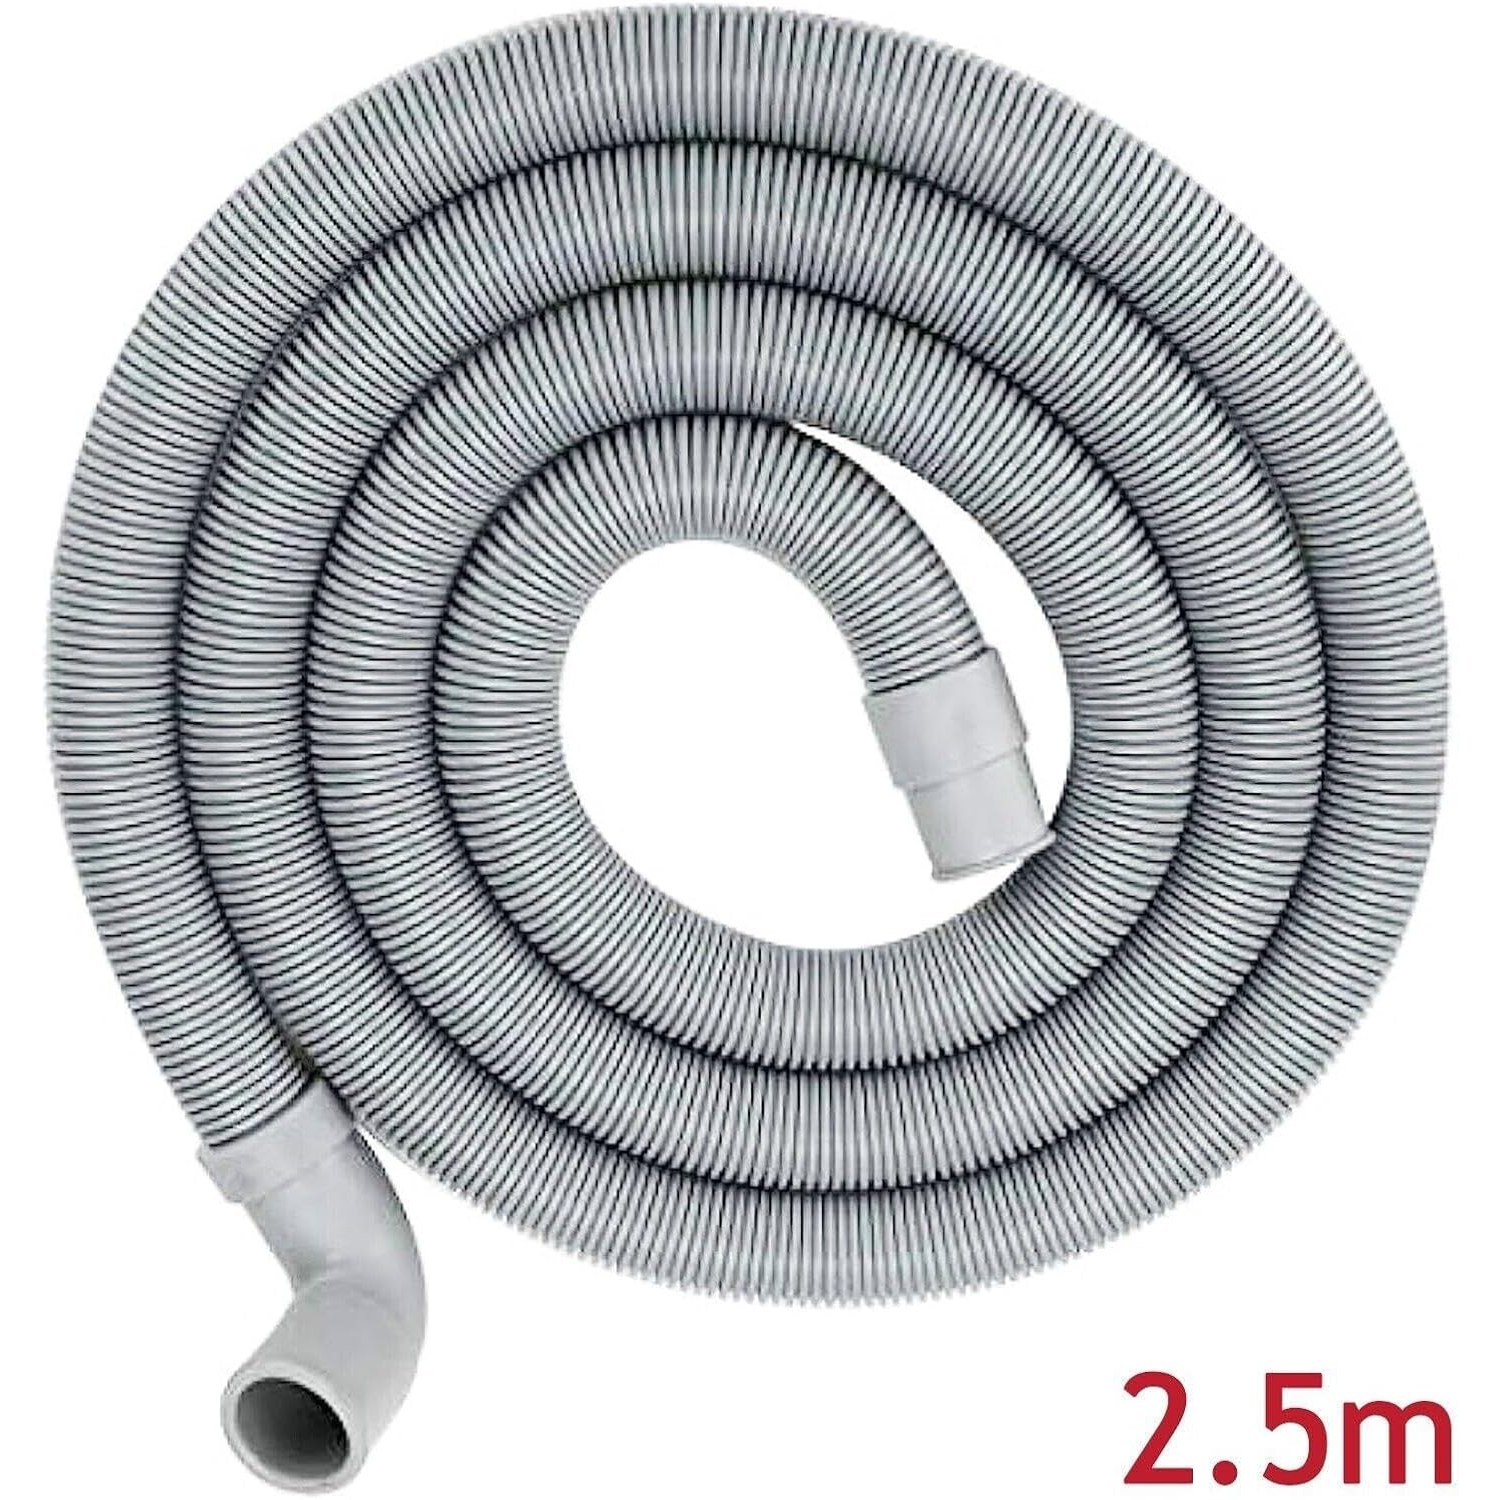
It is also the part most likely to have been wrong from day one. The hose that comes with a new machine is cut to the shortest length the manufacturer can get away with. If your standpipe is two metres away or tucked behind a cupboard, that short hose gets stretched into a straight line, pulled tight, or looped in a way that makes the pump work harder than it should. A washing machine drain hose 2.5m long removes that problem entirely, because you have enough slack to route it properly instead of making it fit.
What a drain hose actually does
It is worth being clear about the difference between the two hoses on the back of a washing machine. The inlet or fill hose brings cold or hot water in from the tap. It has threaded couplings, it is under mains pressure, and when it fails it fails dramatically.
The drain hose is the other one. It carries used water out, pushed by a small pump inside the machine, at very low pressure. That is why a drain hose is a push-fit part with a clamp rather than a threaded fitting. This product is the second type, a replacement waste water hose, so if your problem is at the tap end you need a different part.
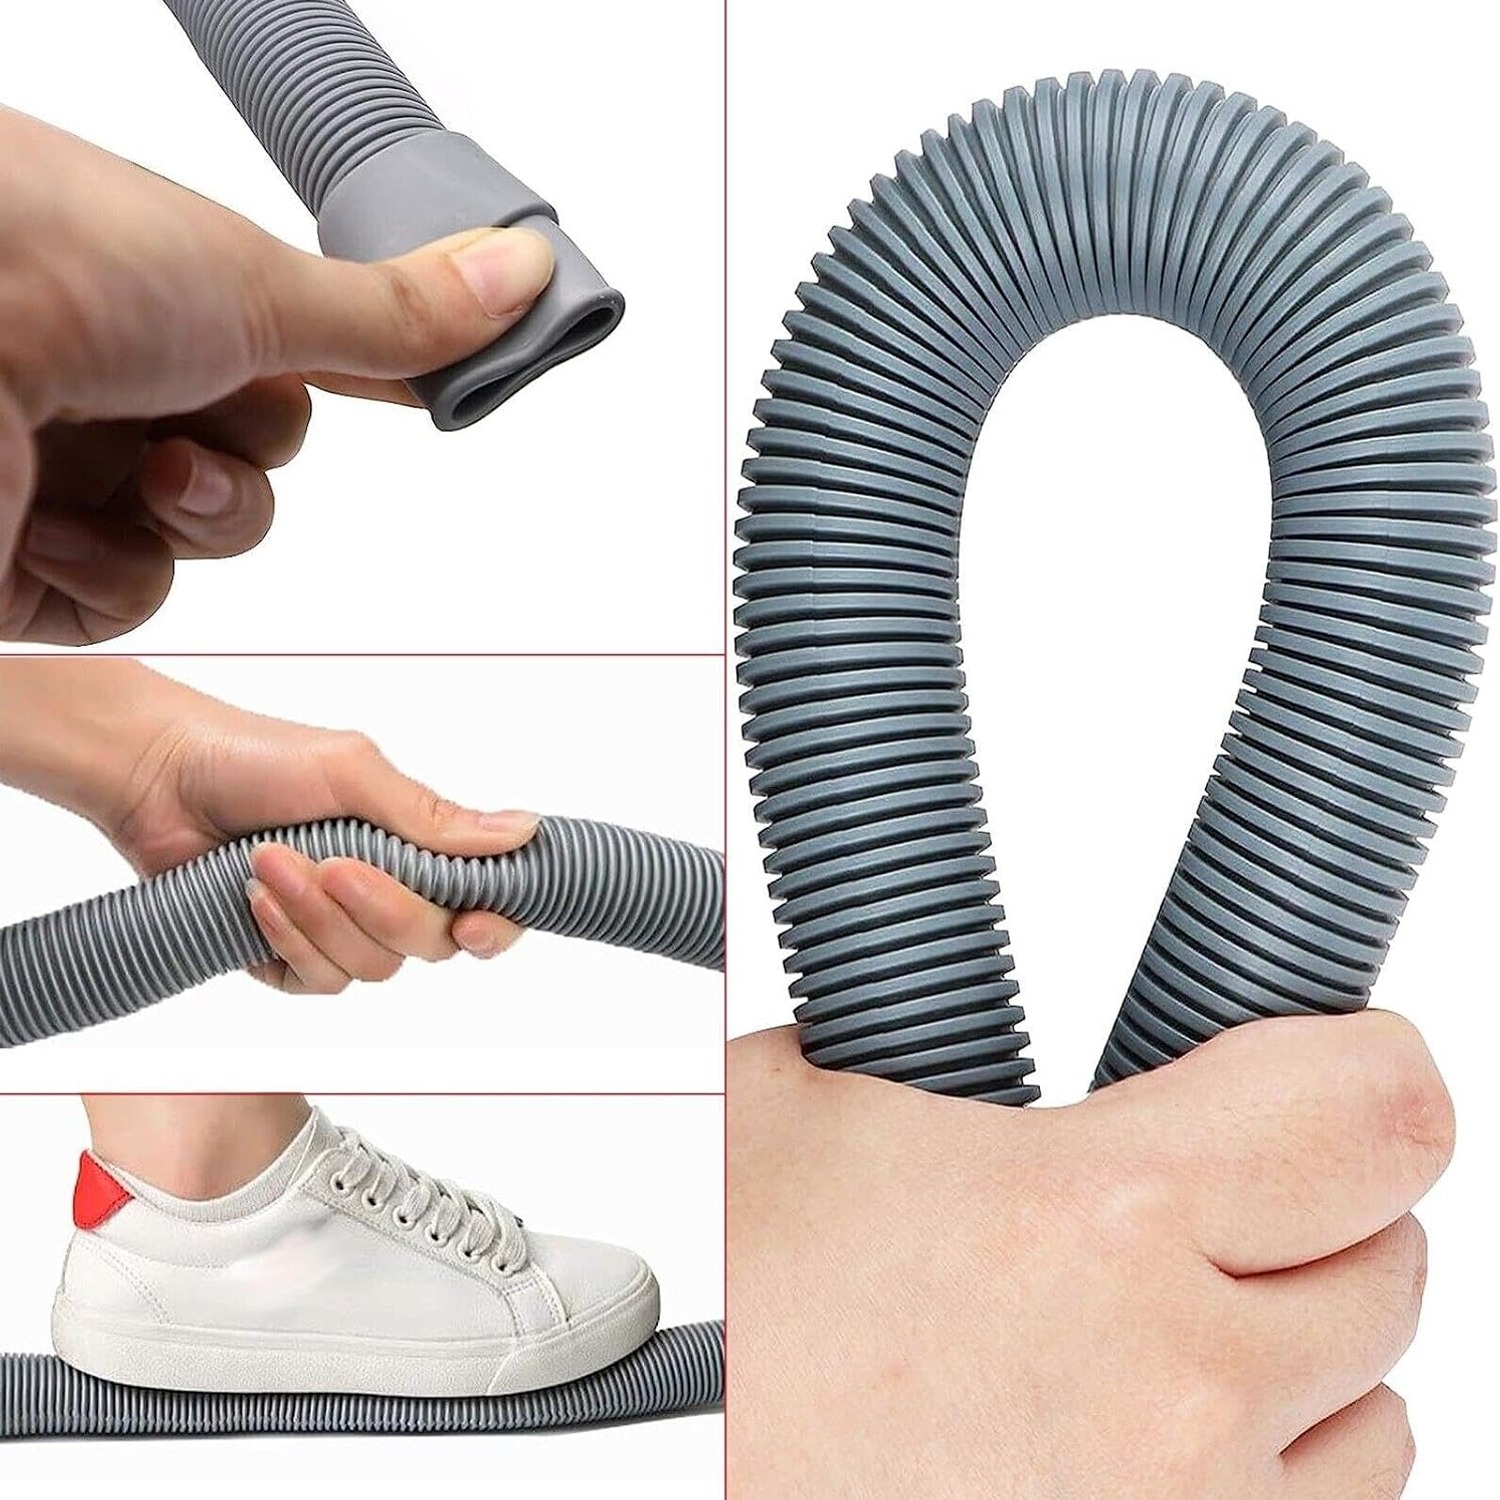
Because the pressure is low, the things that break a drain hose are physical. Kinks. Crushing. Rubber going hard and losing its grip on the spigot. A hose rated to 10 bars is massively over-specified for the job, which is a good thing, because it means the material is thick enough to survive being bent and squashed for years.
Why the right angle end matters
Look behind most washing machines and you will see the same thing. The drain hose leaves the machine, swings out in a wide curve, then comes back towards the wall. That curve is often what stops the appliance sitting flush, and it is a common cause of kitchens where the washing machine sticks out further than the cabinets.
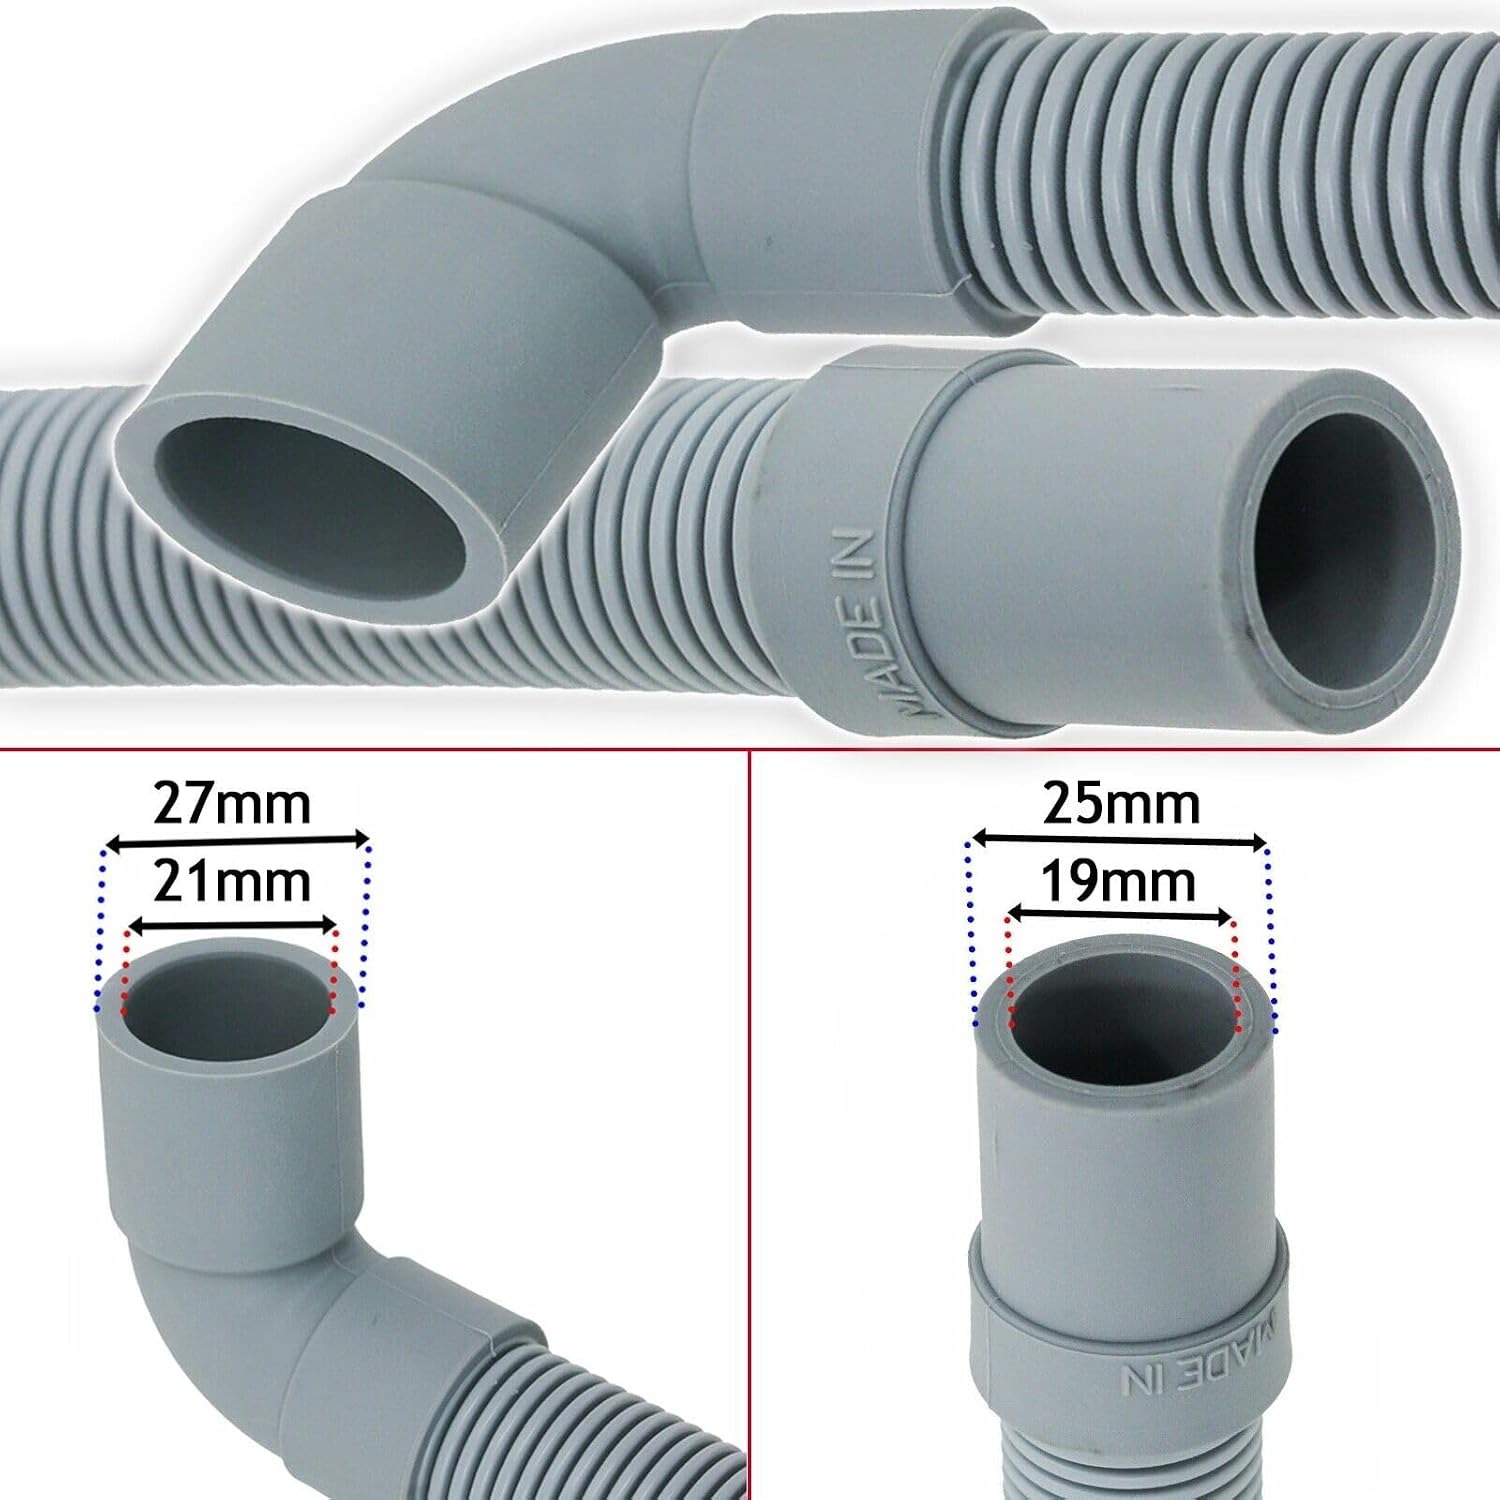
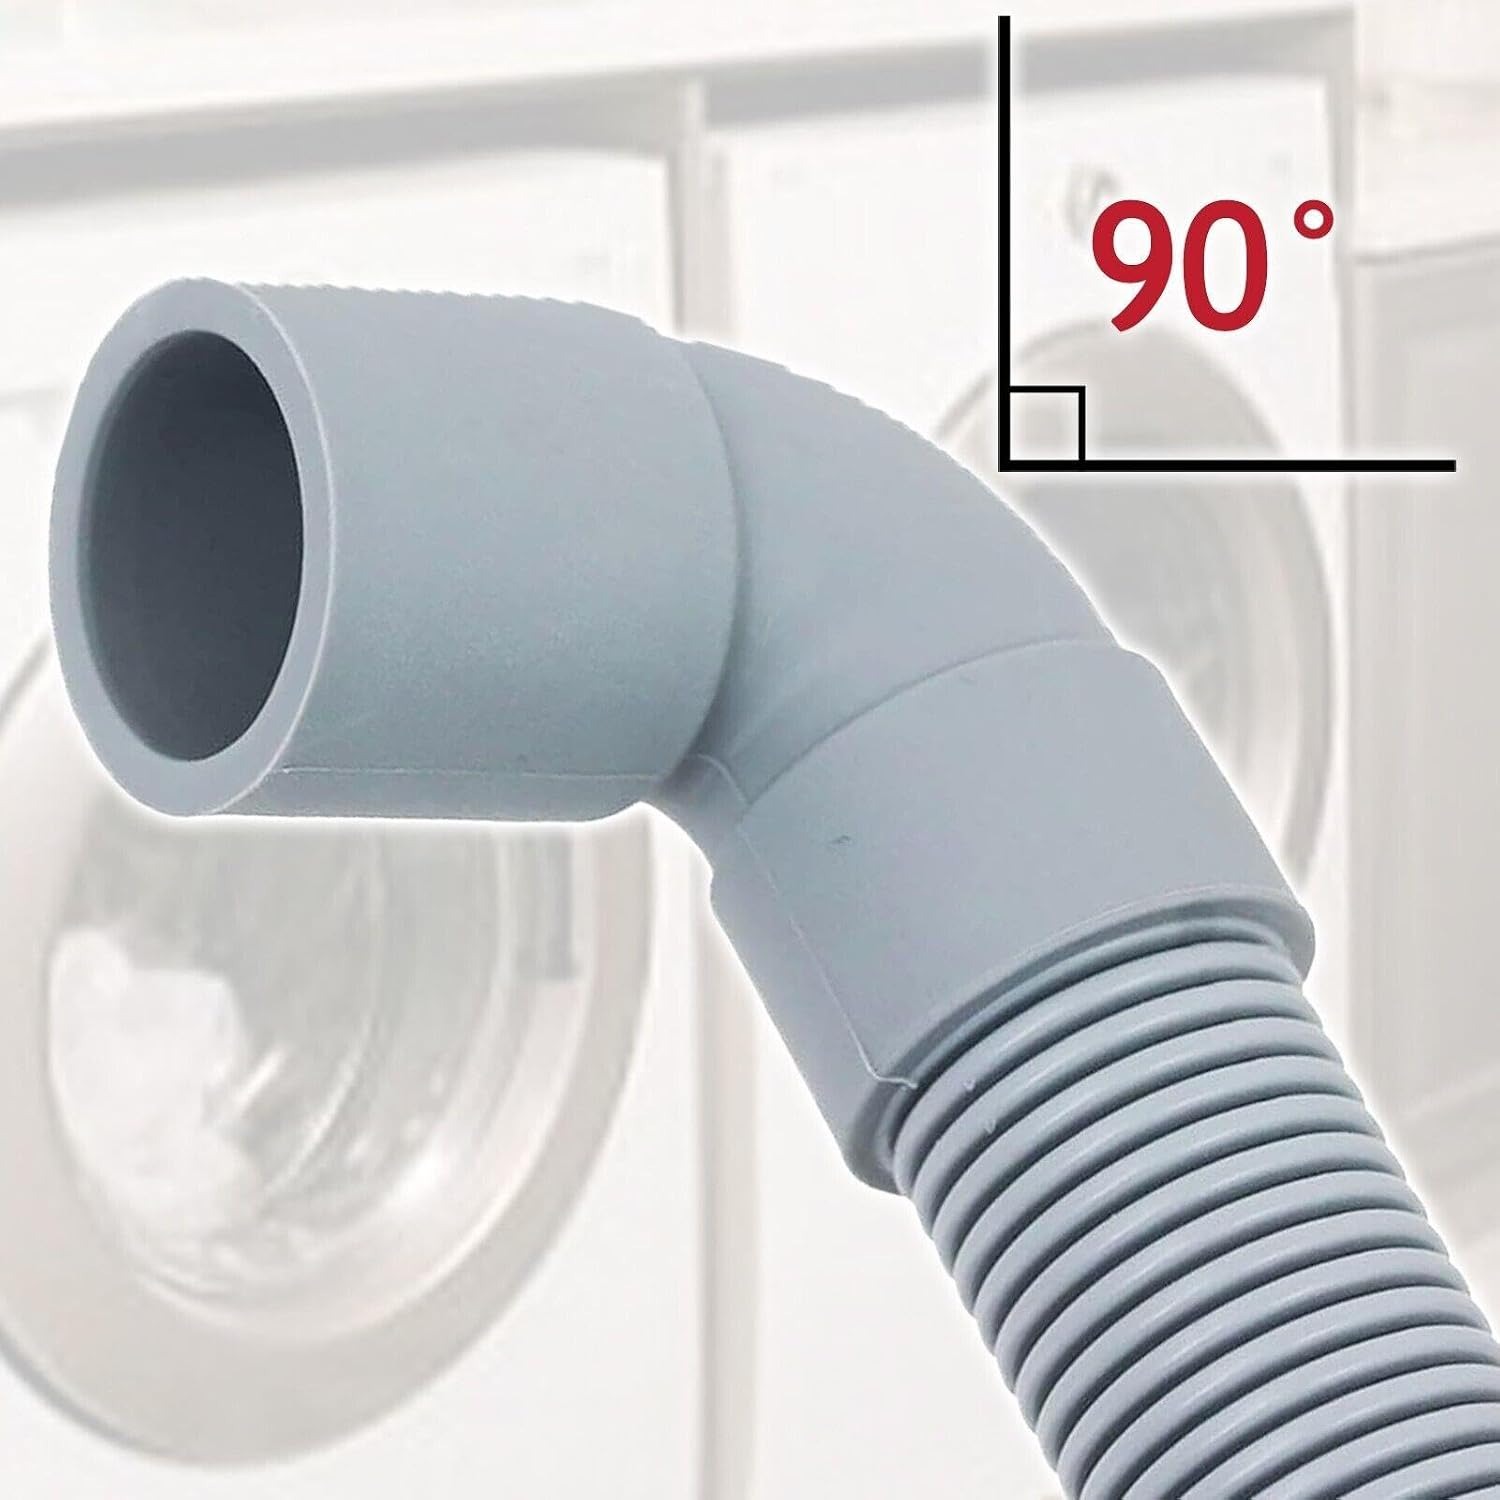
The 90 degree connector on this hose turns the flow immediately. The hose leaves the outlet and heads straight down or sideways, with no wide loop behind the machine. You get a few centimetres back, which does not sound like much until you are trying to close a laundry cupboard door.
It also protects the most vulnerable point. The section right at the machine outlet is where kinks usually form, because that is where the hose is bent hardest and squeezed most. A moulded right angle holds its shape there instead of folding.
Getting the bore size right
Internal bore is the measurement that decides whether the hose will fit. This one offers both 19mm and 21mm, which between them cover the large majority of domestic machines sold over the last couple of decades.
To check yours, pull the machine out, release the clamp on the existing hose, and slide it off the outlet spigot. Measure across the spigot, not the hose, because an old hose may have stretched. If you get something close to 19 or 21 millimetres, you are fine.
The same sizes are used on a lot of dishwashers, which is why this hose doubles as a best dishwasher drain hose option for many people. Built-in dishwashers sometimes use a moulded fitting that is part of the machine, so check before ordering if yours is integrated.
How to route the hose properly
This is where most installations go wrong, and it costs nothing to get right.
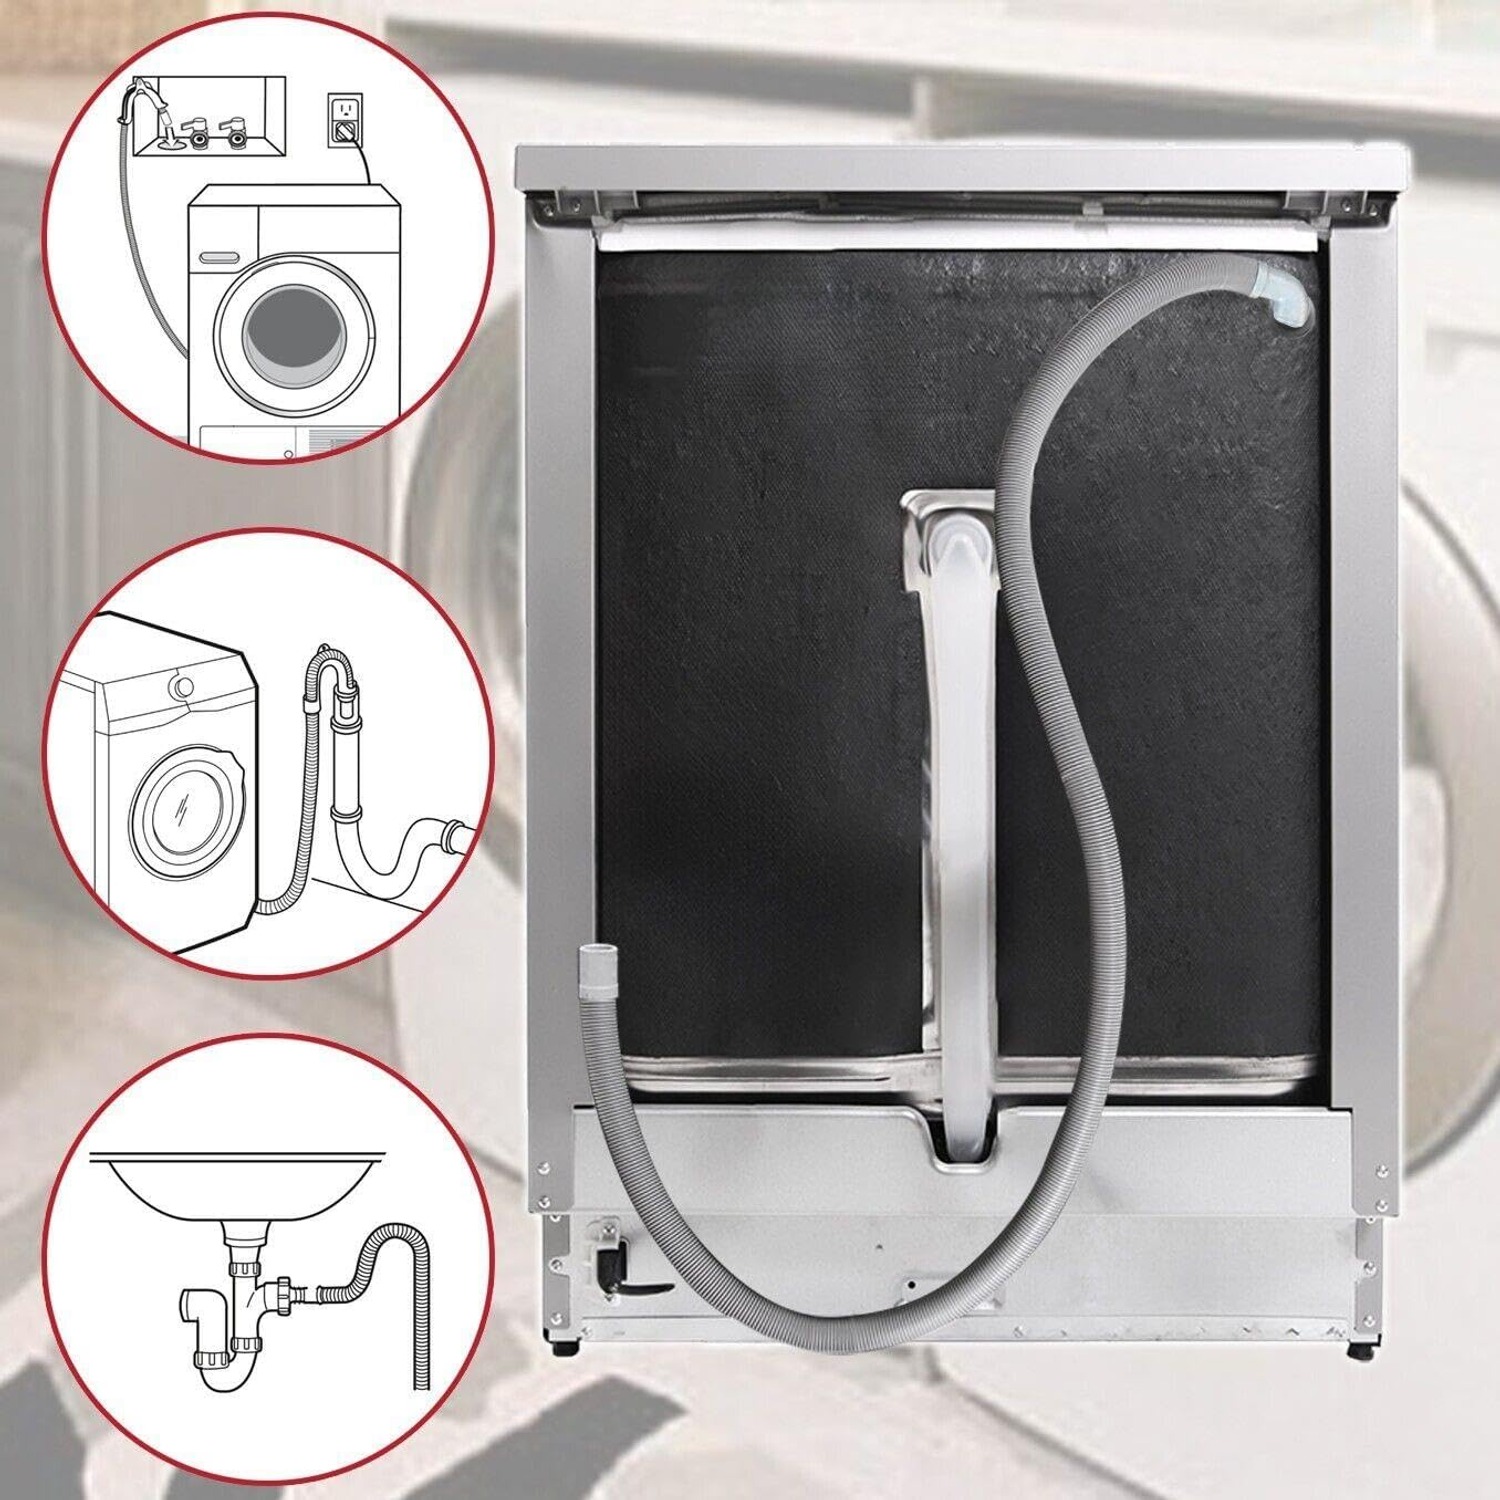
First, the high loop. The hose needs to rise to a high point before it drops to the drain. Without it, dirty water can siphon back into the drum, and you end up with a machine that smells or never quite empties. Your machine's manual will give a minimum height for the top of the loop. Respect that figure, because it is based on the pump's capability.
Second, avoid tight bends. A gentle curve is fine. A fold is not. If the hose has to turn a sharp corner, give it a wider sweep rather than forcing it, even if that means using more of the length.
Third, do not crush it. When you push the machine back, check that the hose is not trapped between the appliance and the wall or pinned behind a pipe. A crushed hose restricts flow just as badly as a blockage, and it wears through from the inside.
Fourth, leave a little slack. Machines move on spin. A hose under tension will work its way loose at the clamp over time.
Fitting it yourself
This is a job most people can do in fifteen minutes.
Turn the machine off at the wall socket and turn the water supply off at the tap. Pull the appliance forward far enough to reach behind it comfortably. Put an old towel and a shallow tray underneath, because there will be water left in the hose and the pump.
Release the clamp on the old hose at the machine end. Depending on the model this is a screw clamp needing a flat screwdriver, or a spring clip you squeeze with pliers. Ease the hose off the spigot, tipping it into the tray as it comes away.
Push the right angle end of the new hose onto the spigot. It should go on firmly. If it is stiff, a little warm water on the rubber helps it slide. Fit the clamp and tighten it so the hose cannot be pulled off by hand, but do not crush the rubber.
Route the hose to your drain point, set up your high loop, and secure the far end so it cannot fall out of the standpipe. Then run a short rinse or drain cycle and watch both ends while it empties. Any drip shows up straight away.
If you need to shorten it, cut from the straight end with a sharp knife, square across. Keep the right angle connector.
Who this suits
Anyone replacing a split, hardened or leaking hose. Anyone moving a machine to a new spot where the original hose will not reach. Anyone setting up a laundry from scratch who wants a hose that is long enough from the start rather than a short one plus a joiner.
It is also a sensible thing to keep in the cupboard. Drain hoses tend to fail at inconvenient moments, usually mid-cycle on a Sunday. Having a spare universal drain hose on a shelf turns an emergency into a chore.
Looking after it
Not much is needed, but a quick check twice a year pays off. Pull the machine out when you clean behind it and run your hand along the hose. You are feeling for hard spots, bulges, flat sections and splits, particularly near the bends.
If drainage has slowed, disconnect the hose and flush it through with clean water. Lint, hair and detergent residue build up over time and narrow the bore. Clean the machine's pump filter at the same time, since the two problems often go together.
Replace the hose rather than patching it. Tape and sealant on a drain hose never lasts, and the part is inexpensive compared with a water-damaged floor.
The short version
Buy a hose longer than you think you need, make sure the bore matches your machine's outlet, and use the right angle end at the appliance so it sits flush. Fit a proper clamp, build in a high loop, and keep the run free of kinks and crushing.
Do those few things and a rubber drain hose will quietly do its job for years without you thinking about it again. Which is really all you want from it.