
The complete guide
How to Choose a Linear Shower Drain, A Practical Buyer's Guide
The puddle problem
Most shower floor complaints come down to the same thing. Water sits where it should not. It gathers near the glass, creeps towards the door, or lingers in a low spot that never quite dries. The tiles look fine, the tapware looks fine, and yet the floor is wet long after the shower is off.
A lot of the time the drain is the cause. A single round outlet in the middle of the floor forces the tiler to create a fall from four directions at once. With small mosaics that works. With the large format tiles people actually want today, it means cutting the tile into a shallow pyramid, and that is hard to do neatly. The result is usually a floor that drains well in two directions and poorly in the other two.
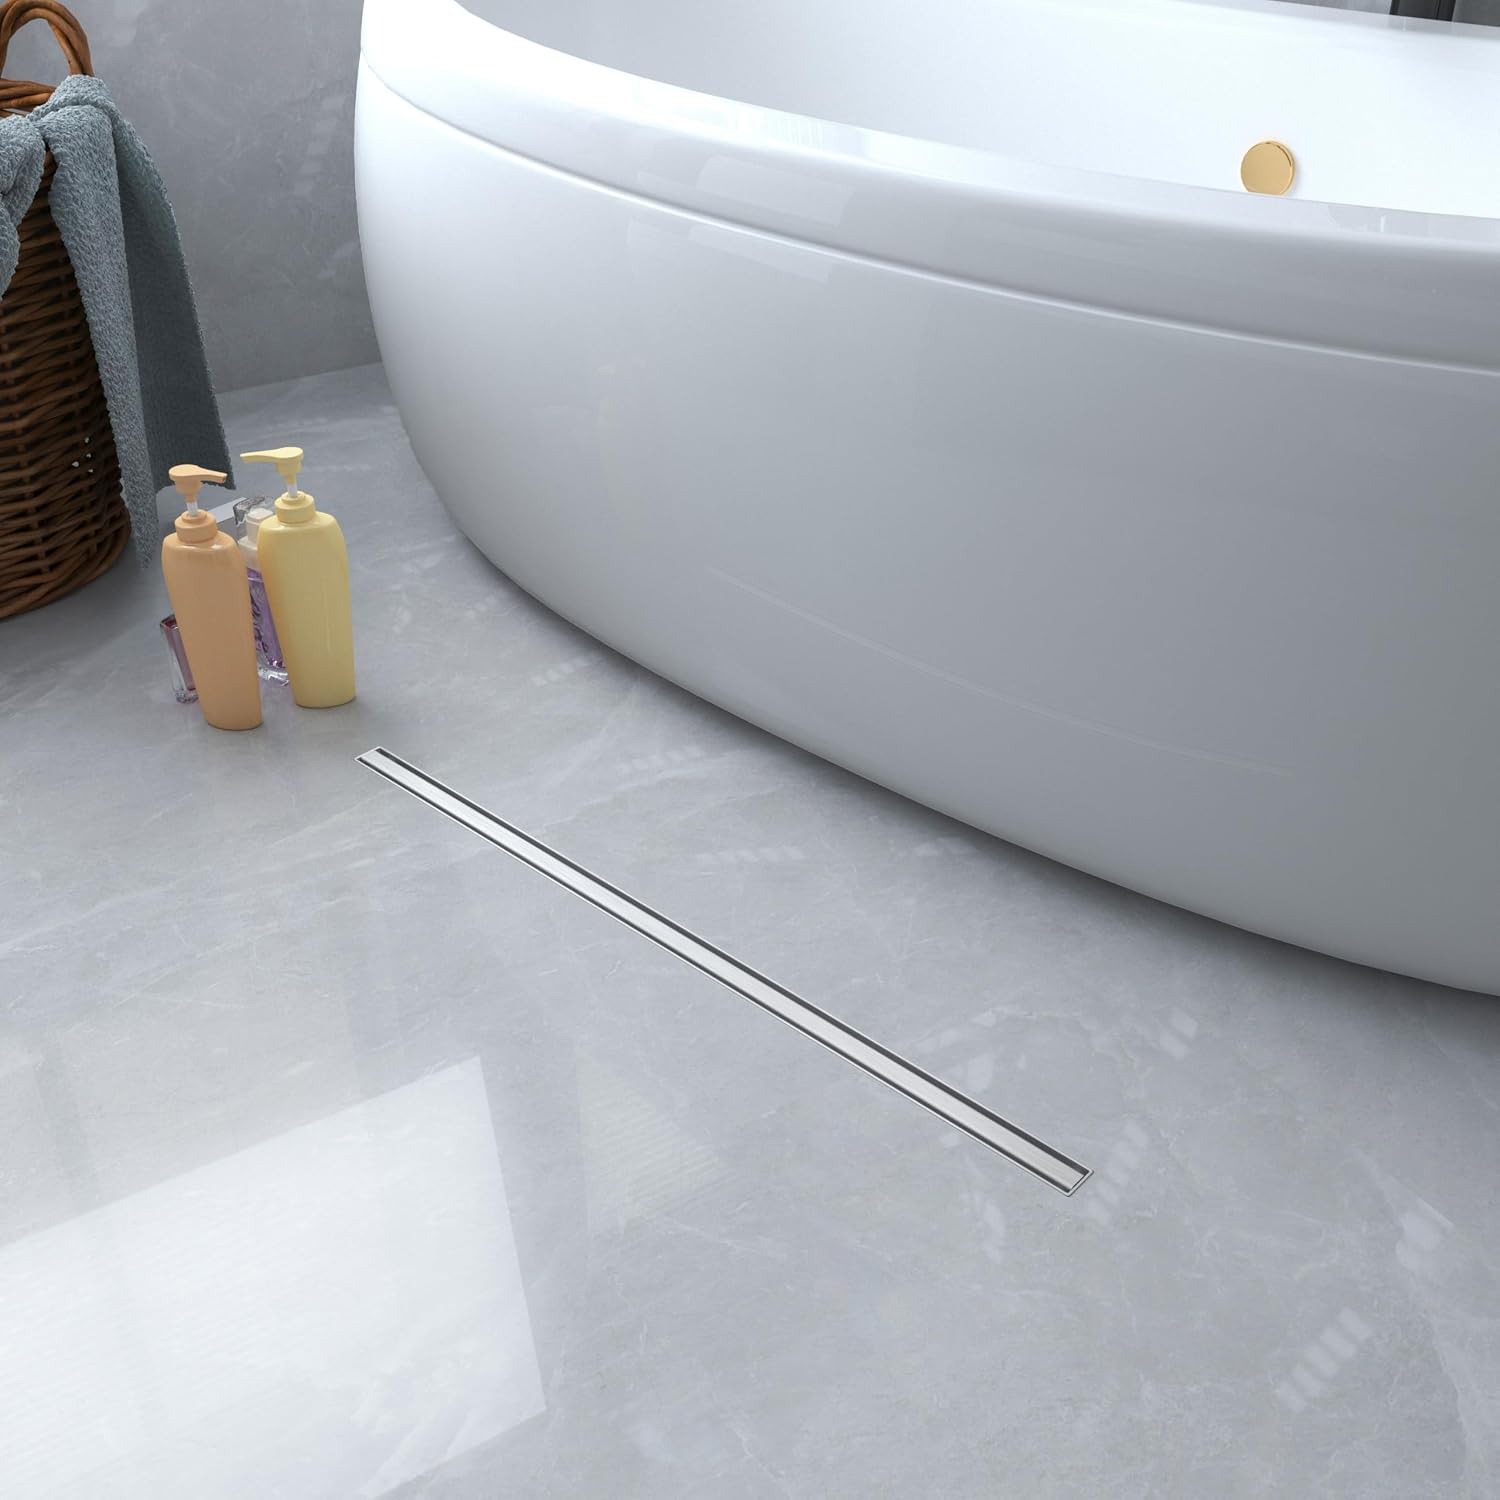
A linear channel changes the geometry. Because the drain runs along a line rather than sitting at a point, the floor only needs to fall one way. One slope, one plane, whole tiles. Water finds the slot quickly instead of wandering.
How a channel drain actually works
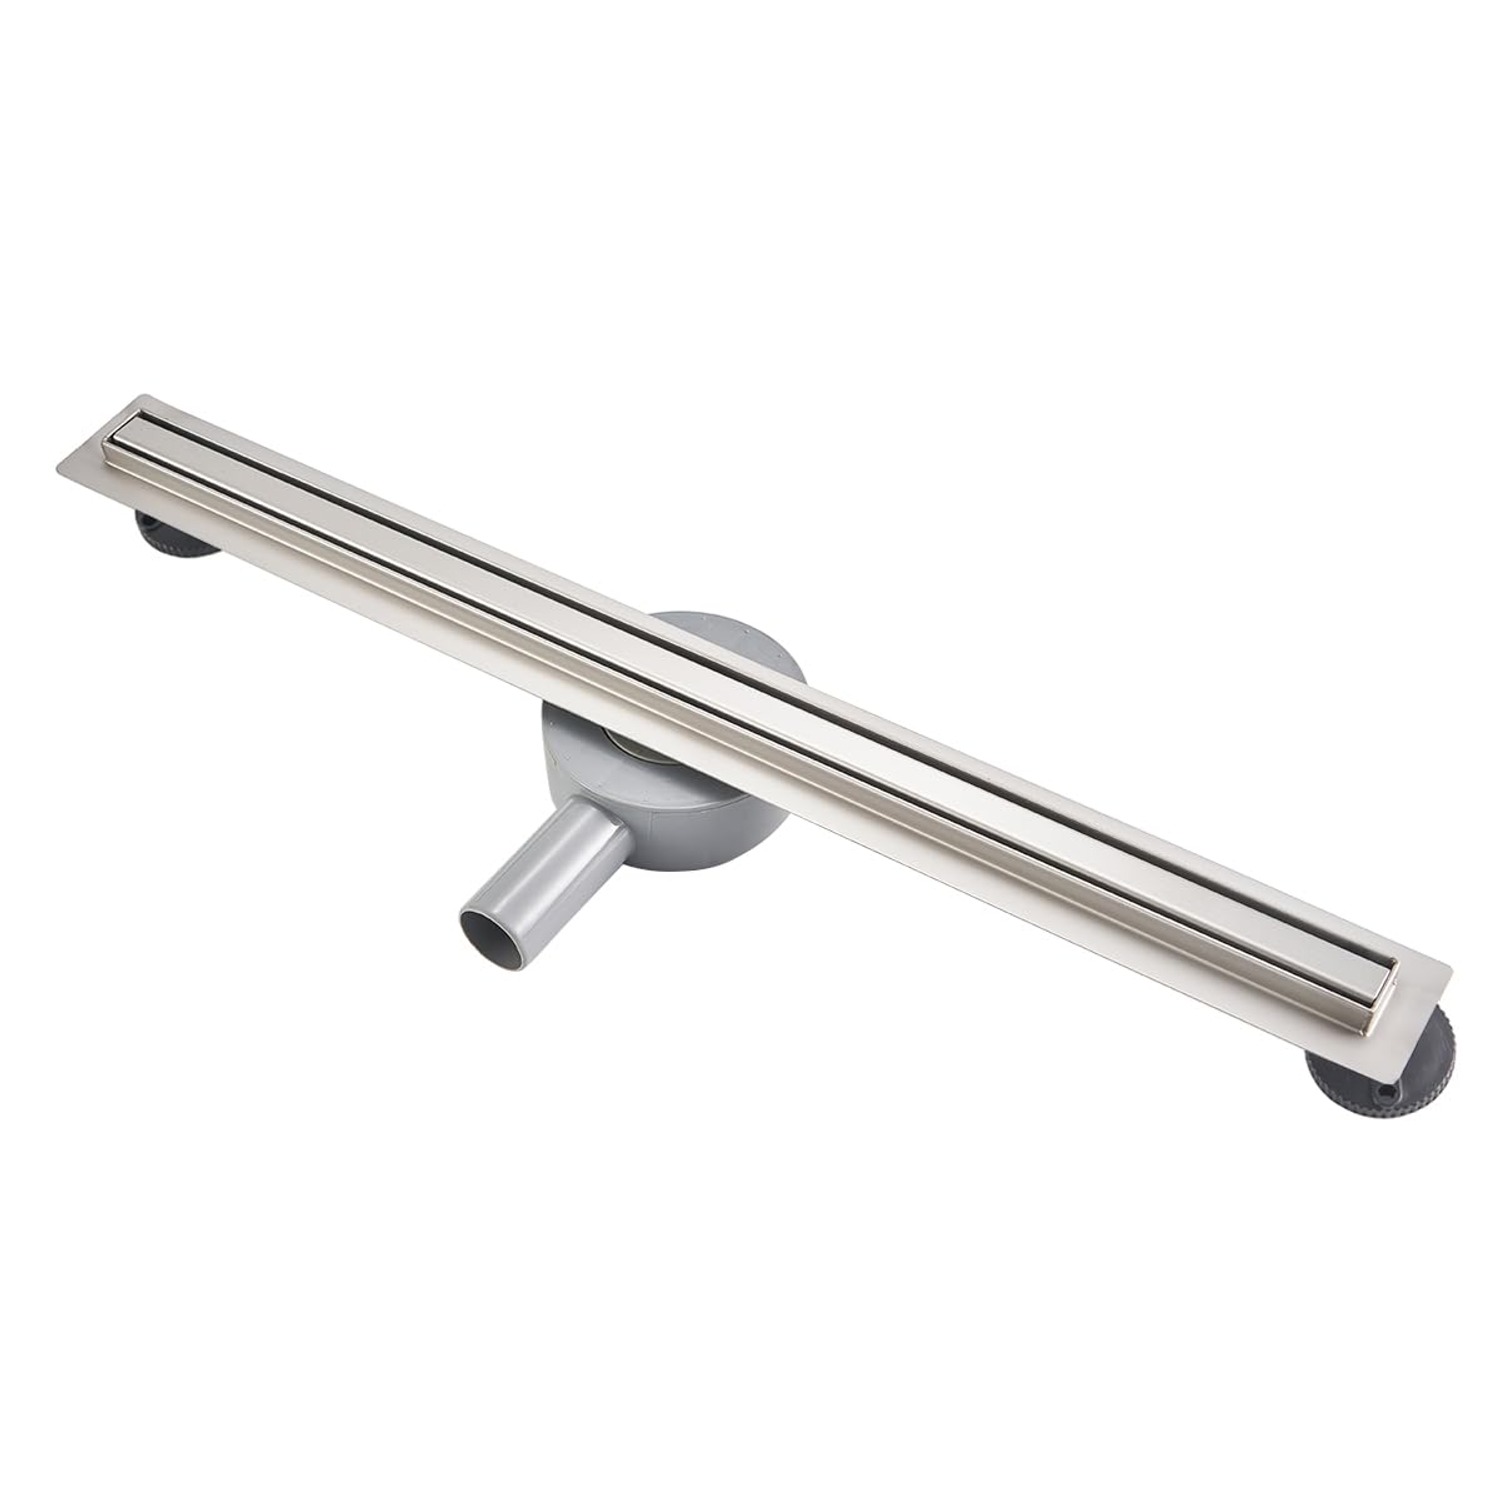
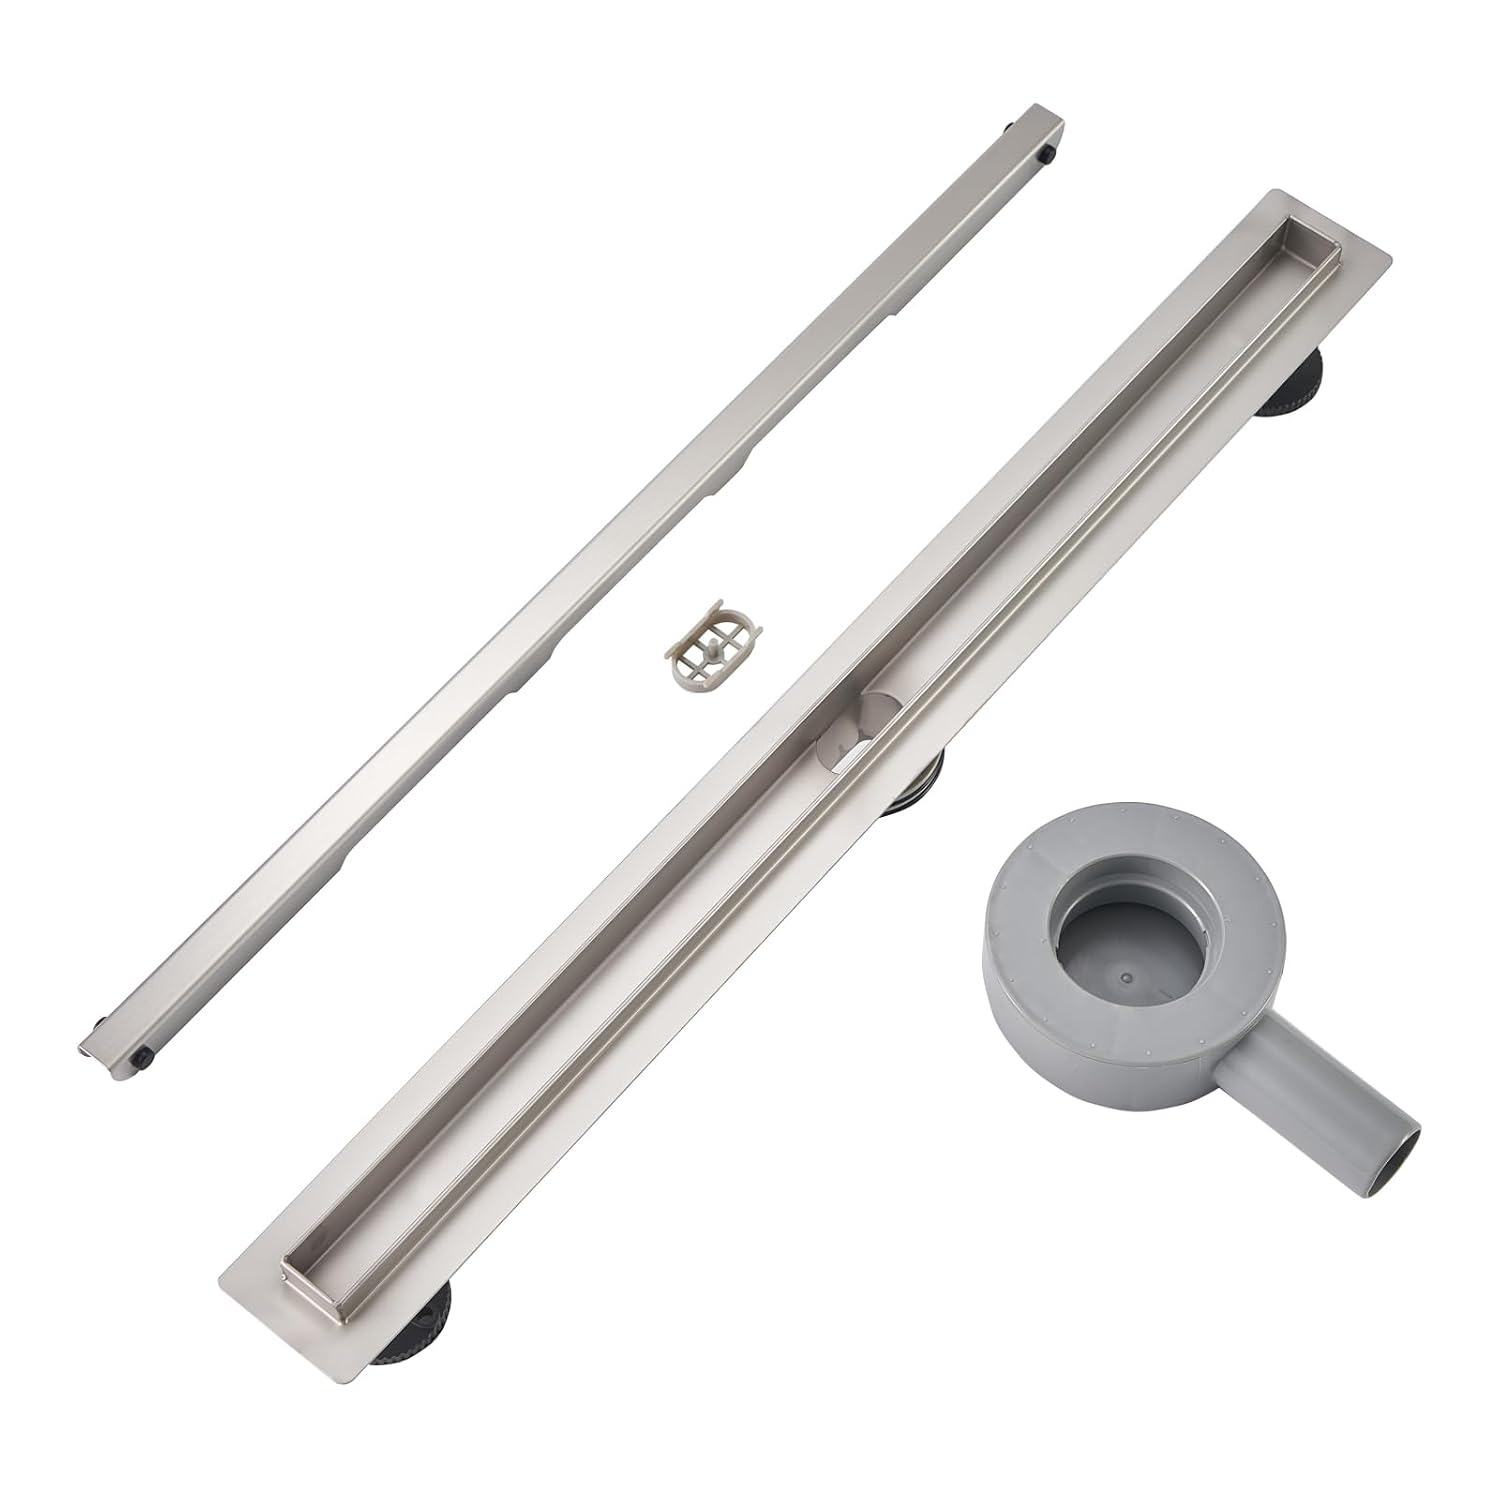
The visible part is a slim stainless steel frame with a cover plate sitting flush in the tile. Under it is a trough. Water enters the slot, runs along the trough, and leaves through an outlet connected to your waste pipe.
This 700mm model uses a V-shaped diversion groove inside the trough. The angled base pushes water towards the outlet rather than letting it spread out and sit in a shallow film. The quoted flow is up to 36 litres per minute, which is a meaningful figure if you have a rain head or a twin outlet setup. High-flow showers overwhelm slow drains, and that is when the floor starts pooling.
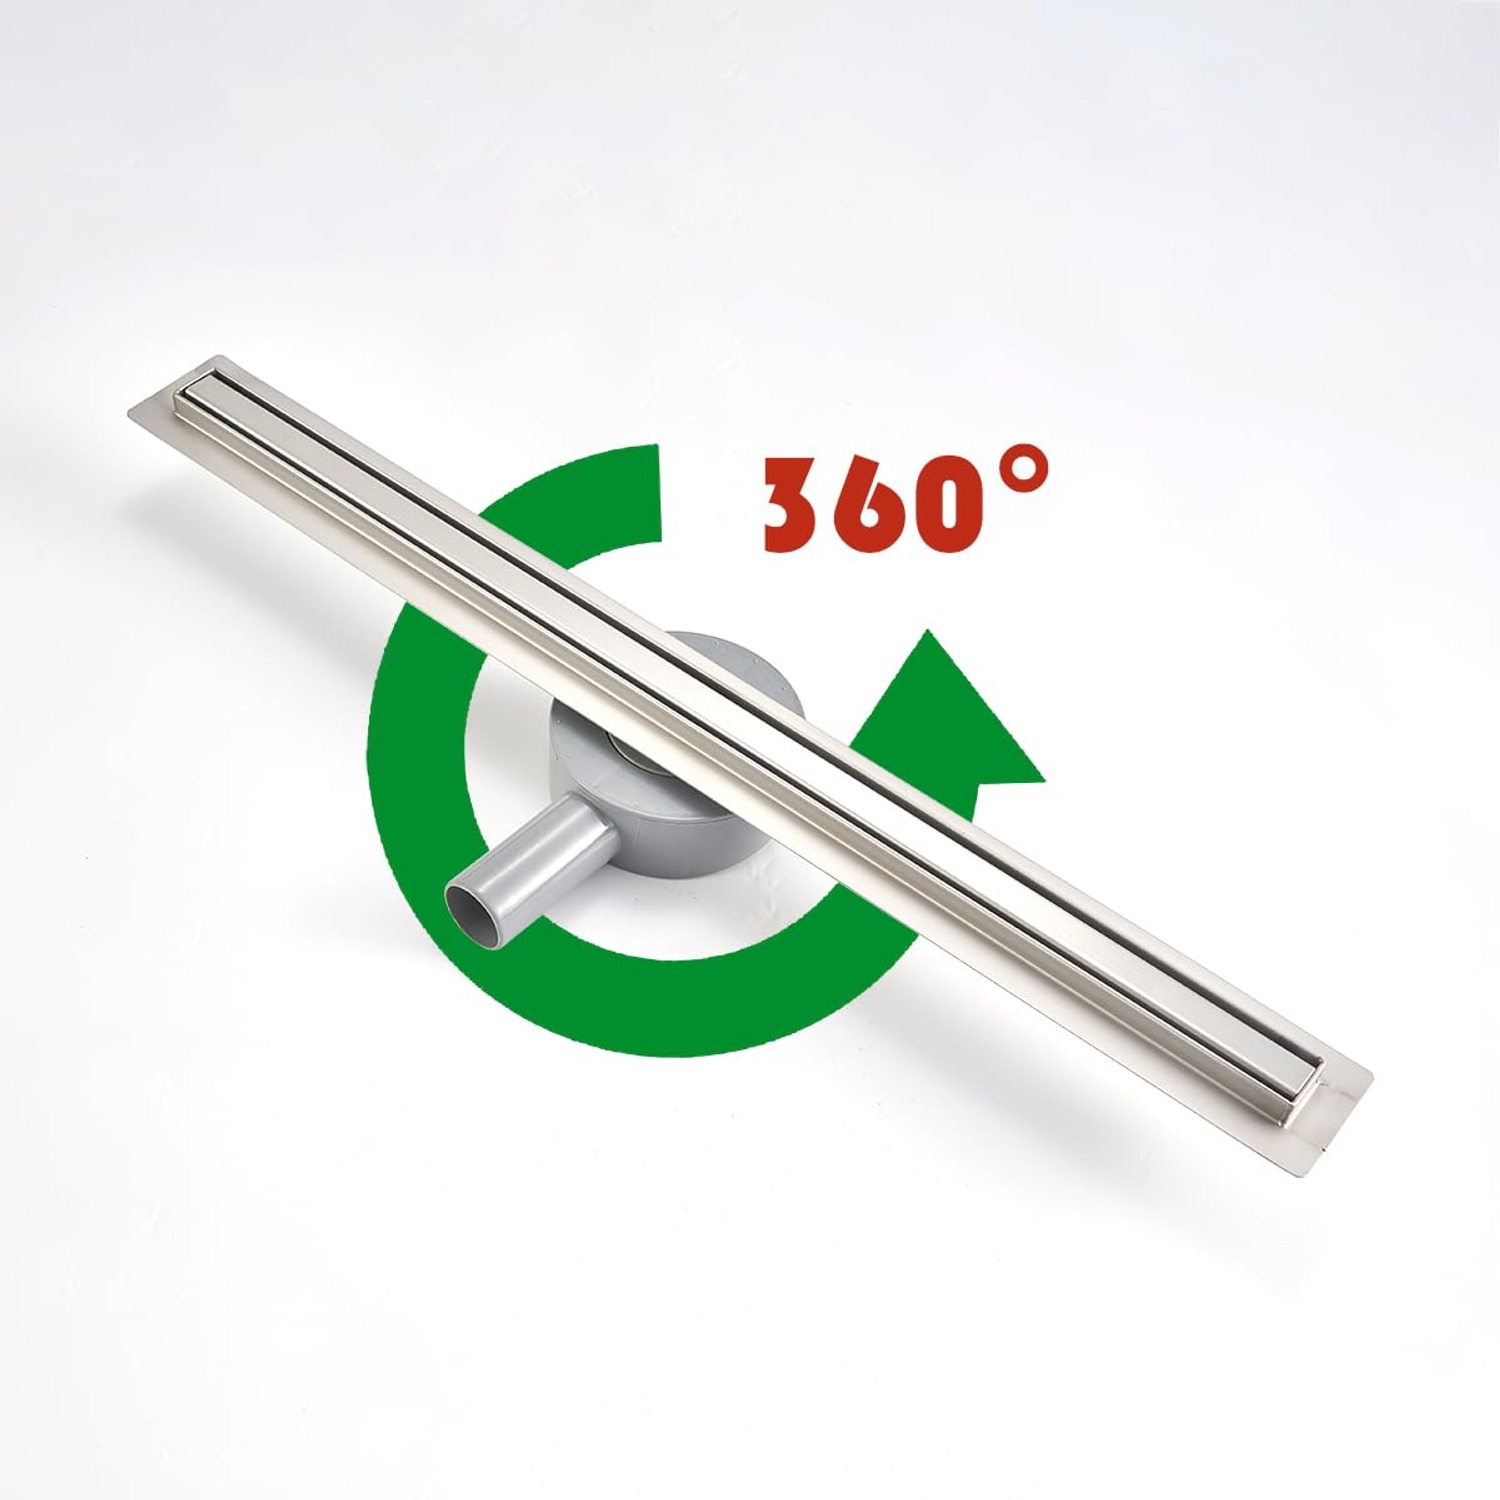
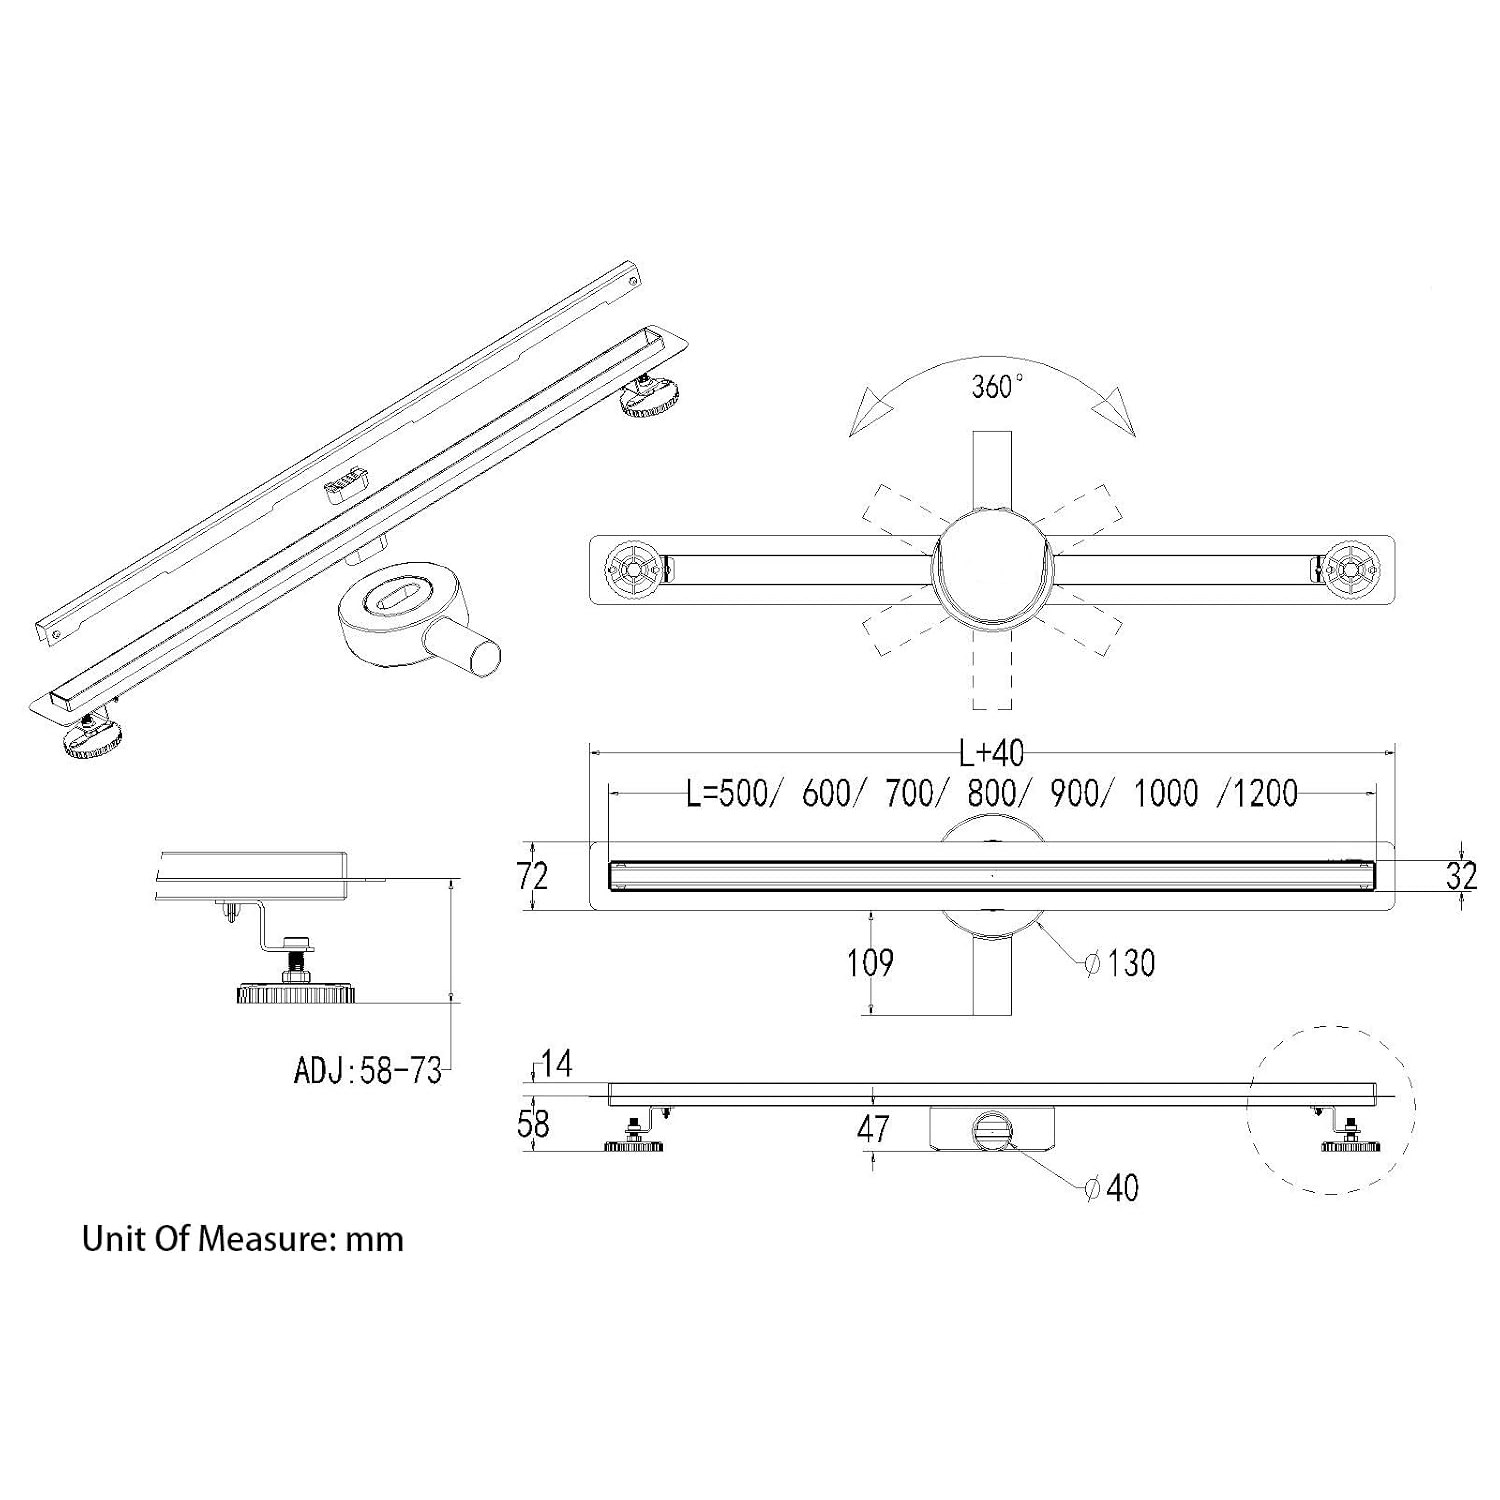
Below the trough sits the siphon, which is the trap. It holds a small amount of standing water that acts as a seal between your bathroom and the drain line. That seal is the only thing stopping sewer odour coming up into the room. This siphon also rotates a full 360 degrees, so the outlet can point in whichever direction suits your existing pipework. That single feature saves a lot of grief during retrofits, because the waste pipe is rarely where you would have chosen to put it.
Between the cover and the trap sits the sieve. It catches hair. In practice, hair is what kills shower drainage in most homes, and a strainer you can lift out by hand is worth far more than any chemical cleaner.
Who this suits
A 700mm channel is a good general size. It suits a standard walk-in shower, a wet room section of a family bathroom, or an ensuite where the shower sits against one wall. If you are looking for the best shower channel drain for a straightforward rectangular shower, this length usually covers it without looking oversized.
It suits people building or renovating, not people doing a cosmetic refresh. This is a drain that goes into the floor before the tiles go on. If your tiles are already down and you only want to swap a grate, a channel is not the right product.
It also suits anyone who wants a flatter floor. Level-access showers, curbless entries and wheelchair-friendly bathrooms all work better with a linear drain, because you are not fighting a four-way fall at the threshold.
Getting the sizing right
Three numbers matter before you buy anything.
The first is overall length. The listed product dimensions are 7.2cm deep by 74cm wide by 7.2cm high. The 74cm figure is the one that has to fit your opening, not the 700mm nominal size. Frames add width.
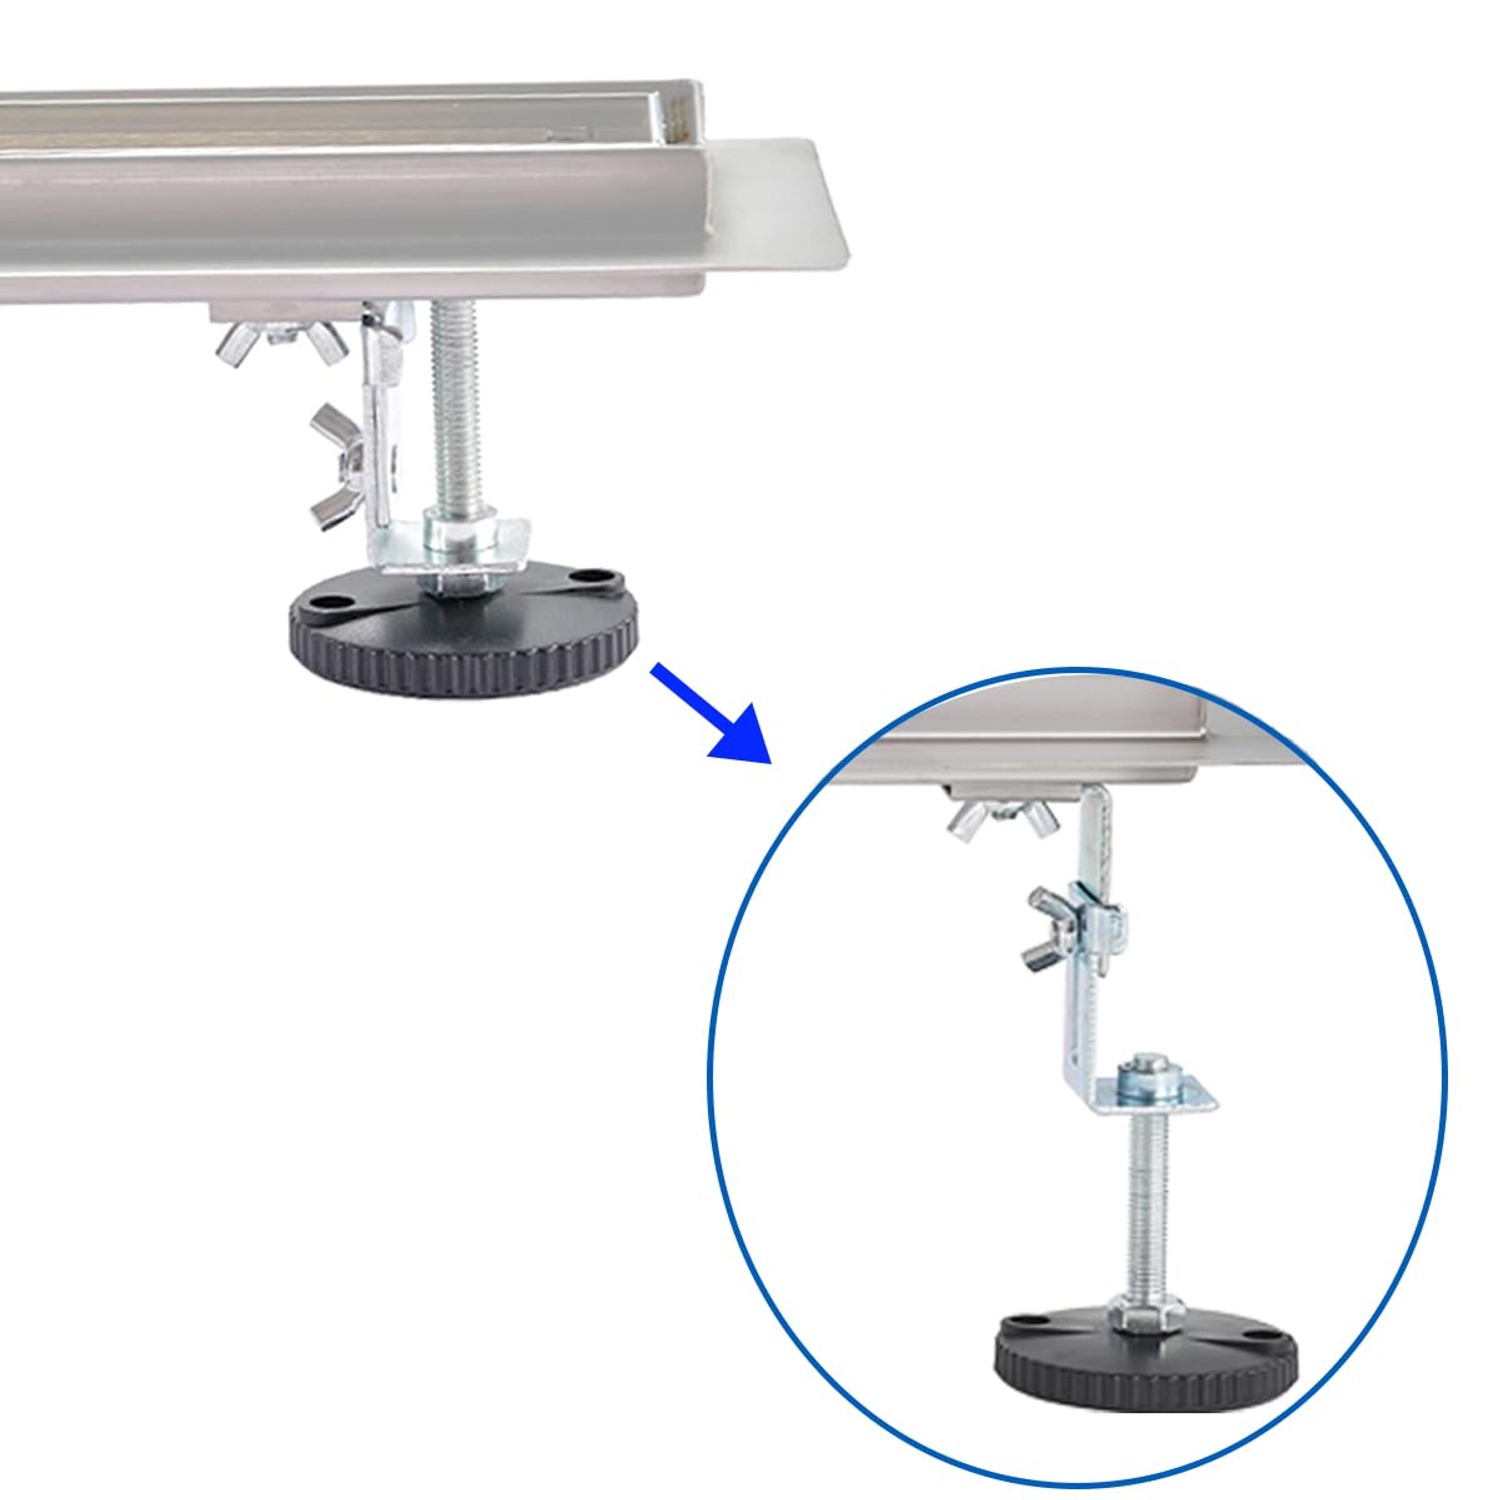
The second is available depth under the shower floor. The two-layer adjustable feet on this model set the mounting height between 77mm and 121mm. That is a useful range, but it is not unlimited. If you are working over a concrete slab with very little build-up, measure carefully and talk to your plumber before ordering.
The third is fall on the waste pipe. The drain can only move water as fast as the pipe takes it away. A long horizontal run with minimal fall will slow things down regardless of how good the channel is.
If you get those three right, the rest of the installation is routine for a competent fitter.
Installation notes worth knowing
Assembly is required, and the kit comes with everything the drain itself needs. You get the channel, two adjustable feet, a plastic adapter, the siphon, the sieve, a sealing mat, a lifting hook for the cover plate and an instruction sheet.
The sealing mat deserves attention. It is the piece that ties the drain into the waterproof membrane of the floor. Bond it properly and the drain becomes part of a continuous waterproof layer. Rush it, and you have created a leak path right where the water is heaviest. This is the single most common point of failure in wet room installs, and it has nothing to do with the quality of the drain.
Set the height before anything is screeded. The cover plate should finish dead level with the surrounding tile, or a hair below it. Sitting proud is a trip hazard and looks wrong. Sitting too low creates a lip that holds water and collects grime.
Protect the drain during the rest of the build. Tape over the opening so grout, tile adhesive and offcuts cannot fall in. Setting adhesive inside a trap is an irritating thing to deal with later.
Living with it
Cleaning is simple and should be a habit, not a crisis response.
Use the supplied hook to lift the cover plate out. Pull the sieve up and tip the hair into the bin. Rinse the sieve under the tap. Every month or two, take the siphon insert out as well and rinse it properly, because soap scum builds up on the trap walls over time and starts to smell faintly even when the water seal is doing its job.
Wipe the steel with warm soapy water and a soft cloth, then dry it. Stainless steel in a shower shows water marks more than it shows dirt. Drying is what keeps it looking sharp.
Skip the bleach and the strong chemical drain cleaners. They can dull the finish and attack plastic trap components. If the drain genuinely blocks, clearing the sieve and trap by hand solves it most of the time.
One more thing. If a shower sits unused for weeks, say in a holiday house or a spare bathroom, the water in the trap can evaporate and let odour through. Running the shower for a minute refills the seal.
Finish and looks
This model is chrome with a glossy finish, which pairs naturally with chrome and polished tapware. A solid cover plate gives a quieter, more deliberate look than a slotted grate, and it hides the inside of the channel from view.
If your bathroom uses black or brushed fittings, a glossy chrome drain will read as a contrast rather than a match. Some people like that. Others would rather the drain disappear. Worth thinking about before you commit, since changing it later means lifting tiles.
The short version
A linear channel simplifies the floor. One fall, whole tiles, water that leaves quickly.
This 700mm stainless steel model covers the practical bases. The V-shaped groove moves water at up to 36 litres per minute. The 360 degree rotating siphon blocks odours and lets you point the outlet at your existing pipe. The adjustable feet handle floor depths from 77mm to 121mm. The cover, sieve and trap all lift out for cleaning, which is the part you will appreciate most two years in.
Check three numbers before you buy, the 74cm overall width, your available floor depth, and the fall on your waste pipe. Get the waterproofing done properly. After that, it is a drain you mostly stop thinking about, which is exactly what you want from one.