
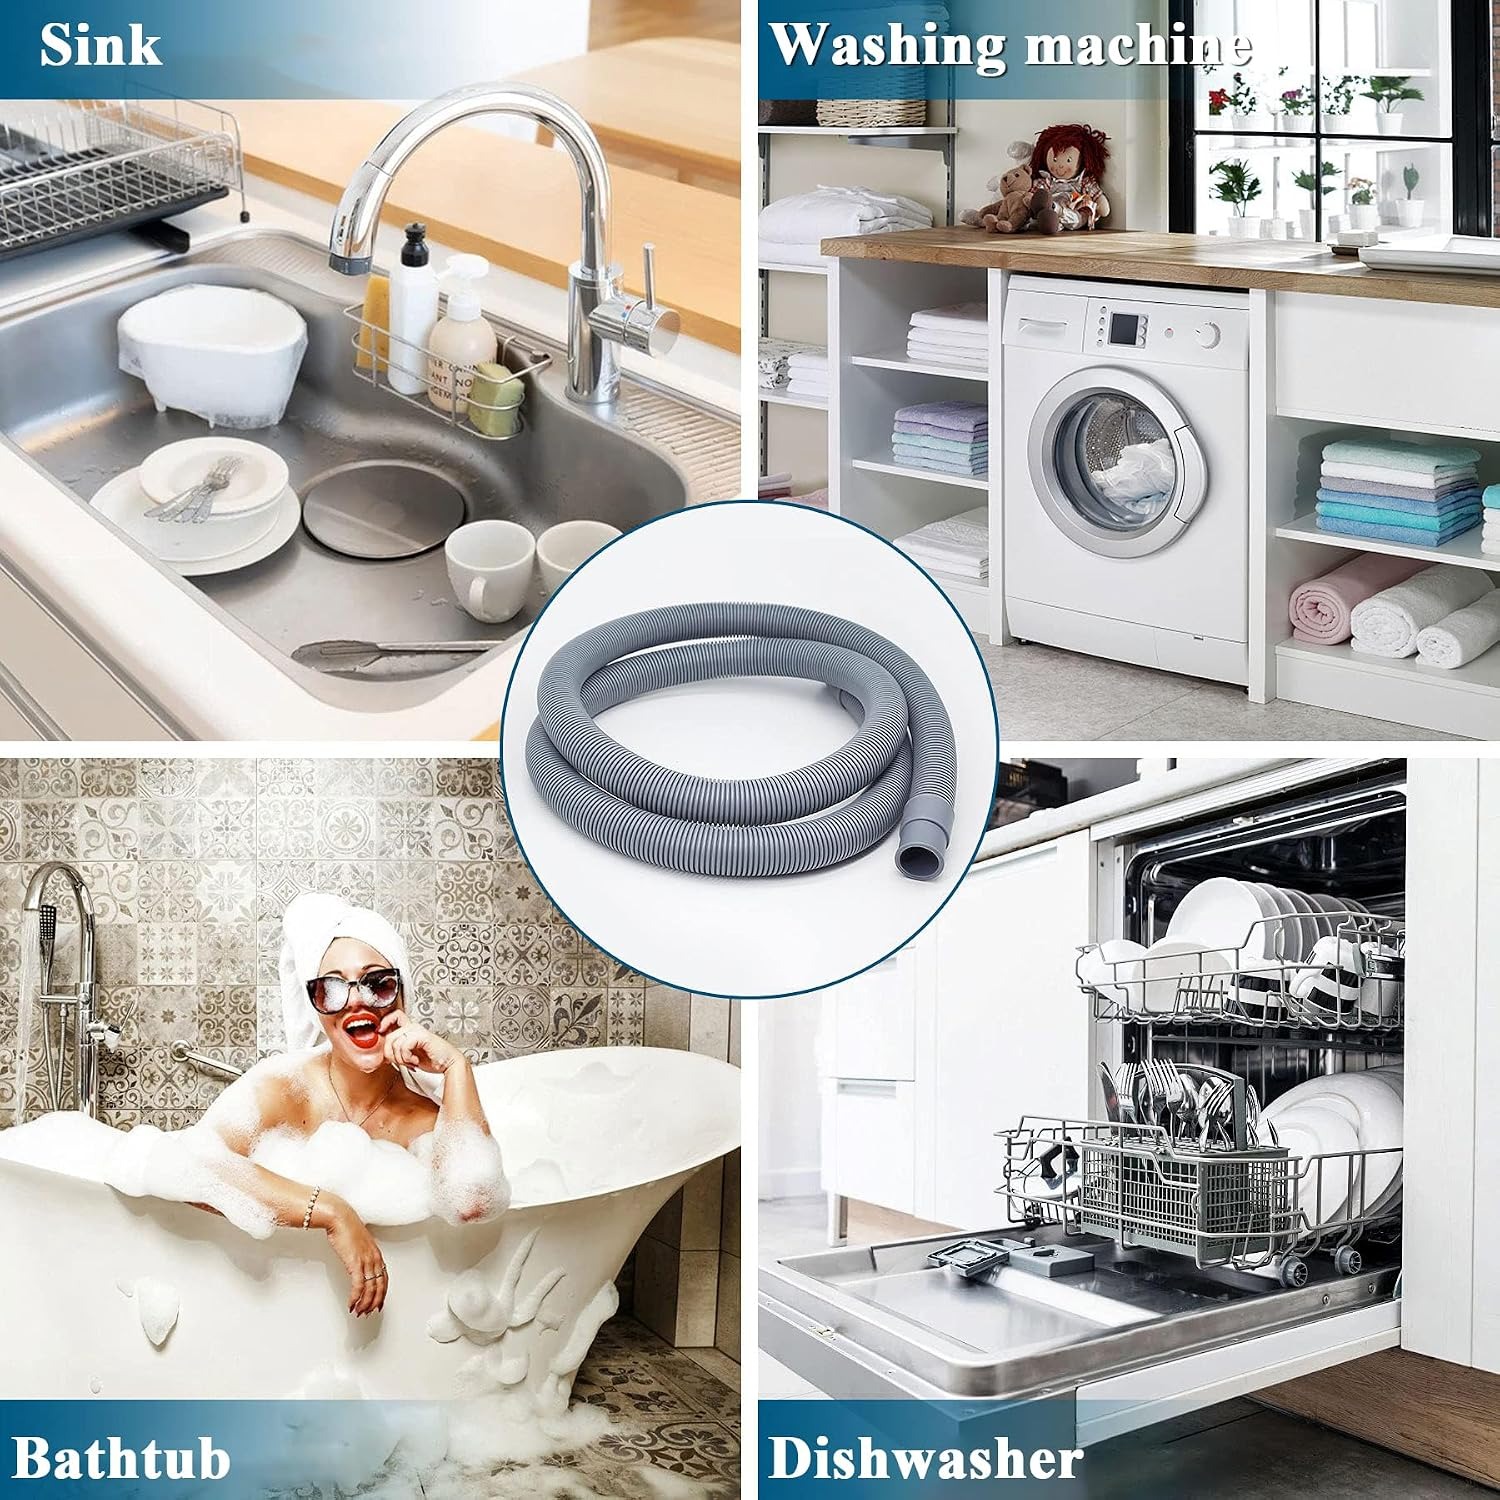
The complete guide
How to Extend a Washing Machine or Dishwasher Drain Hose Without Leaks
The problem nobody mentions until the machine is already in the kitchen
Appliances come with a drain hose that is just long enough for an imaginary kitchen. In real homes the standpipe is behind a cupboard, or on the opposite side of the alcove, or the new worktop pushed everything 40 centimetres to the left. You get the machine into place, reach round the back with the hose, and it stops short by a frustrating amount.
The temptation is to shove the machine closer and bend the hose to make it work. That is the start of most drainage problems. A hose folded against a wall restricts the flow, the pump labours, and eventually the machine throws a drain error halfway through a cycle. Or worse, the hose pops off the standpipe during a spin and empties the drum onto the floor.
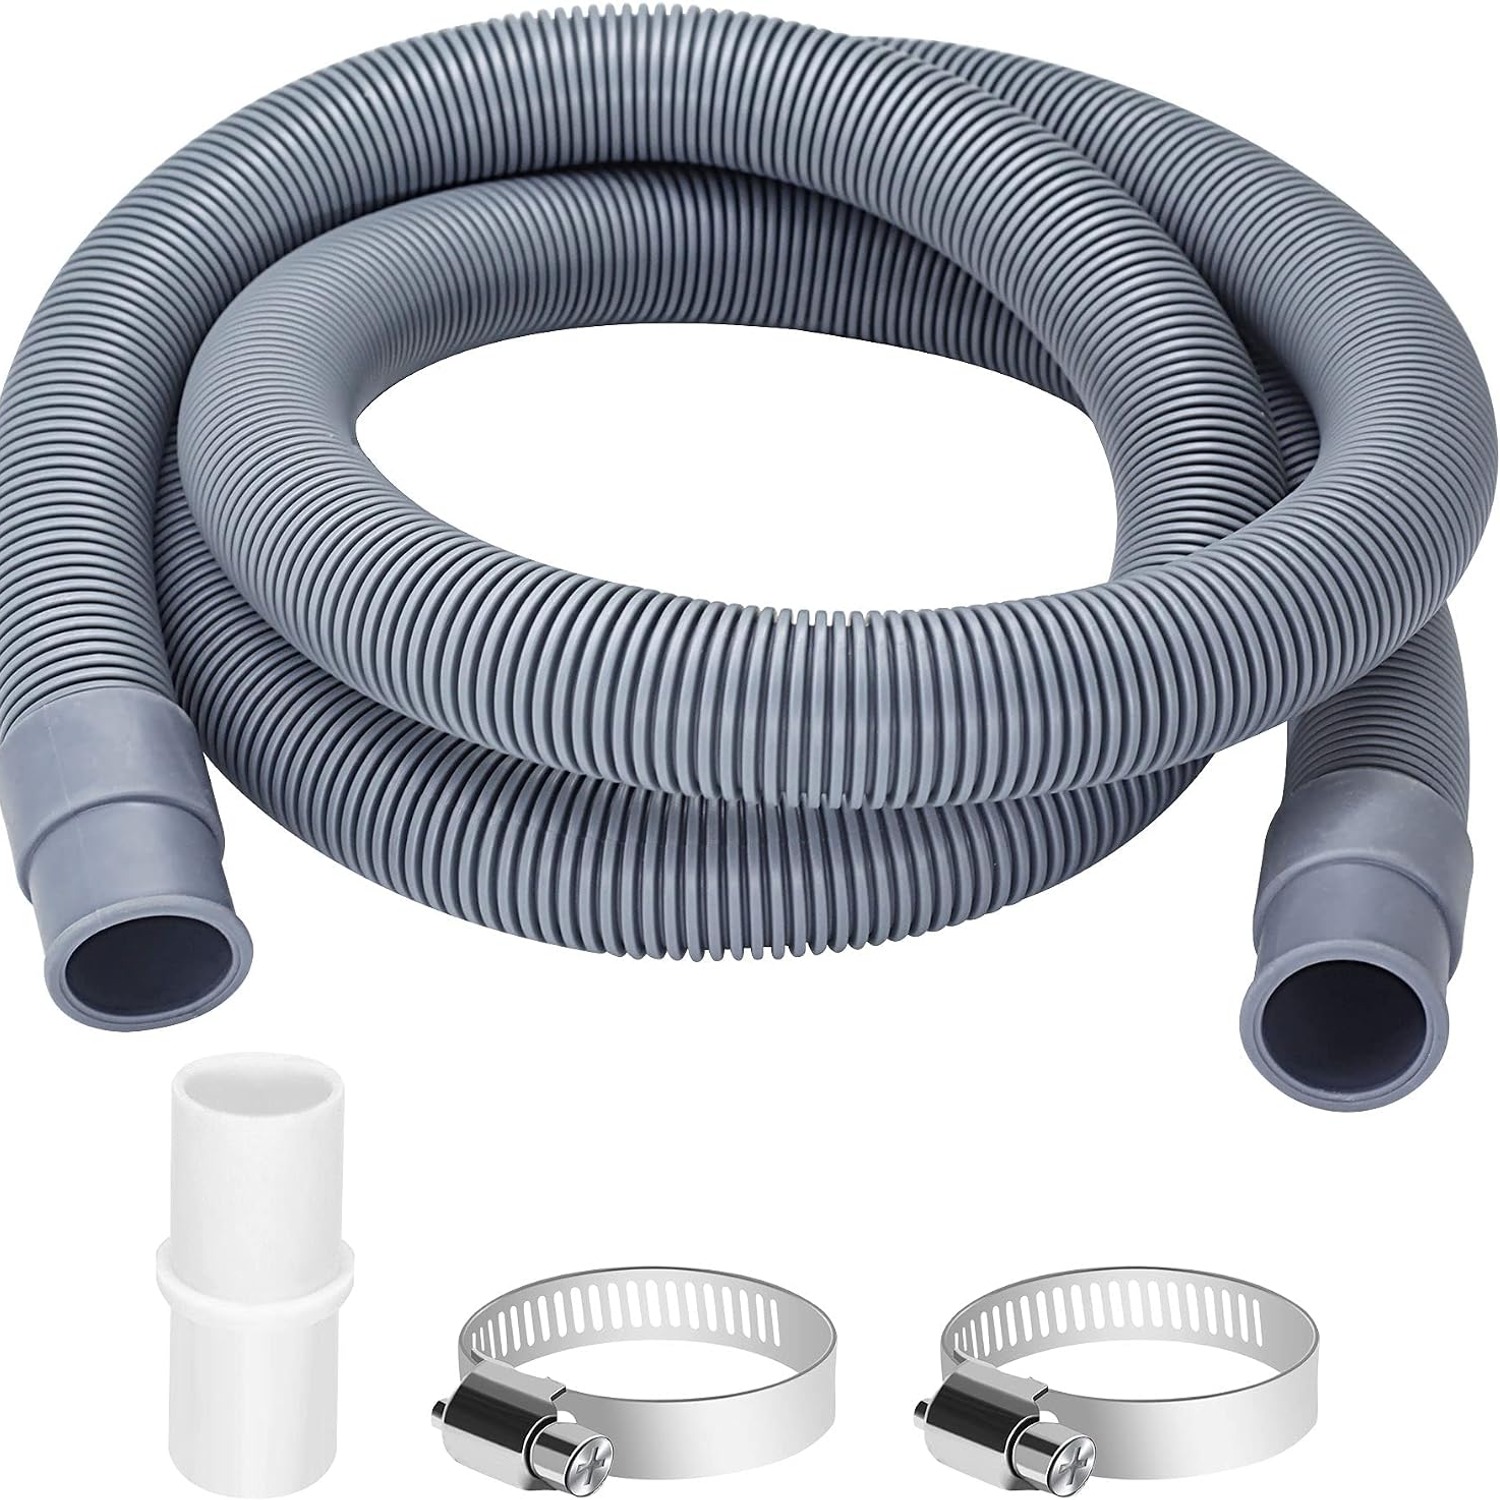
Extending the hose properly costs very little and takes less time than mopping up. A 1 metre extension with a connector and two clamps gives the hose somewhere to go, lets the appliance sit flat against the wall with a gentle loop behind it, and keeps the water moving the way the pump expects.
How a drain hose extension actually works
The principle is simple. Your appliance already has a drain hose attached at the pump end. That hose has an open end, which normally hooks into a standpipe or a sink trap spigot. An extension kit adds length to that open end rather than replacing the whole thing.
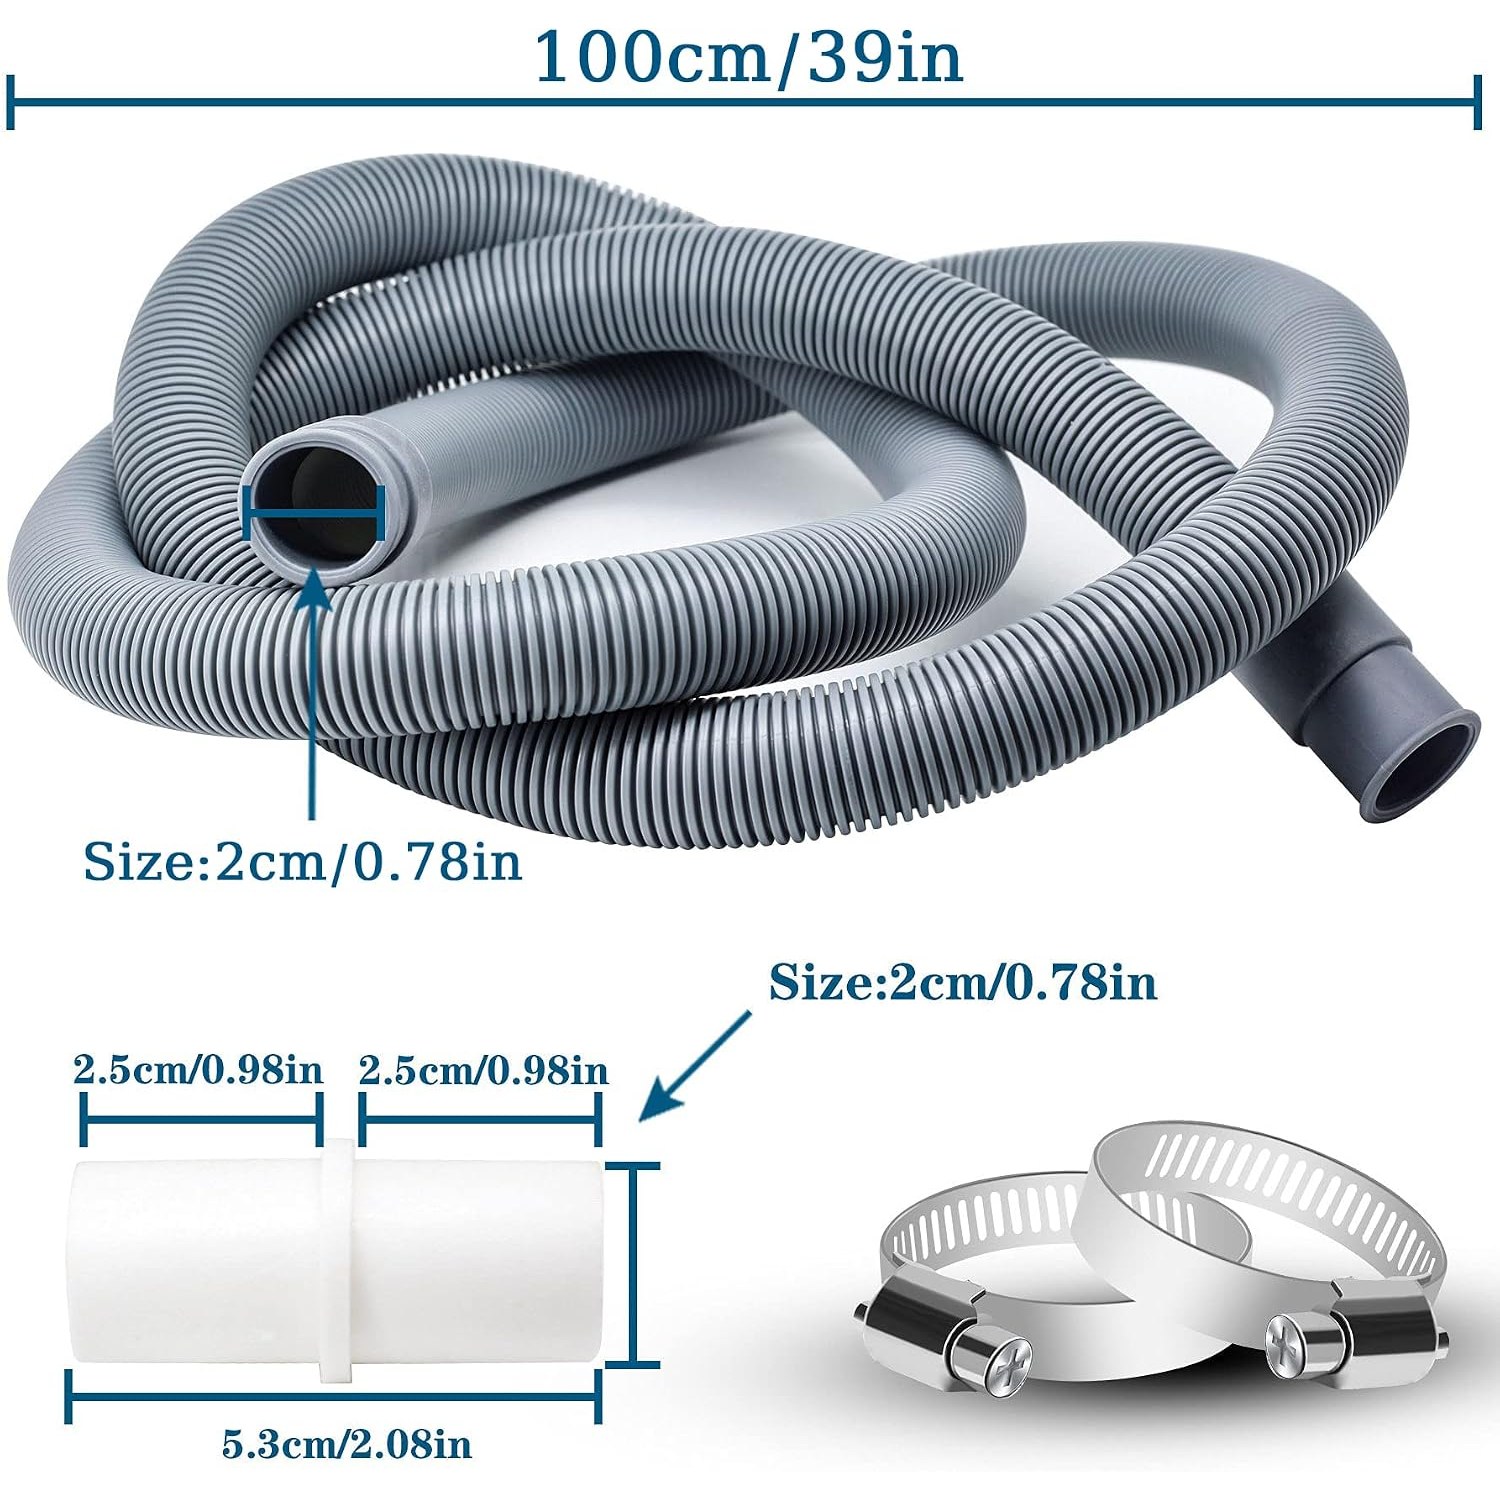
The connector, sometimes called an extension adapter, is a short ribbed plastic tube with a ridge in the middle. One half pushes into the open end of your existing hose. The other half pushes into the end of the new hose. The ridge stops you pushing it in too far on either side, so both lengths seat evenly.
Then come the clamps. A stainless steel clamp slides over each joint and tightens down, squeezing the hose wall onto the ribs of the adapter. That is what stops the join creeping apart under pressure. Drain pumps do not push water out gently. During the final spin the water comes out in surges, and an unclamped push-fit joint will work itself loose over a few months.
The whole thing stays reversible. Loosen the clamps, pull the adapter out, and you are back to the original hose. That matters if you rent, or if the next kitchen layout puts the machine somewhere else.
Who this kit suits
It suits anyone whose factory hose is short by a metre or less. That covers most kitchen reshuffles, a lot of flat conversions, and almost every case where a machine is moved from a utility room into a kitchen run.
It also suits people doing a repair. If the last 20 centimetres of your hose have split or perished where they sit over the standpipe, cutting off the damaged section and joining a fresh metre on is cheaper and quicker than sourcing a full replacement hose for your model.
It is less suited to very long runs. If you need three or four metres of extra reach, you are better off with a single long hose than several joined sections, because every joint is a potential leak point and the extra length makes the pump work harder. Check your appliance manual, since most state a maximum drain hose length and a maximum height for the hose end.
Choosing the right extension
Three things decide whether an extension fits and lasts.
Diameter. Domestic appliance drain hoses are near enough standardised, but not perfectly. Take a tape measure to the open end of your existing hose and note the inside diameter. The common size is around 20 mm internally. If yours is noticeably different, you will need a stepped adapter instead.
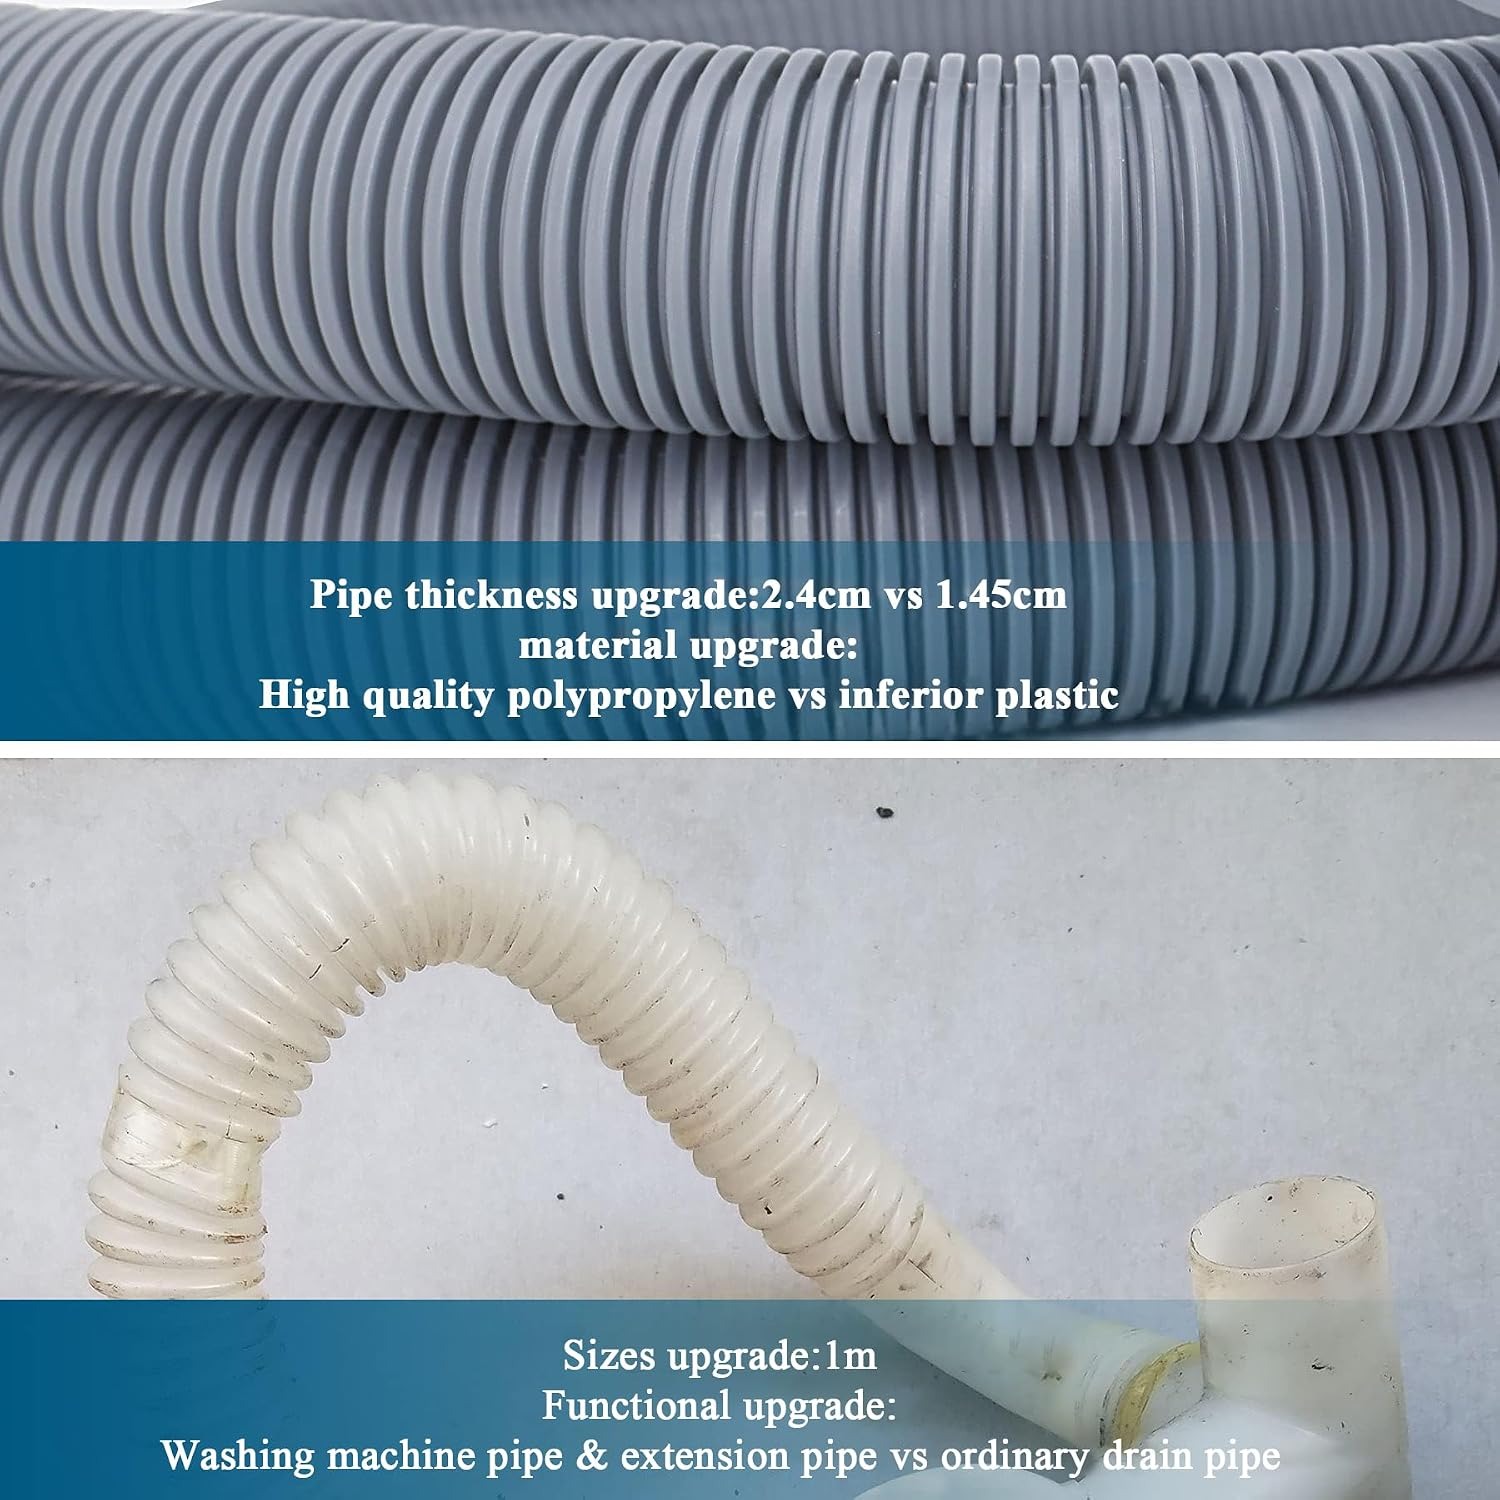
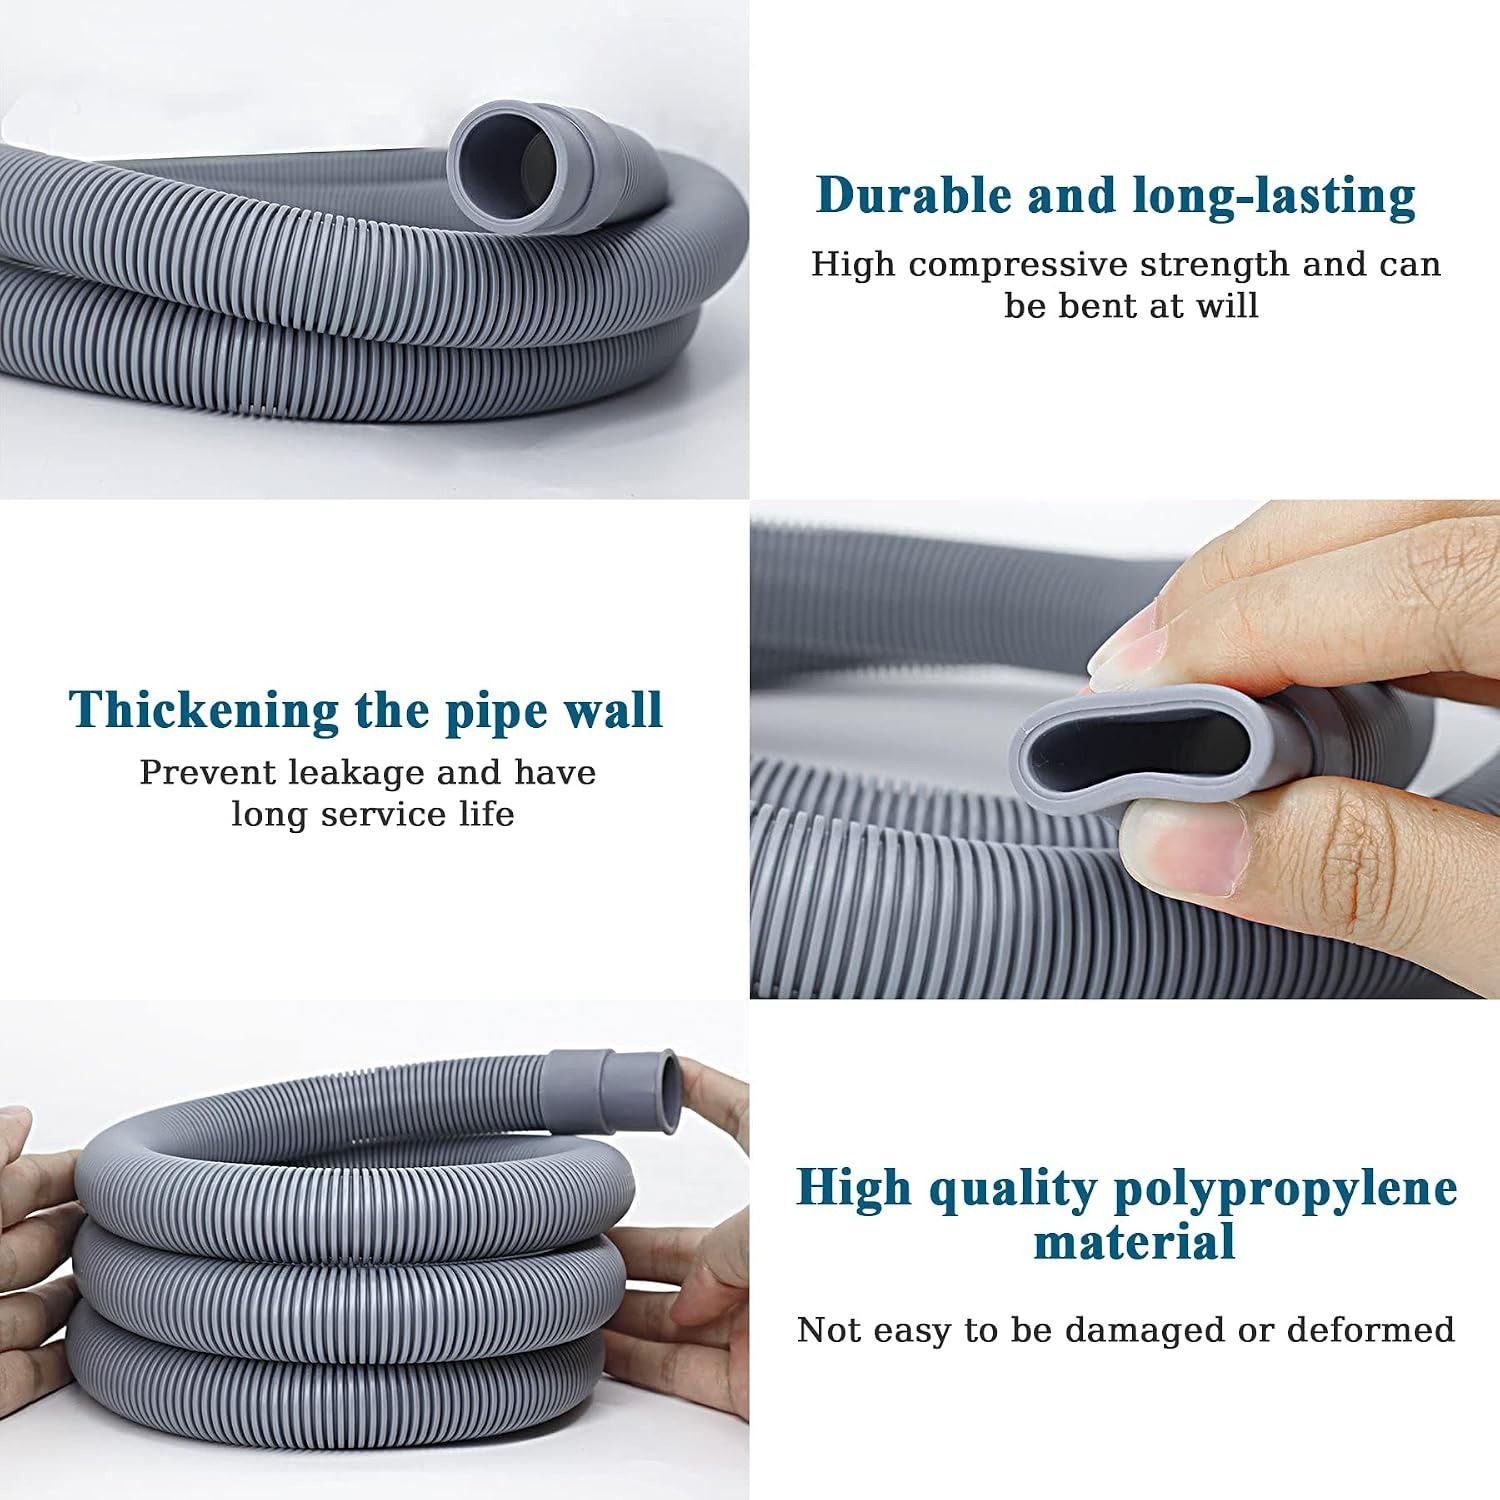
Wall thickness. A cheap thin-wall hose feels light and flexible, which sounds good until it is squashed behind a machine. A thicker wall holds its round shape and springs back. This is the single biggest difference between a hose that drains properly for years and one that starts causing errors after a winter.
Clamp material. The gap behind an appliance is warm and humid, and the floor there gets damp. Plain steel clips rust, lose tension and seize solid so you cannot re-tighten them. Stainless steel stays workable. The best drain hose connector in the world is only as good as the clamp holding it on.
Material matters too. Polypropylene is the usual choice because it tolerates hot water and detergent without going brittle, which is exactly what a waste hose has to deal with several times a week.
Fitting it properly
Switch the appliance off at the socket and turn off the water supply before you start. Pull the machine out far enough to work comfortably behind it, and put a towel down, because there is always a little water left in the hose.
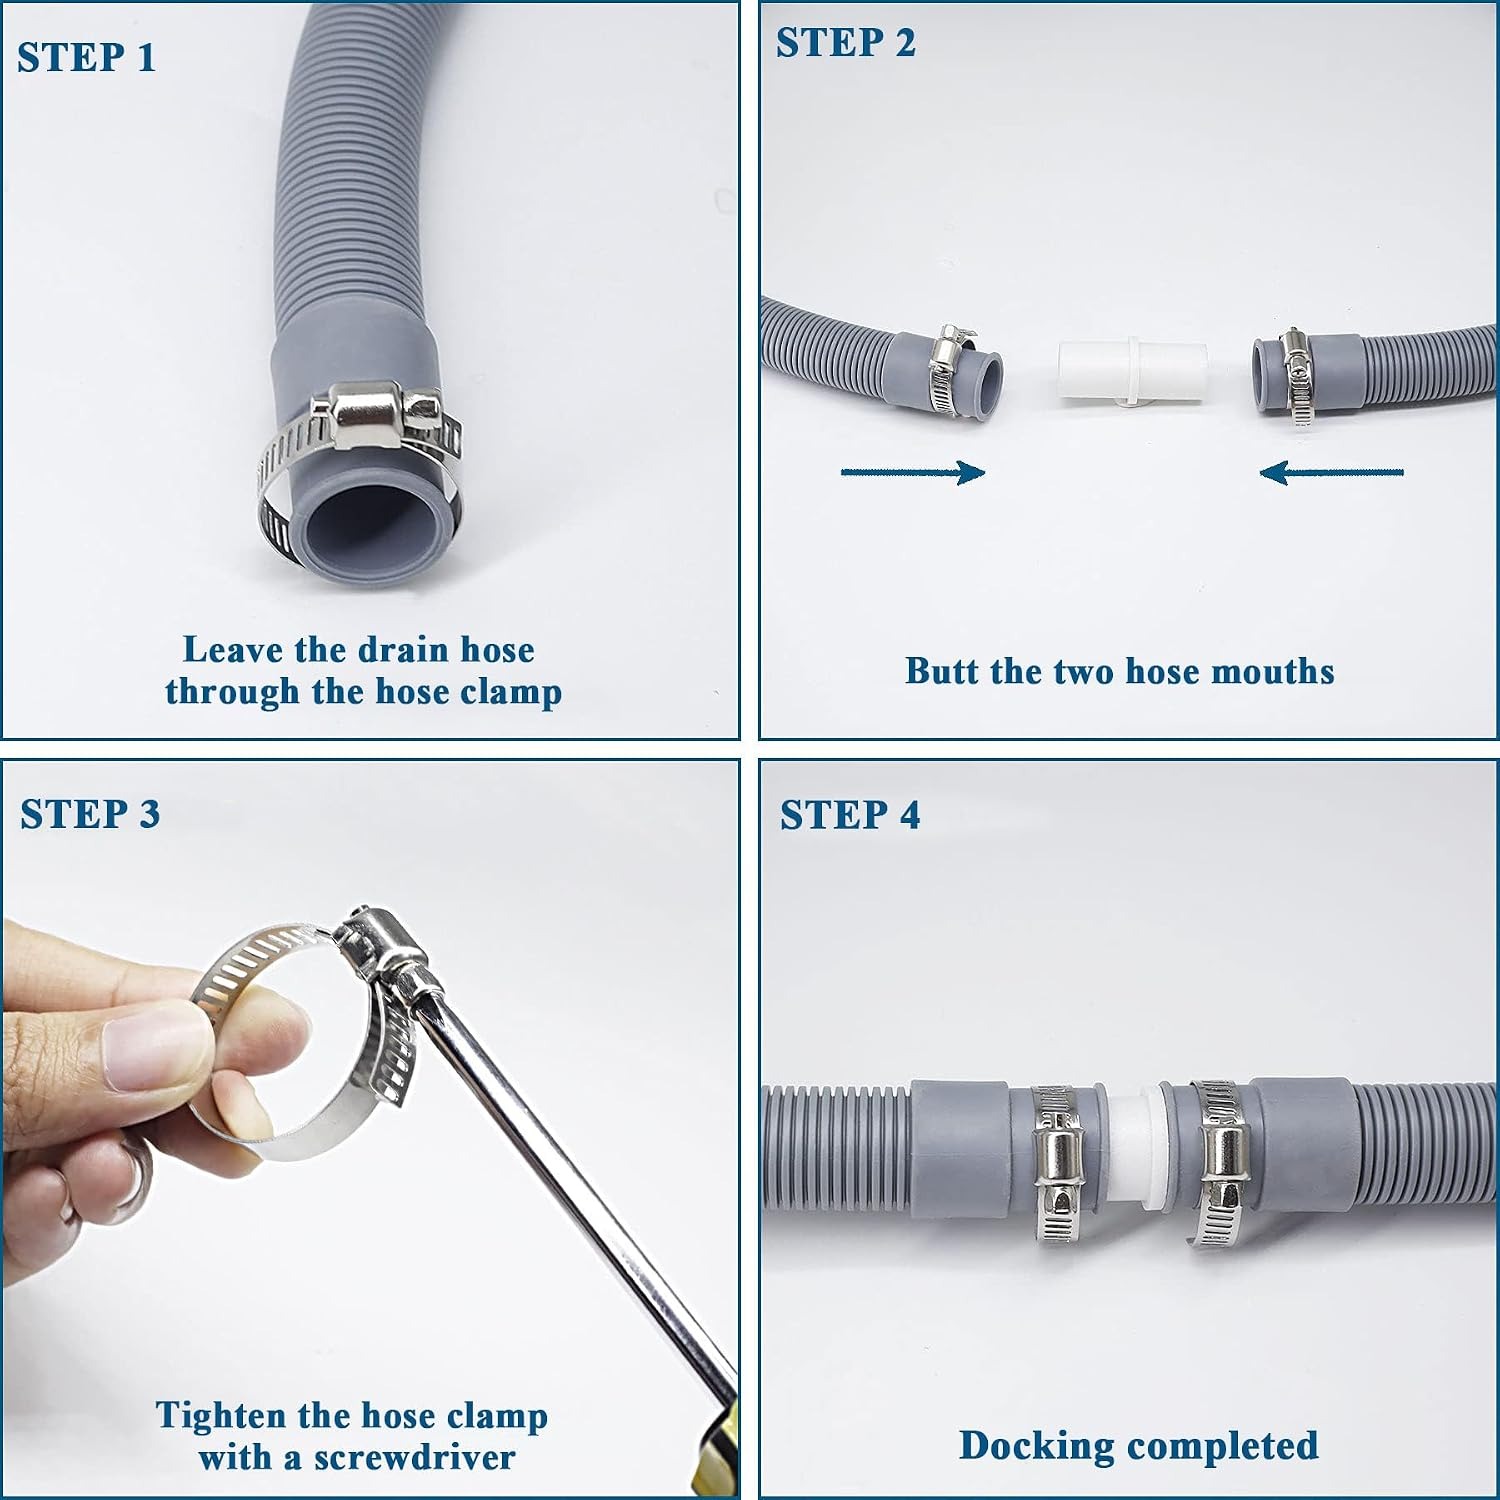
Unhook the existing hose from the standpipe and let it drain into a bowl. Push the adapter firmly into the open end until it stops at the central ridge. Push the new hose onto the other side of the adapter the same way. If the plastic is stiff, a quick dip of the hose end in hot water softens it enough to slide on easily.
Slide a clamp over each joint so it sits over the ribbed section of the adapter, then tighten. Firm is the aim, not crushed. If the hose wall is visibly deformed you have gone too far.
Now route the hose. Leave a loose loop behind the machine rather than a tight fold, and make sure the hose rises to the correct height before entering the standpipe. Your manual will give a figure, commonly somewhere between 60 and 90 cm from the floor. If the hose end sits too low, waste water can siphon straight back out of the machine as fast as it fills.
Push the machine back slowly and watch the hose as you go, so you can see if it is getting trapped. Then run a short rinse cycle and check both joints while the pump is working. That is the moment a loose clamp will show itself, while you can still reach it.
Keeping it working
Drain hoses need very little attention, but a little is not none.
Flush the hose with clean water once or twice a year, especially if you wash a lot of towels or pet bedding. Lint and detergent residue build a film inside that narrows the bore over time. A soft bottle brush shifts anything stubborn near the ends.
Re-check the clamps whenever you pull the machine out for any reason. Vibration is relentless, and a clamp that was perfect in March can be a quarter turn loose by autumn. Thirty seconds with a screwdriver is all it takes.
Watch for the signs of a restricted hose. Slower draining, water left in the drum at the end of a cycle, or a drain error code usually mean a kink, a blockage or a hose sitting too high. Check the easy things before assuming the pump has failed.
If you ever disconnect the hose for storage, dry it out and coil it loosely. Folding a plastic hose and leaving it folded creates a permanent crease that will restrict flow when you come to use it again.
The short version
A short drain hose is a small problem that causes big messes. A 1 metre extension kit with a push-fit connector and two stainless steel clamps fixes it in under ten minutes, with no cutting and no tools beyond maybe a screwdriver.
Measure your outlet before ordering. Choose a thick-wall polypropylene hose and stainless clamps. Push both joints fully home, clamp them firmly, keep the run free of tight bends, and set the hose end at the height your manual specifies.
Do that, and the only time you will think about the hose again is the next time you move the machine.