
The complete guide
Choosing a 600mm Linear Shower Drain, A Practical Buyer's Guide
The problem with old-style shower floors
Most people only think about a shower drain when something goes wrong. Water pools in a corner. The grout around the centre waste stays permanently grey. Large tiles crack because they were forced to sit in a four-way dish they were never designed for. Or the shower just empties too slowly, and you stand there watching the last puddle creep away.
Almost all of that traces back to the same thing. A traditional centre waste needs the floor to fall towards a single point from every direction. That is four separate planes meeting at a small square. It is fiddly to screed, hard to tile neatly, and it gets worse the bigger your tiles are.
A linear drain solves it by changing the shape of the problem. You put a long channel at one edge, fall the whole floor one way towards it, and tile across a single flat plane. One direction, one slope, far fewer compromises.
How this drain works
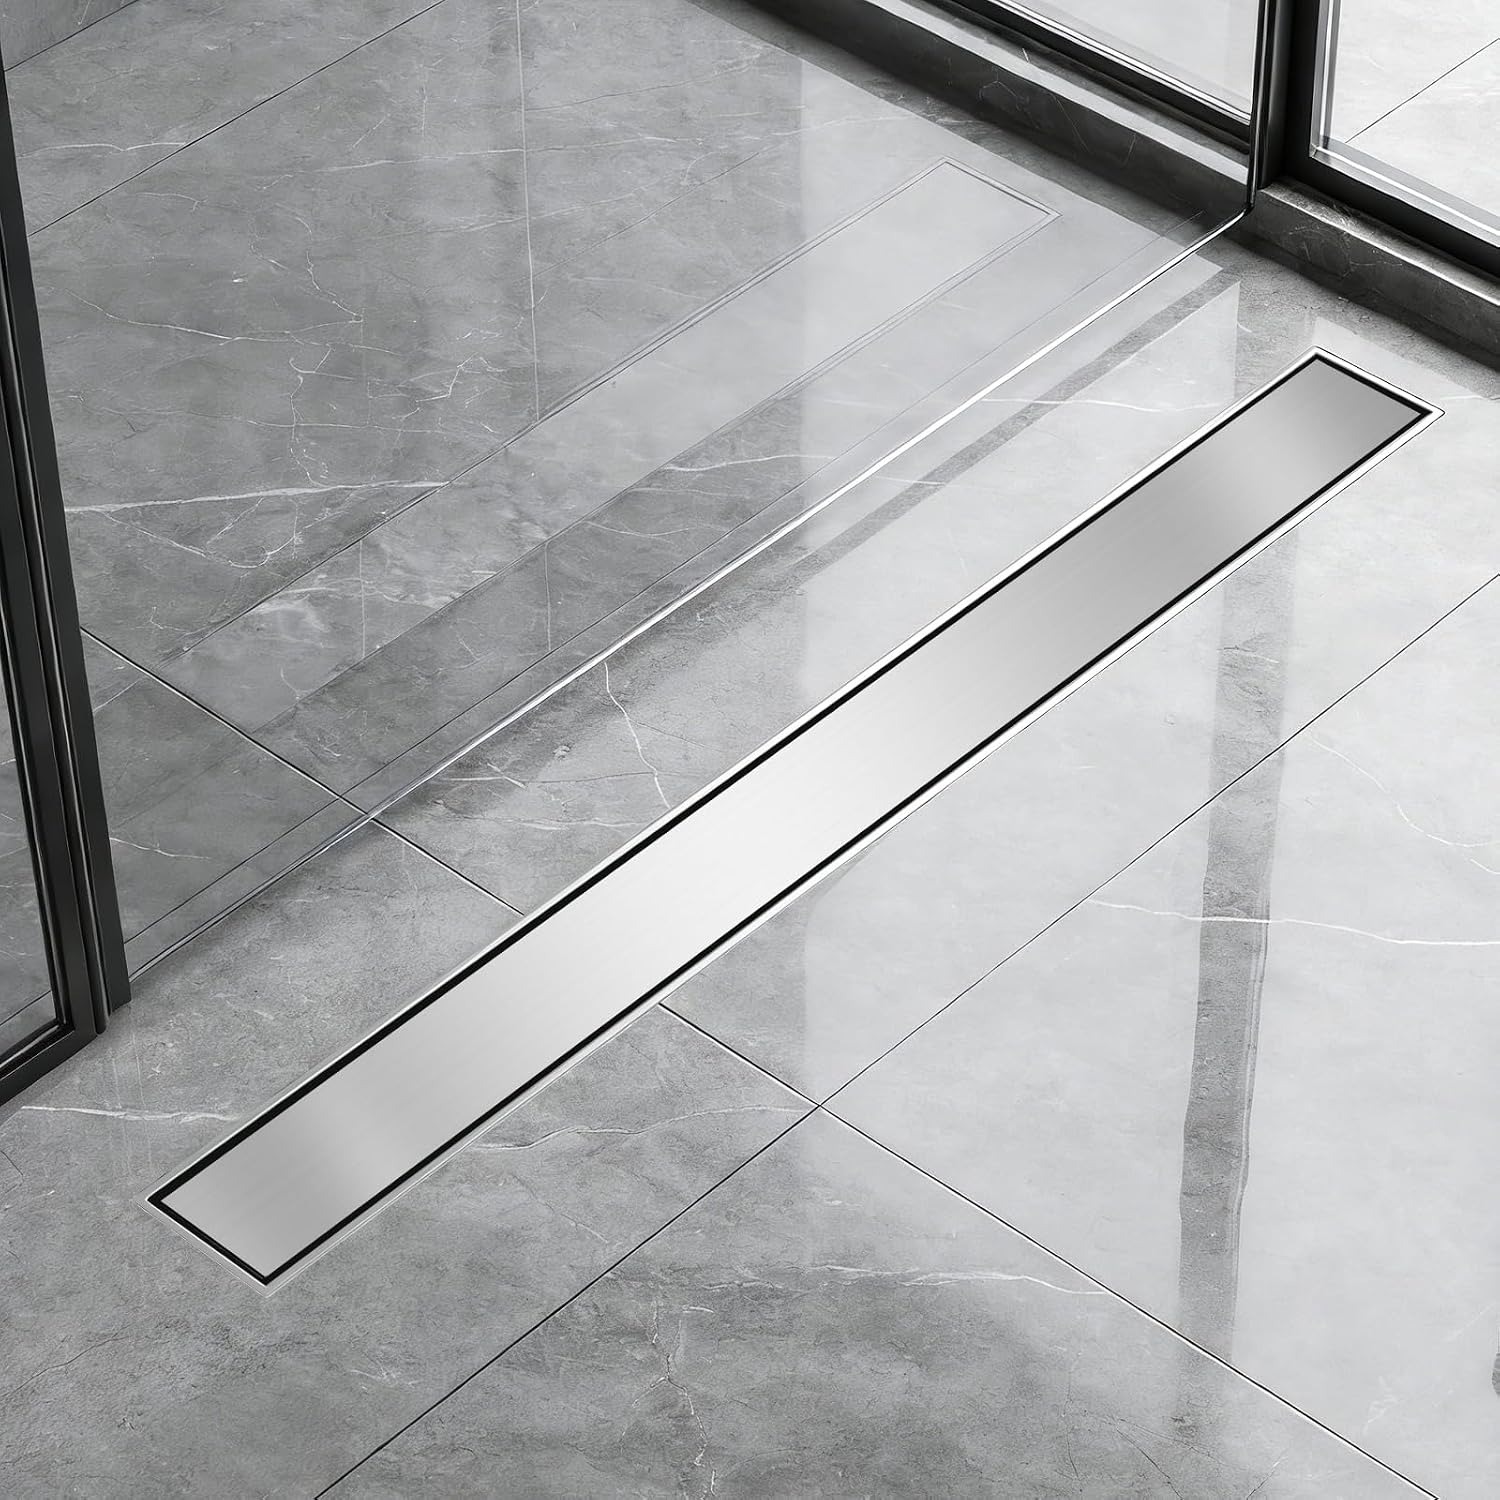
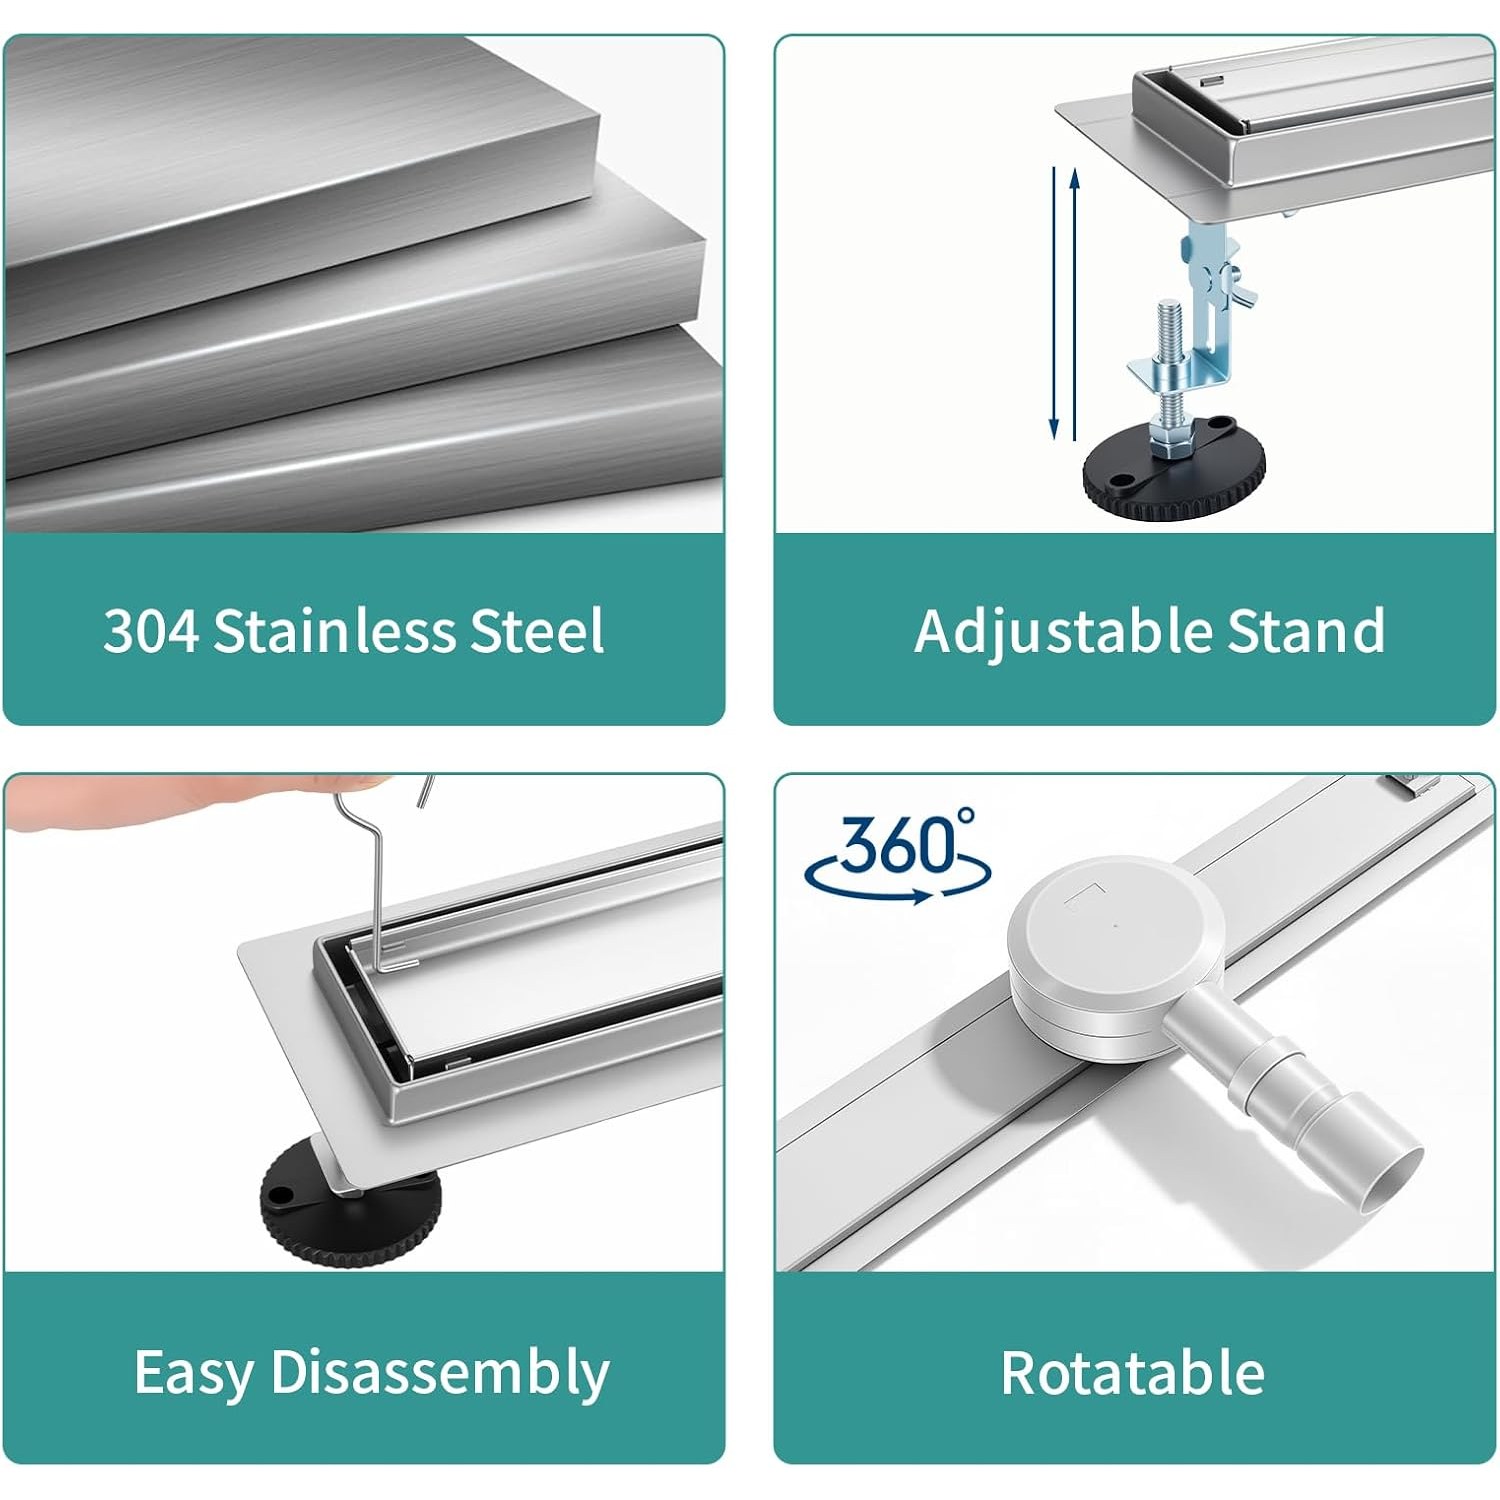
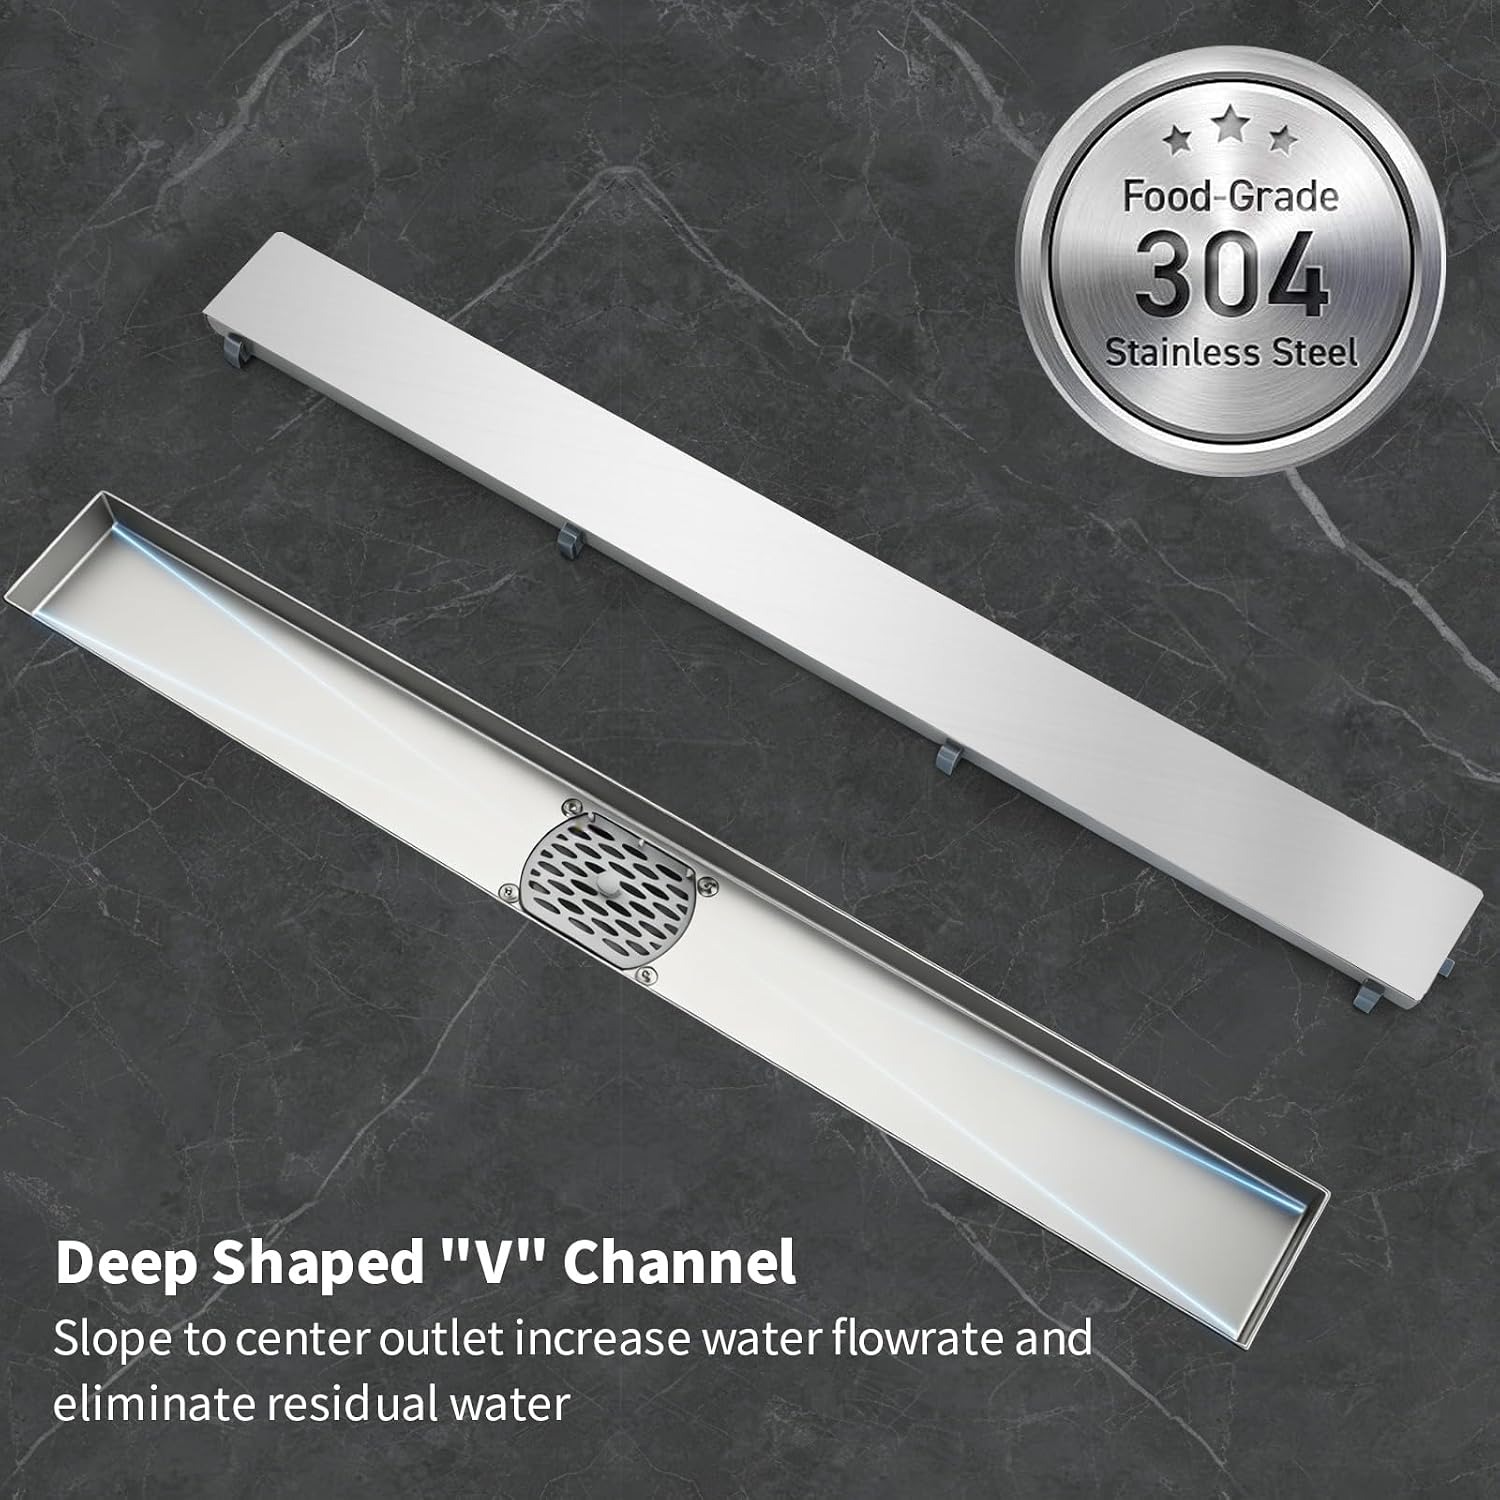
The RONVIE unit is a 600mm channel in 304 stainless steel, 7 cm tall, with a brushed finish. Water enters along the full length of the grate and lands in a trough with a deep V-slope base. That slope is the detail worth understanding. A flat-bottomed channel lets water spread out and sit, which looks fine in a photo but behaves poorly under a modern rainfall head. A sloped base keeps the water moving towards the outlet.
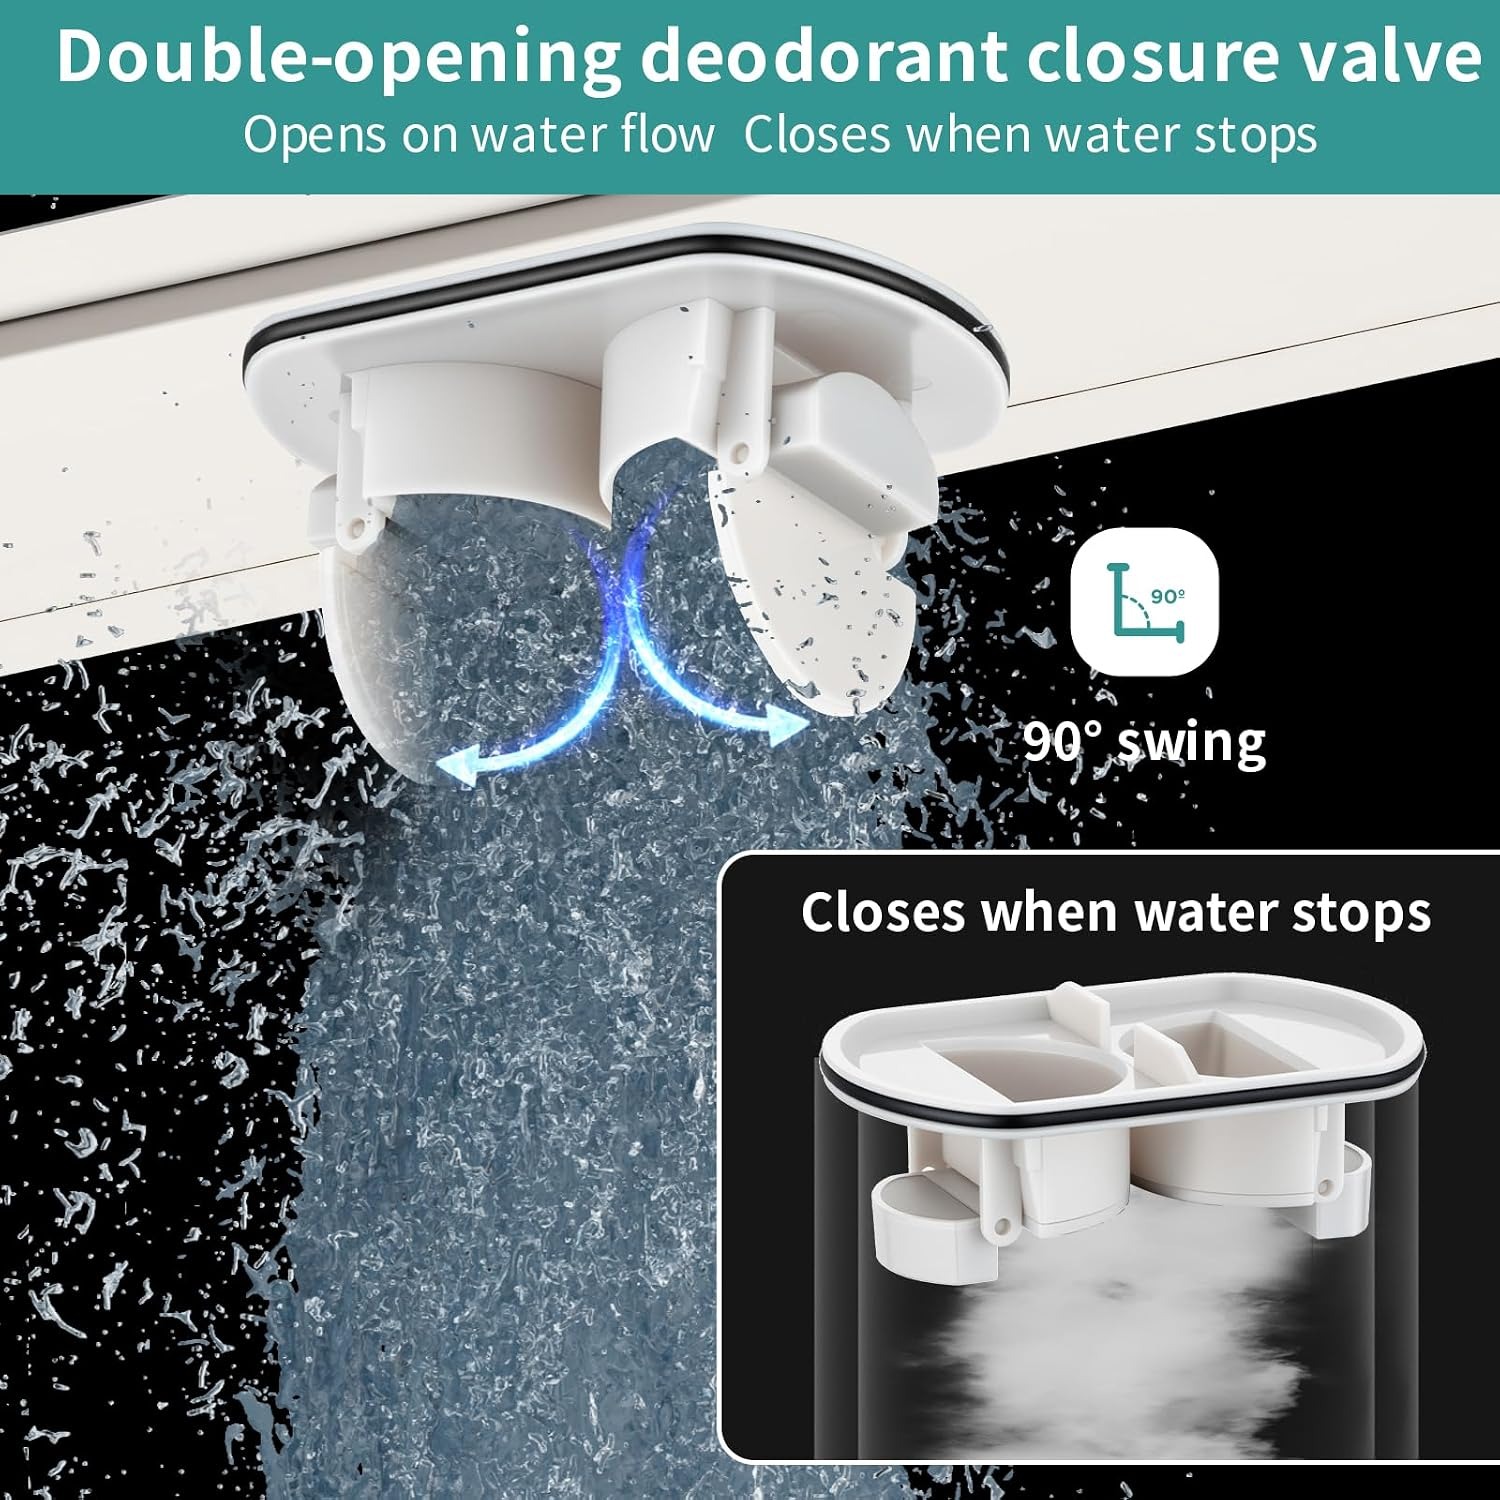
Below the channel sits the trap. This one is a siphon with a dual-opening gravity stopper. The stopper is held closed by its own weight and opens under the push of draining water, then settles back. That is what keeps drain odour and insects from travelling up the pipe into the room.
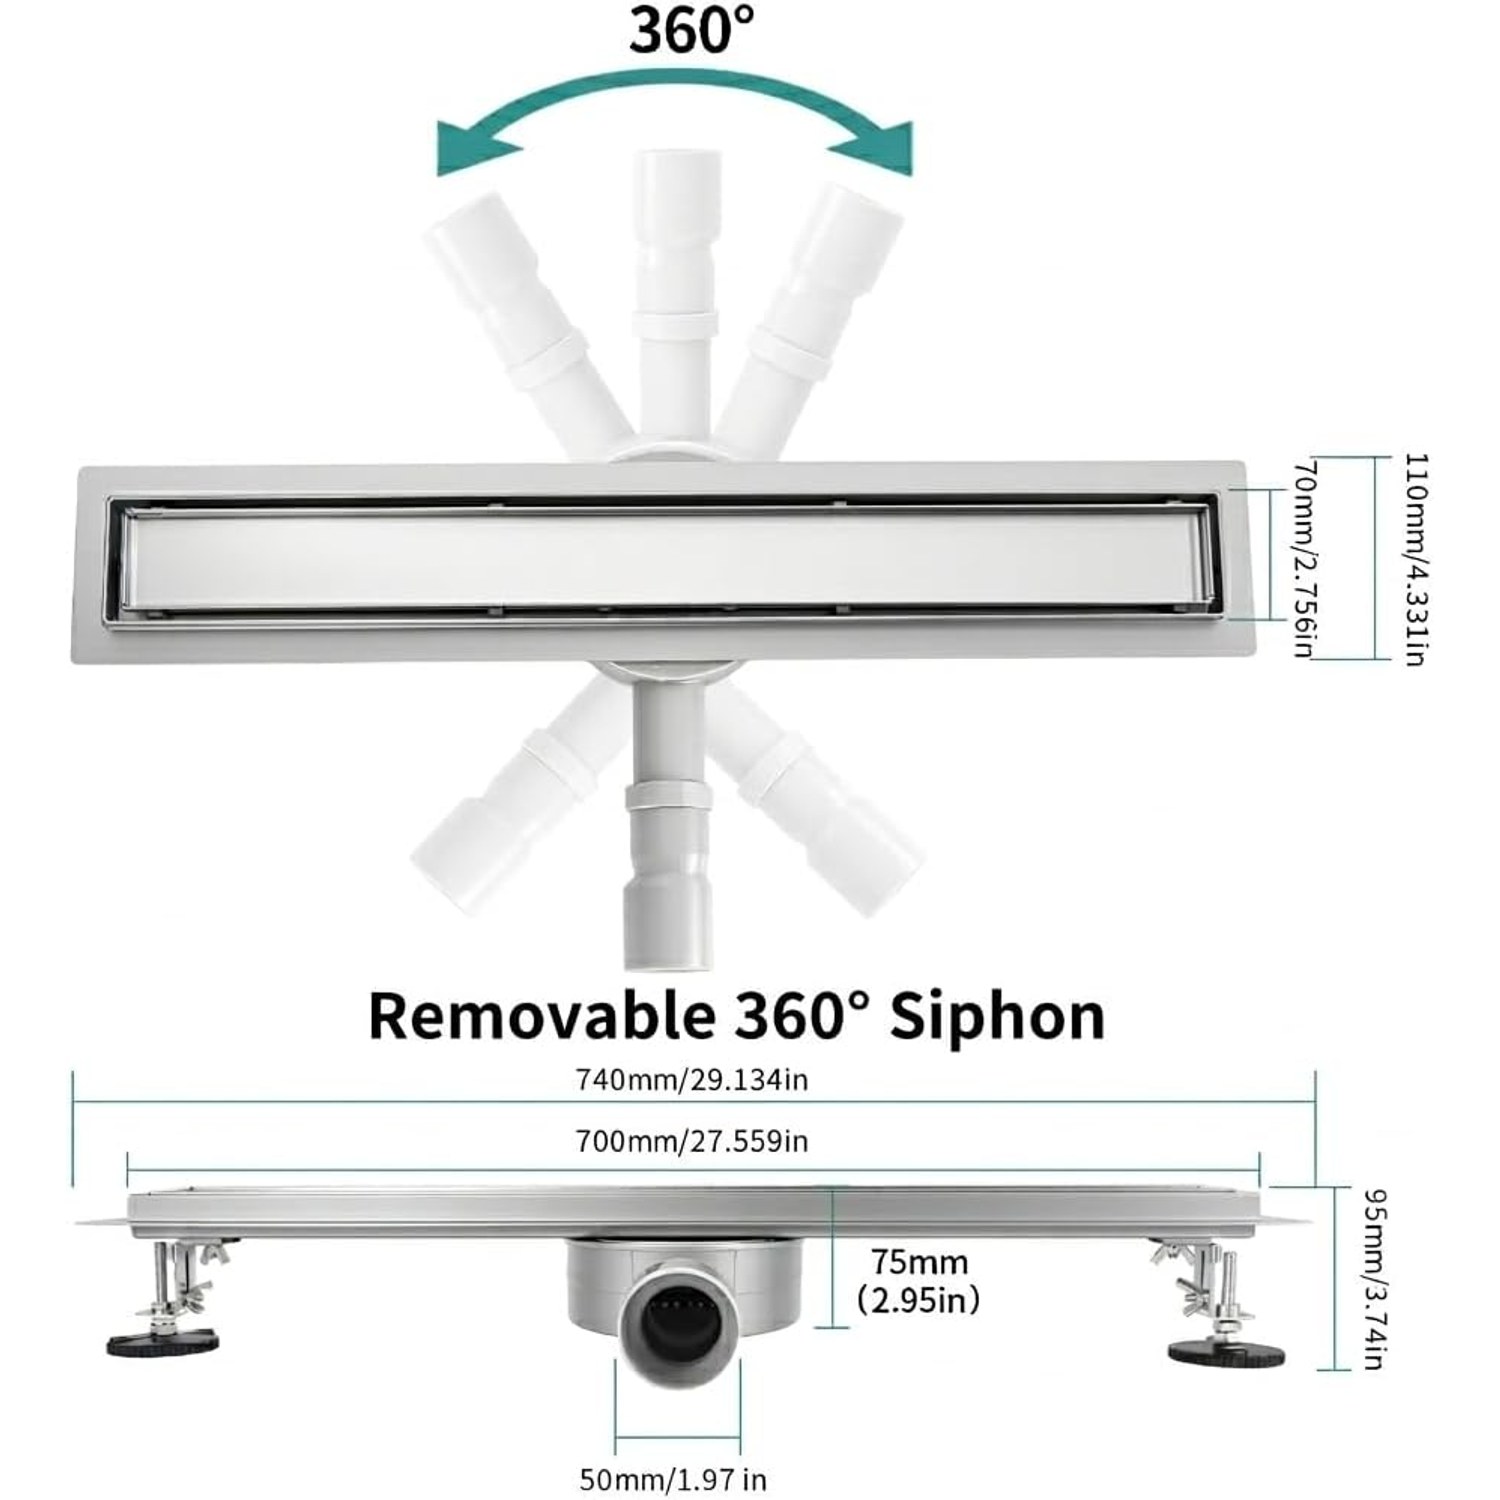
The outlet rotates a full 360 degrees. If you have ever tried to marry a new drain to an existing waste pipe that sits three inches off where you wanted it, you will appreciate this more than any other feature. Instead of cutting a new route through screed or concrete, you turn the outlet to face the pipe.
The two-in-one cover
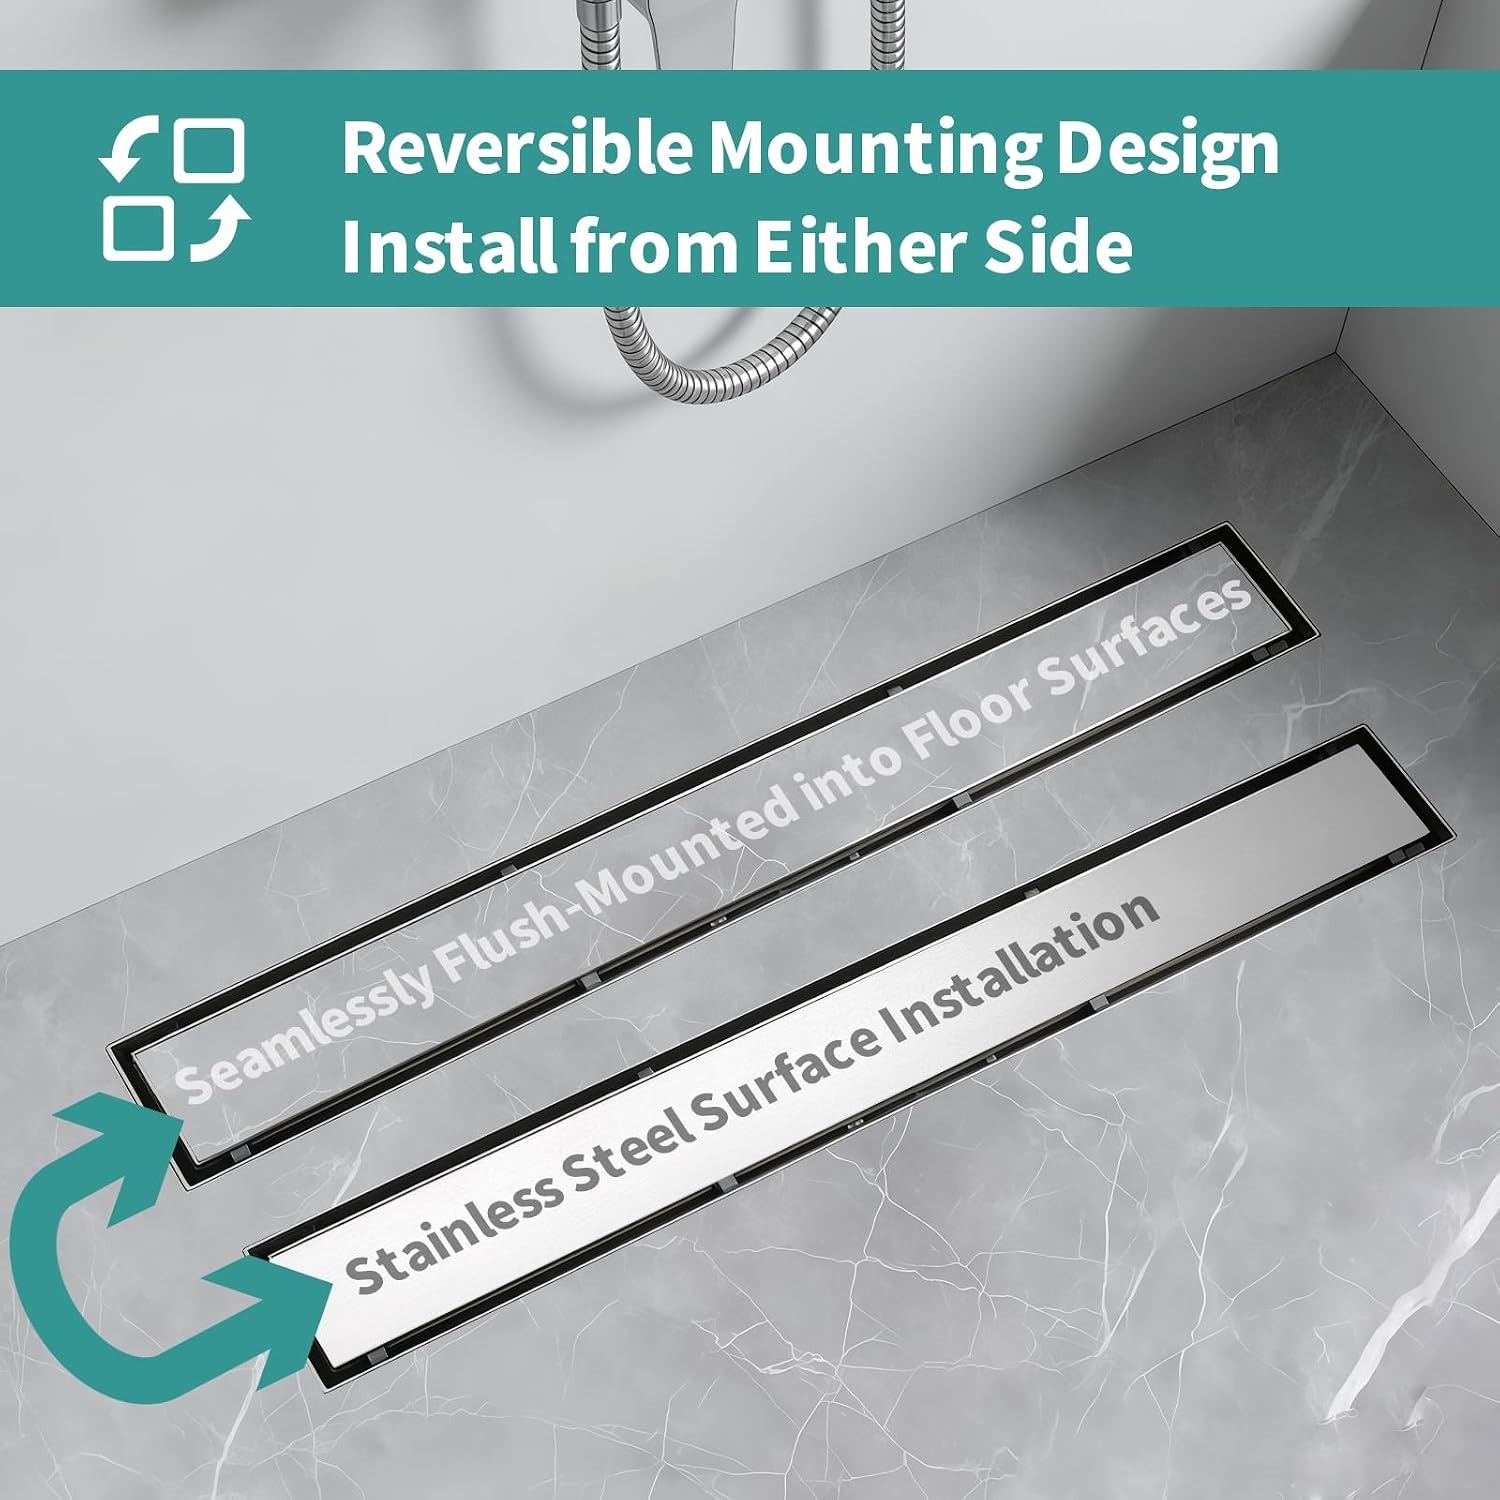
The cover flips. One side is a solid brushed stainless face, which gives you a visible metal strip in the floor. Flip it and you get a shallow tray, which you fill with a cut piece of your own floor tile. Once grouted, the drain reads as a thin line and almost nothing else.
Neither is better. They just suit different rooms. The tile insert works beautifully with large format porcelain in a neutral tone, where you genuinely can lose the drain in the floor. The brushed metal face works better with small mosaic tiles, heavily patterned tiles, or anywhere the cut insert would end up looking like a patch rather than a continuation.
The useful part is that you do not have to decide at checkout. Dry-fit the drain, look at the floor, then pick a side.
Who this suits
This is a renovation product. It assumes a tiled floor with a screed fall and a tanked, waterproofed shower area. If that is your project, it is a good fit.
It suits walk-in showers and wet rooms in particular. It also suits anyone moving to large format floor tiles, because those tiles and centre wastes are a bad marriage. And it suits level-access bathrooms, where you want the shower floor continuous with the rest of the room and a long channel at one edge is the cleanest way to manage the water.
It does not suit pre-formed shower trays. Acrylic and stone resin trays come with their own waste fitting and have no screed for a channel to sit in. If you are keeping your tray, buy a tray waste.
Getting the length right
Six hundred millimetres is the most common linear drain length, and for good reason. It handles the flow of a normal domestic shower comfortably and fits most bay widths.
There are two schools of thought on positioning. The first runs the channel wall to wall, so the drain spans the full width of the shower and the floor falls in one plane towards it. This looks deliberate and architectural, but you need a drain length that matches your opening.
The second puts a shorter channel centred in a wider bay, with the floor falling towards it from a slightly wider catchment. This works well with a 600mm unit in a bay that is 900mm or 1000mm wide. Water still finds the channel; it just travels a little further to get there.
What you should not do is choose a drain that is too long for your fall. A longer channel needs the floor to arrive at it evenly along its whole length, which is harder to screed accurately.
Checking it fits before you buy
Three numbers matter.
First, the hole size. This drain fits a 60 cm opening, so that is the gap your floor build needs to leave for it.
Second, the height. At 7 cm tall, the drain body plus whatever fall your waste pipe needs has to fit within your floor depth. On a ground floor slab this is usually fine. Upstairs on joists it can be tight, and it is the thing most likely to catch people out.
Third, the pipe position. The rotatable siphon gives you a lot of freedom here, but it does not move the pipe itself. Know where your waste runs before you order.
Measure all three, write them down, then compare. Ten minutes of measuring is cheaper than lifting a tiled floor.
Installation in brief
This is not a step-by-step, because every floor is different and your installer knows your building better than we do. But the shape of the job is consistent.
The drain sits on adjustable feet, set so the top of the grate will finish flush with the tiled surface. You connect the rotated outlet to the waste pipe and test the fall. You screed up to the drain with the correct slope, then waterproof the whole wet area, carrying the membrane up to and around the drain flange. Then you tile, setting the surrounding tiles so they meet the drain cleanly with a consistent grout line.
If you are using the tile insert side, you cut a piece of your floor tile to fit the tray, bed it in and grout it to match. Take your time on that cut. It is the one piece of tile everyone will look at.
Keeping it working
Maintenance is genuinely simple. Use the supplied hook to lift the grate out, pull the hair strainer, rinse both under a tap and put them back. Hair is the enemy of every shower drain, and a strainer you actually empty will outperform any clever feature.
For the stainless itself, warm water and a mild liquid detergent is enough. Avoid bleach, scouring powders, steel wool and aggressive descalers. Brushed stainless is tough but it is not immune to being scratched or chemically marked. Dry it afterwards and you will avoid water spotting on the finish.
Every few months, check the gravity stopper is seating properly. If you ever notice a faint drain smell, that and a clogged strainer are the two places to look first.
The short version
If you are tiling a walk-in shower or a wet room, a 600mm linear channel makes the floor easier to build and easier to live with. This one covers the practical bases: 304 stainless steel, a sloped channel that moves water instead of holding it, a trap with an odour stopper built in, and an outlet that rotates to meet your existing pipe rather than forcing you to move it.
The reversible cover is the part that earns its place. You can have a visible brushed strip or a tile insert that nearly vanishes, and you get to decide on site with the tiles in front of you.
Measure your opening, your floor depth and your pipe position before you order. Get those three right and the rest of the job is straightforward.