
The complete guide
How to Choose and Fit an Appliance Drain Hose Extension
The problem nobody plans for
You buy a washing machine. It arrives. You slide it into the gap, and then you find the drain hose is about 40cm short of the standpipe, or it reaches but only if the machine sits forward of the cabinet line with the door half blocked by the wall.
This happens constantly. Appliance makers fit a short hose because it is cheap and because they assume a tidy, conventional plumbing layout. Real kitchens and laundries are rarely tidy or conventional. The waste outlet is behind the cupboard, or on the opposite wall, or at floor level when the hose wants to go up.
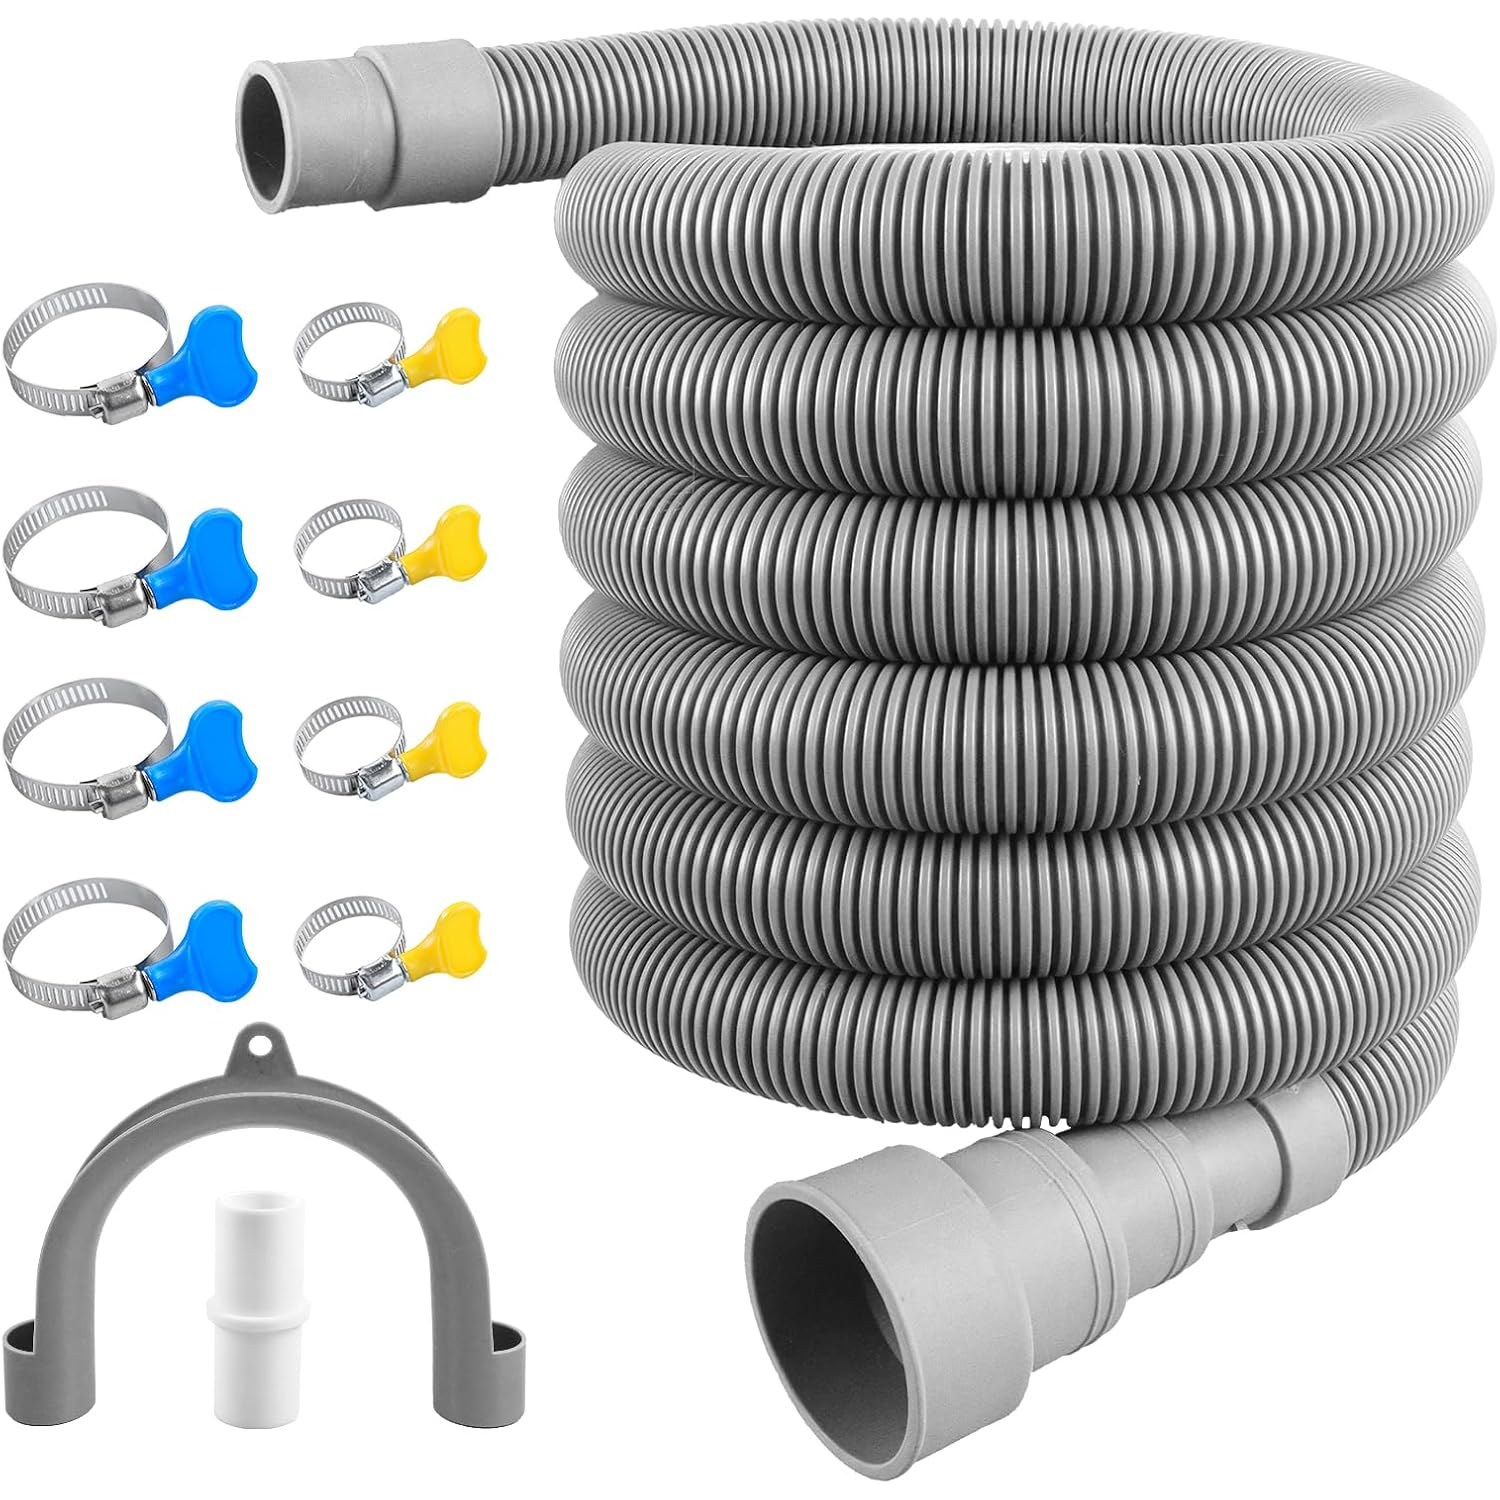
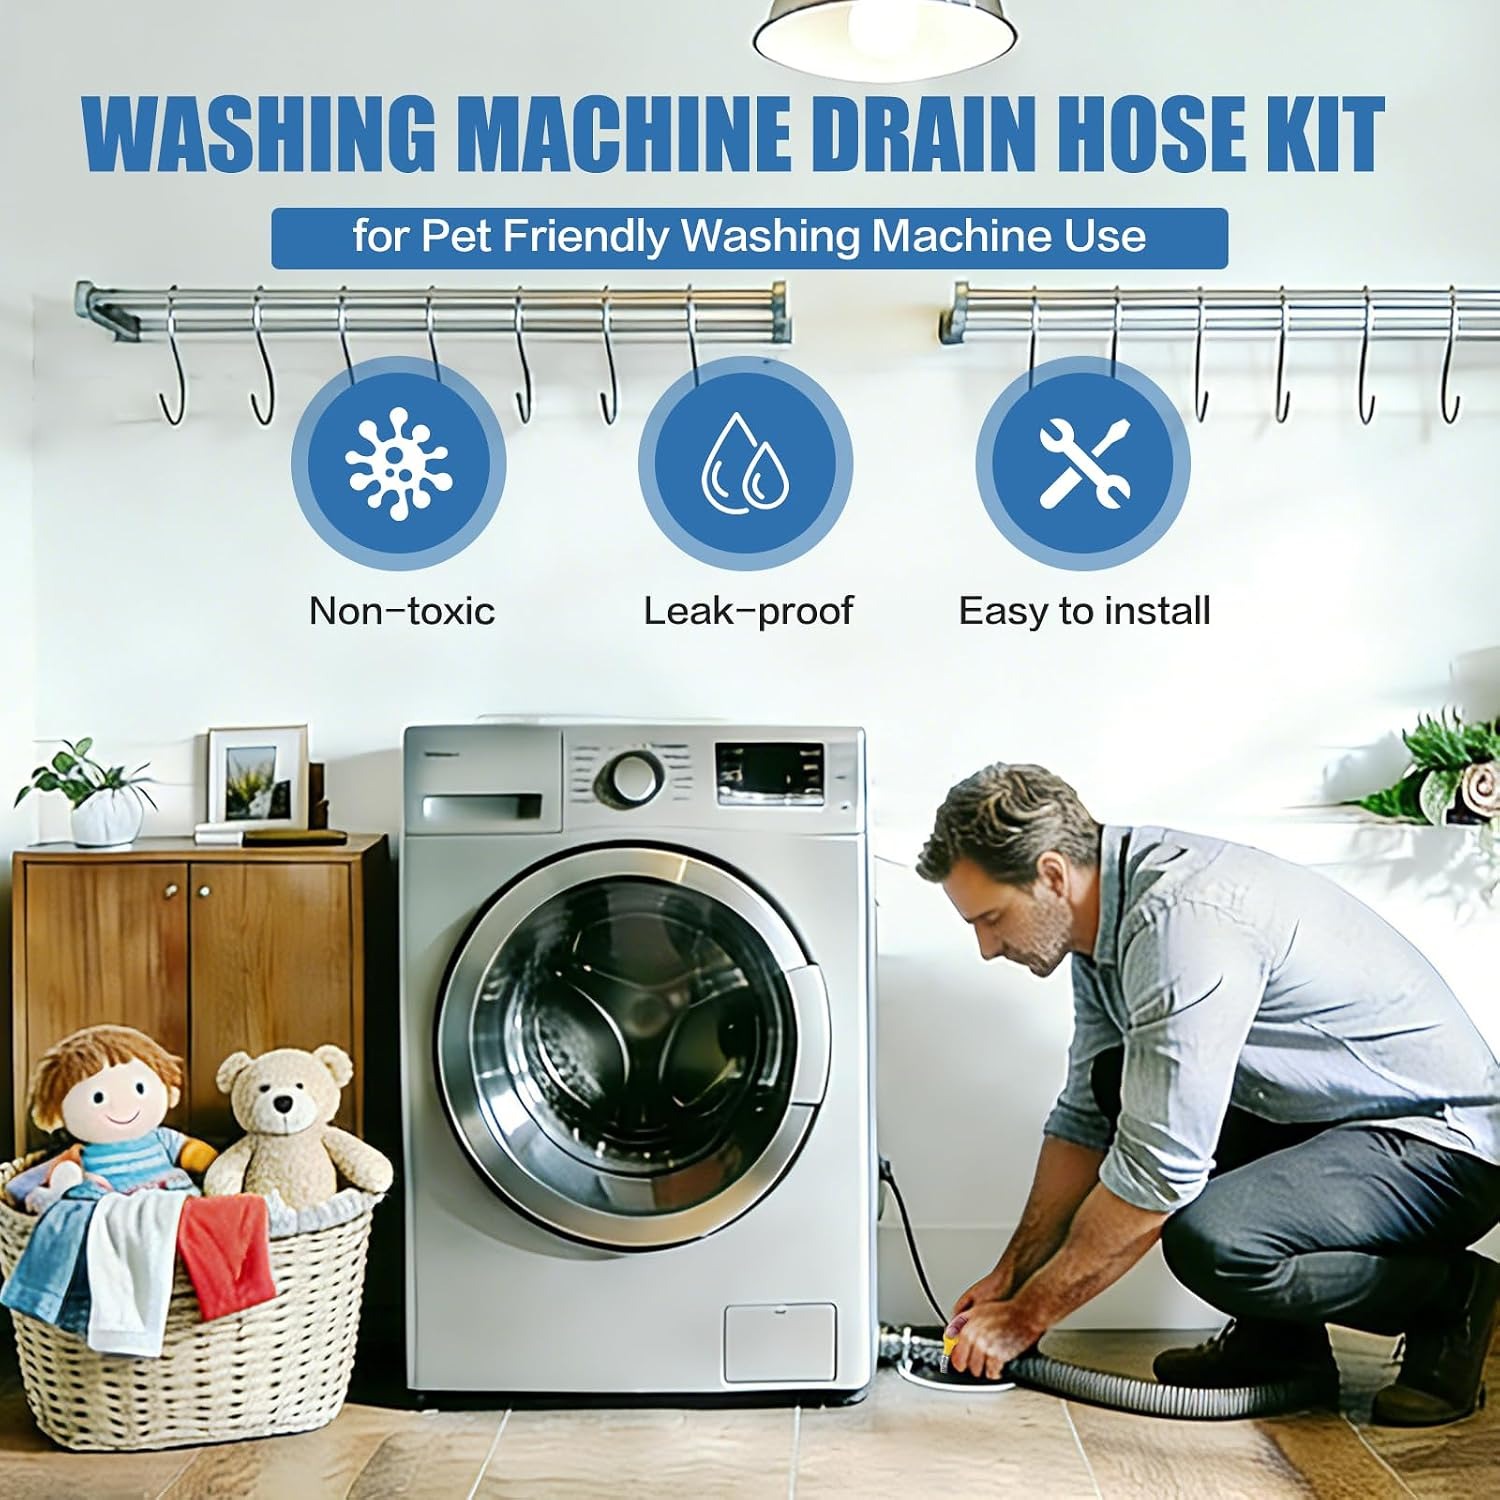
A drain hose kit 2m for 20 to 38mm waste solves this without touching the pipework. You add length at the hose end, not at the plumbing end, which is why it is a job you can do yourself in about ten minutes.
What a drain hose extension actually does
The appliance pump pushes waste water out of the machine through the hose. All the hose has to do is carry that water to a drain without leaking, without kinking, and without letting dirty water travel backwards into the machine.
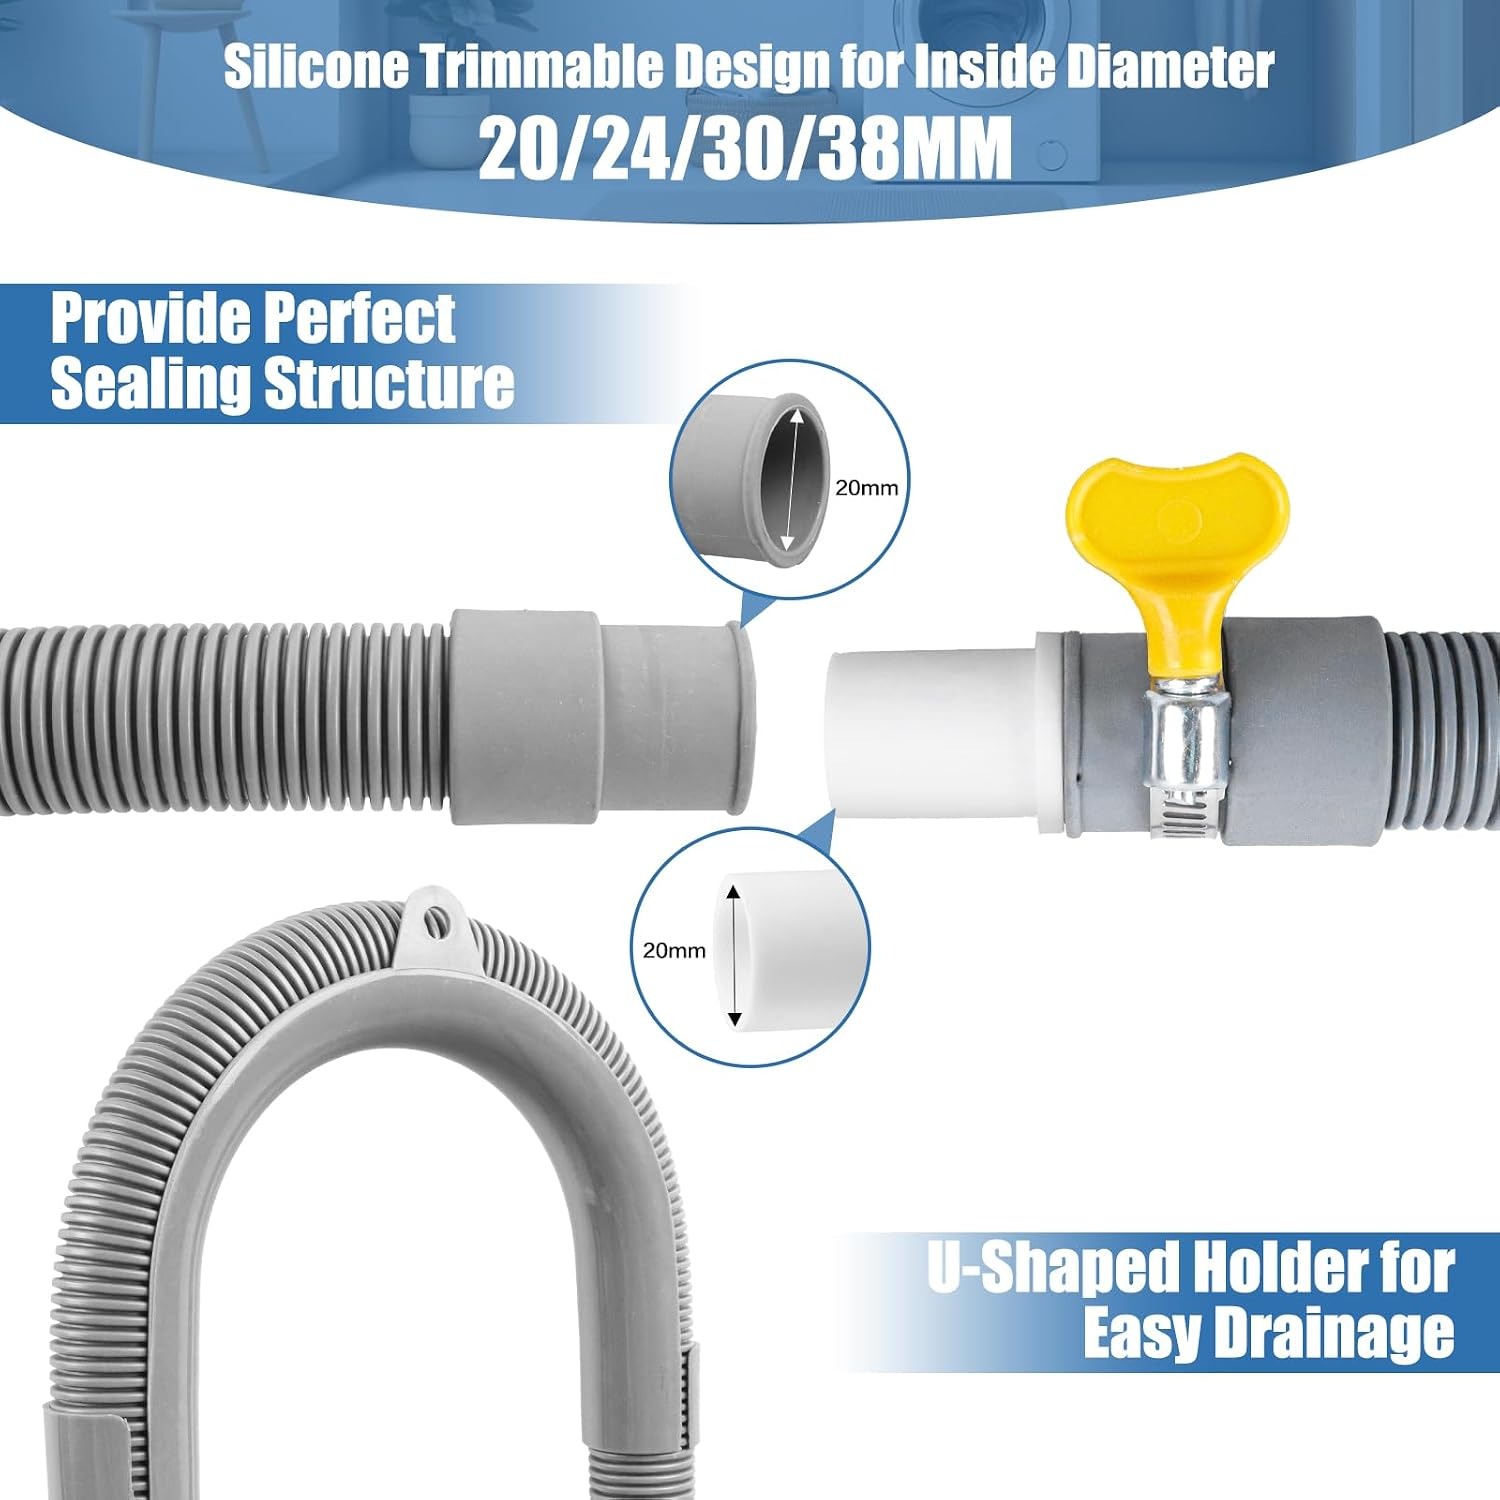
Three parts handle those jobs here. The hose carries the water. The adapter joins the new hose to whatever diameter of pipe or spigot you are connecting to. The U-bracket holds the discharge end in place and creates a loop that breaks any siphon effect.
That loop matters more than people expect. If the hose end sits below the water level in a sink or trap, physics will quietly pull water out of your machine between cycles. You get a machine that never seems to fill properly and a drum that smells damp. Holding the hose end up over the rim, which is exactly what the bracket does, stops that.
Getting the size right
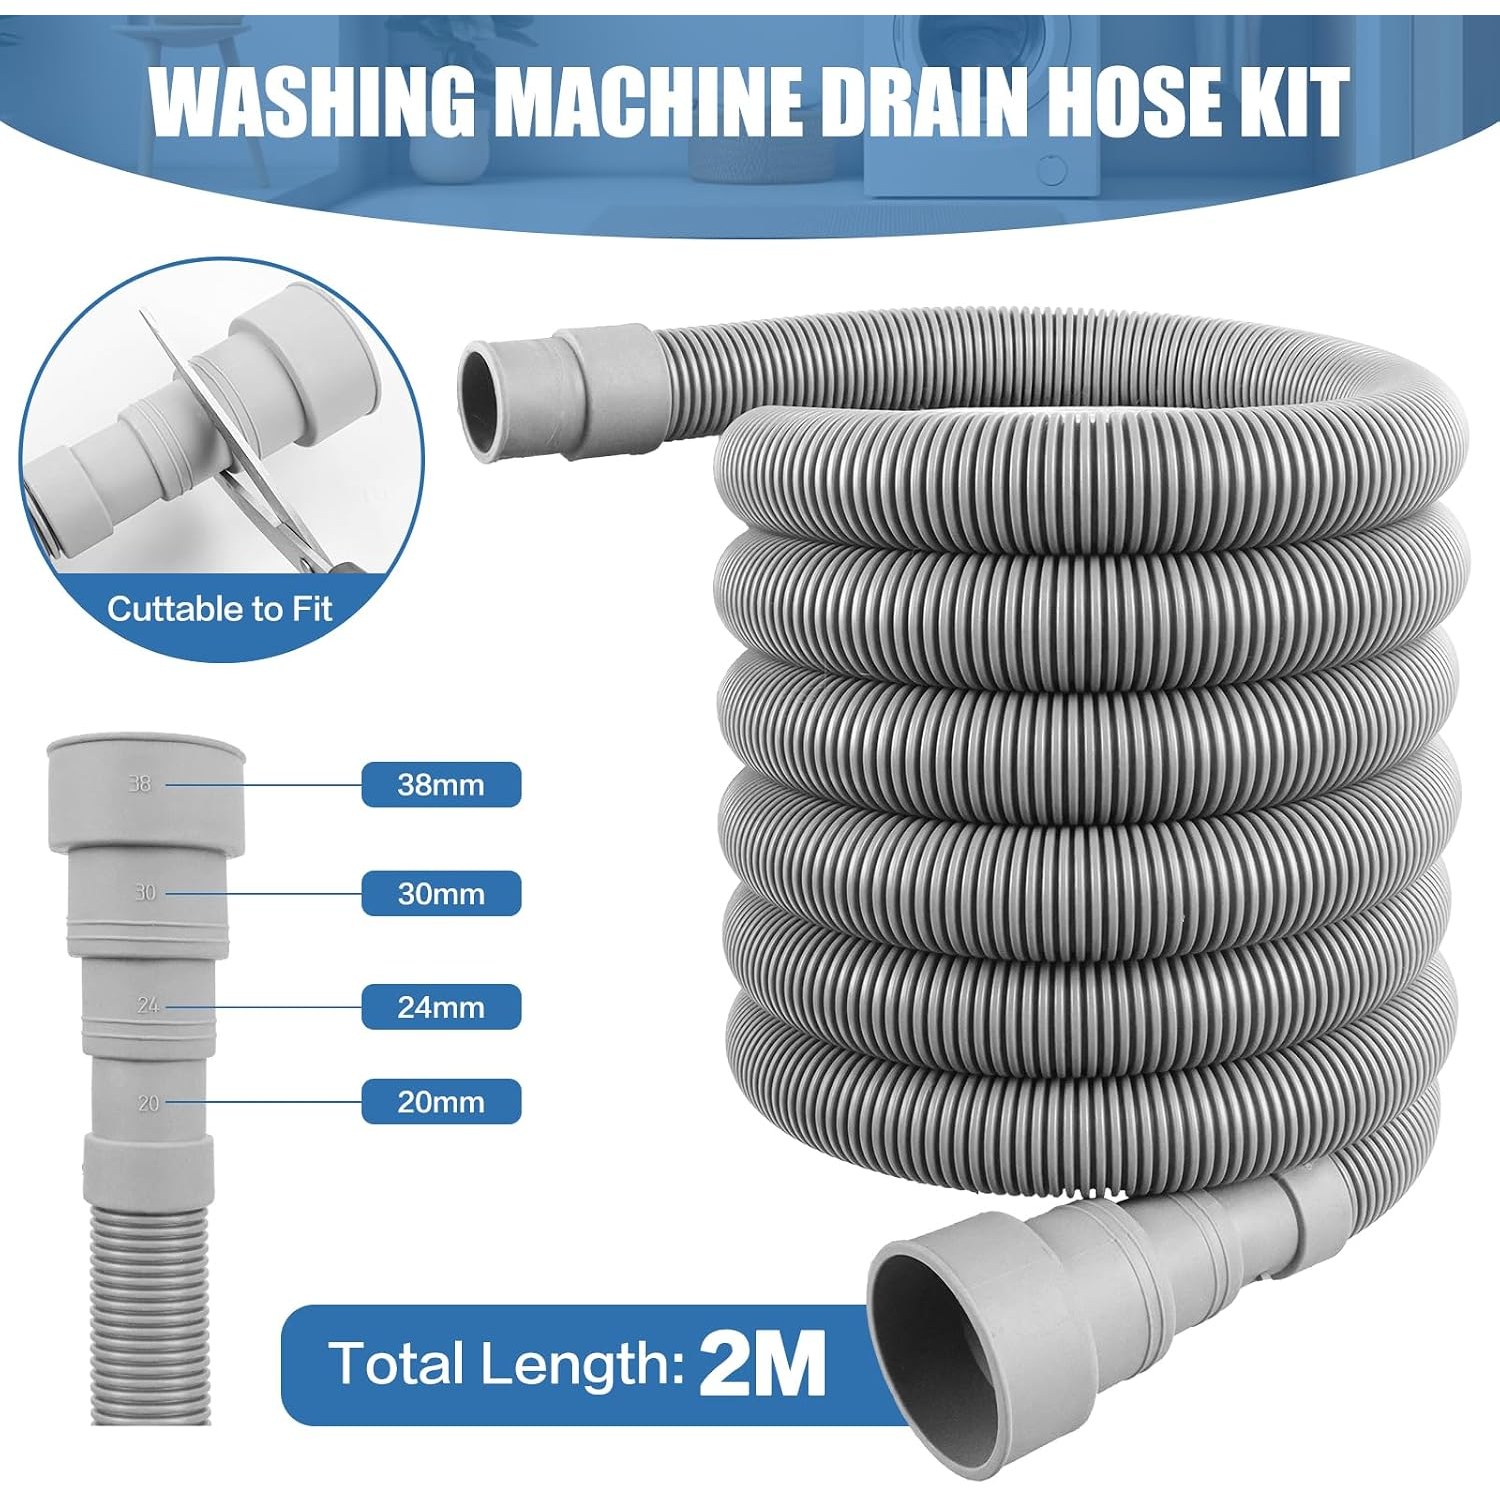
The adapter in this kit is stepped. Think of it as a cone made of four cylinders of decreasing diameter, moulded into one piece. You cut it at whichever step matches your waste pipe, and the rest comes off as waste.
The four sizes covered are 20mm, 24mm, 30mm and 38mm. Between them they handle the large majority of domestic appliance outlets and sink trap spigots. The hose itself runs at 20mm outside diameter.
Before you cut anything, measure. A cheap set of digital calipers is ideal, but a ruler held across the opening works well enough if you are careful to measure across the widest point. Measure the inside diameter of the pipe you are pushing into, or the outside diameter of the spigot you are pushing over, depending on your setup.
Then cut one step at a time. If you measure 30mm and cut straight to 38mm, you have ruined the adapter. If you cut to 24mm and find it is loose, you can trim again. Always work from the smallest reasonable guess upward.
Who this suits
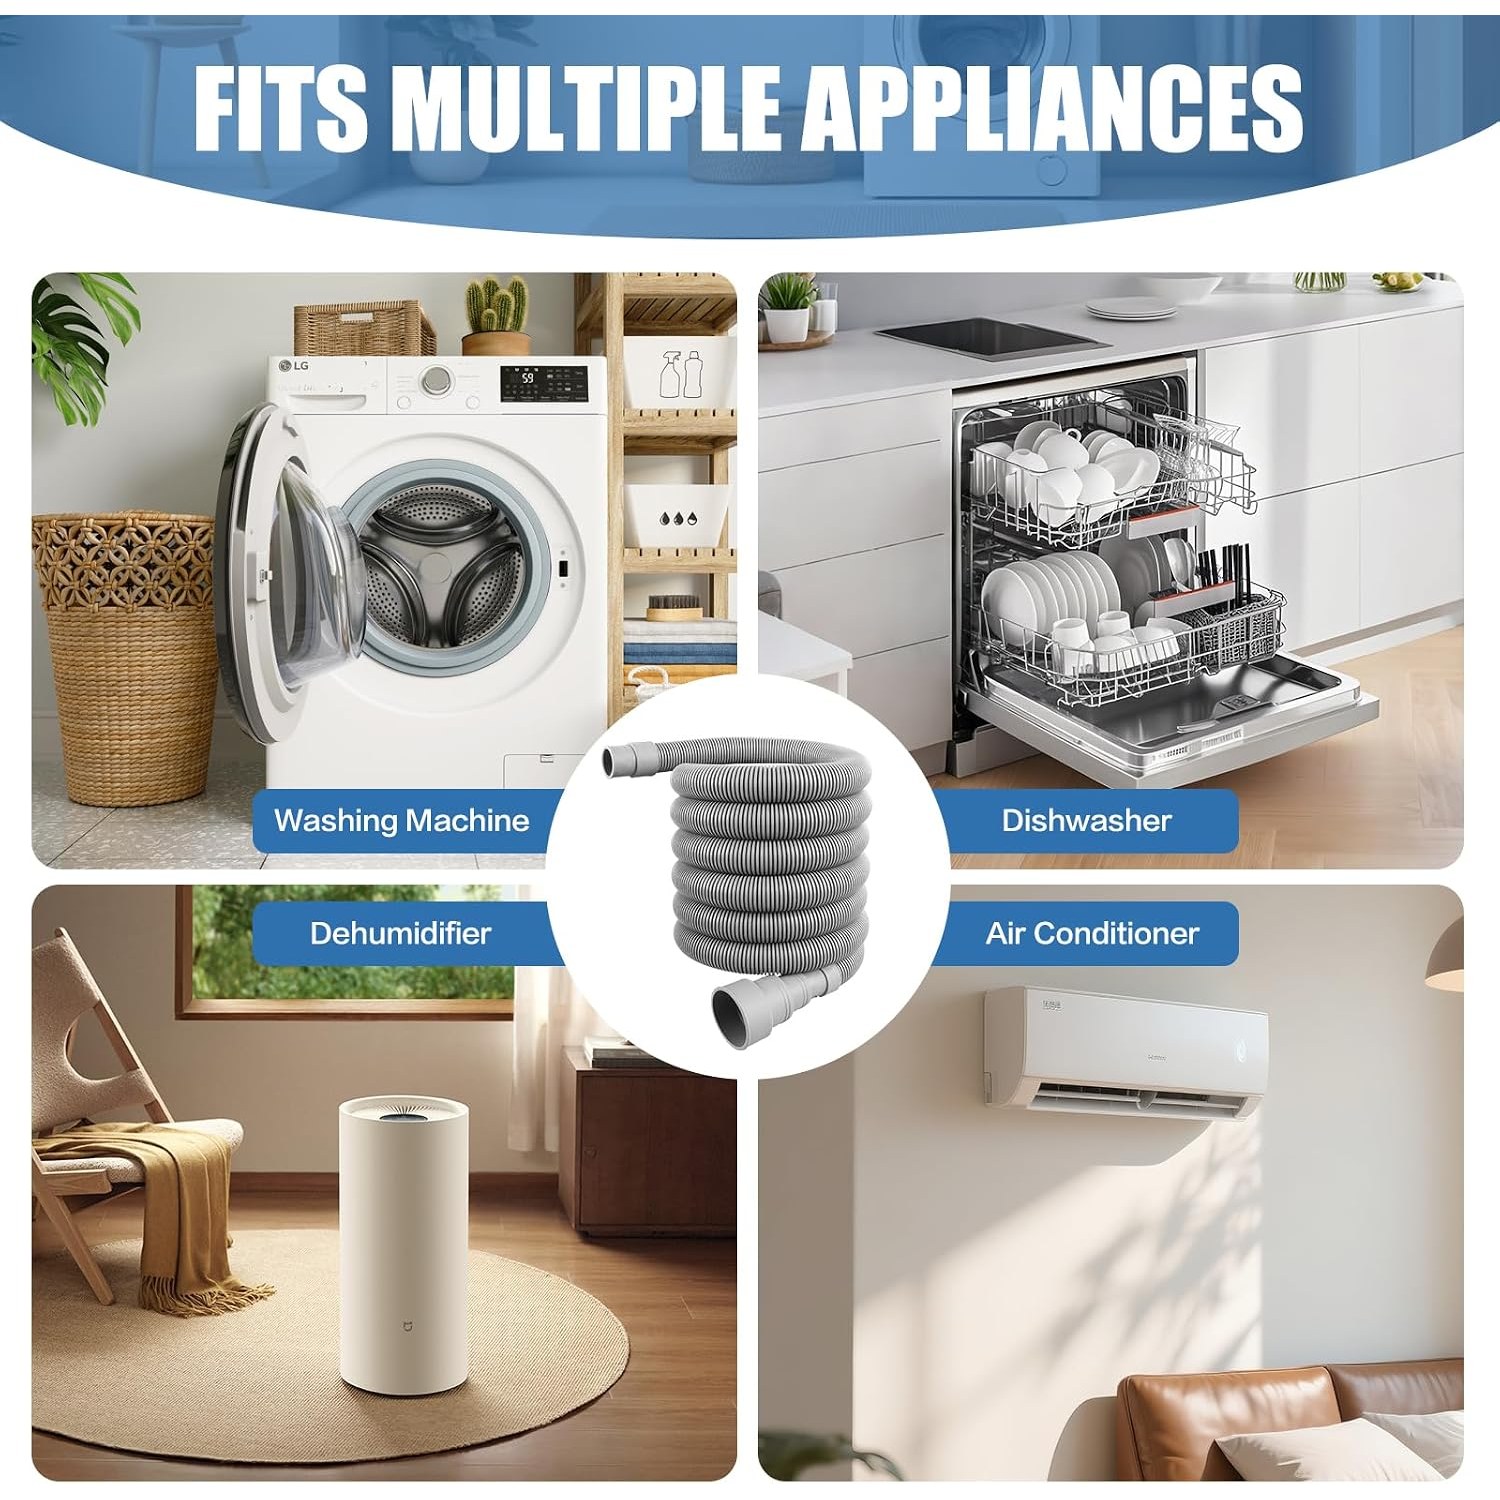
Anyone moving a washing machine to a new spot, which is the most common reason people buy an extension. Anyone fitting a dishwasher into a run of cabinets where the trap connection is two cupboards away.
It also covers appliances that people forget need drains at all. A dehumidifier with a continuous drain port can run to a floor drain and never need emptying. A portable air conditioner with a condensate outlet is the same idea. Tumble dryers with a condensate pump can use a hose like this instead of you carrying a tank to the sink twice a week.
Renters find these useful too, because nothing here is permanent. You clamp it on, and when you move you unclamp it and take it with you. No holes, no cut pipes, no deposit problems.
If you are searching for the best drain hose extension kit for a specific job, the thing to check is not the brand on the box. It is whether the kit includes the adapter and the clamps, because a bare hose on its own leaves you hunting for fittings.
Fitting it, step by step
Turn the appliance off at the wall and pull it out far enough to work behind. Have a towel and a shallow tray ready, because the old hose will hold water.
Disconnect the existing hose from the waste outlet. If the machine's own hose is long enough to reach a joining point, you can extend from it. If it is awkward, run the new hose from the machine's outlet spigot instead.
Cut the adapter to size. Clean square cut, sharp knife, cut away from your hand. Push the hose firmly onto the adapter spigot so there is at least a couple of centimetres of overlap.
Slide a clamp over that overlap and tighten it with a screwdriver. Firm is the target, not crushed. If the plastic is visibly deforming or biting in, you have gone too far.
Repeat at the other end. Then fit the U-bracket over the sink rim or standpipe, slot the hose end into it, and check that the end points downward into the drain.
Push the machine back slowly and watch the hose. The most common installation mistake is trapping the hose against the wall and putting a permanent crease in it. Leave a gentle curve with slack in it.
Run a short cycle and watch the joints. A drip at this stage is almost always a clamp that needs another half turn.
Keeping it working
Drain hoses are low maintenance but not no maintenance. Lint, hair and detergent scale build up inside over time, which narrows the bore and slows draining.
Once or twice a year, disconnect the hose and flush it through with clean water. Hold it up and let the water run out, and you will often see a surprising amount of grey sludge come with it. That five minute job prevents a lot of slow-drain complaints.
Check the clamps at the same time. Vibration slowly loosens things. A quick nip with a screwdriver costs nothing.
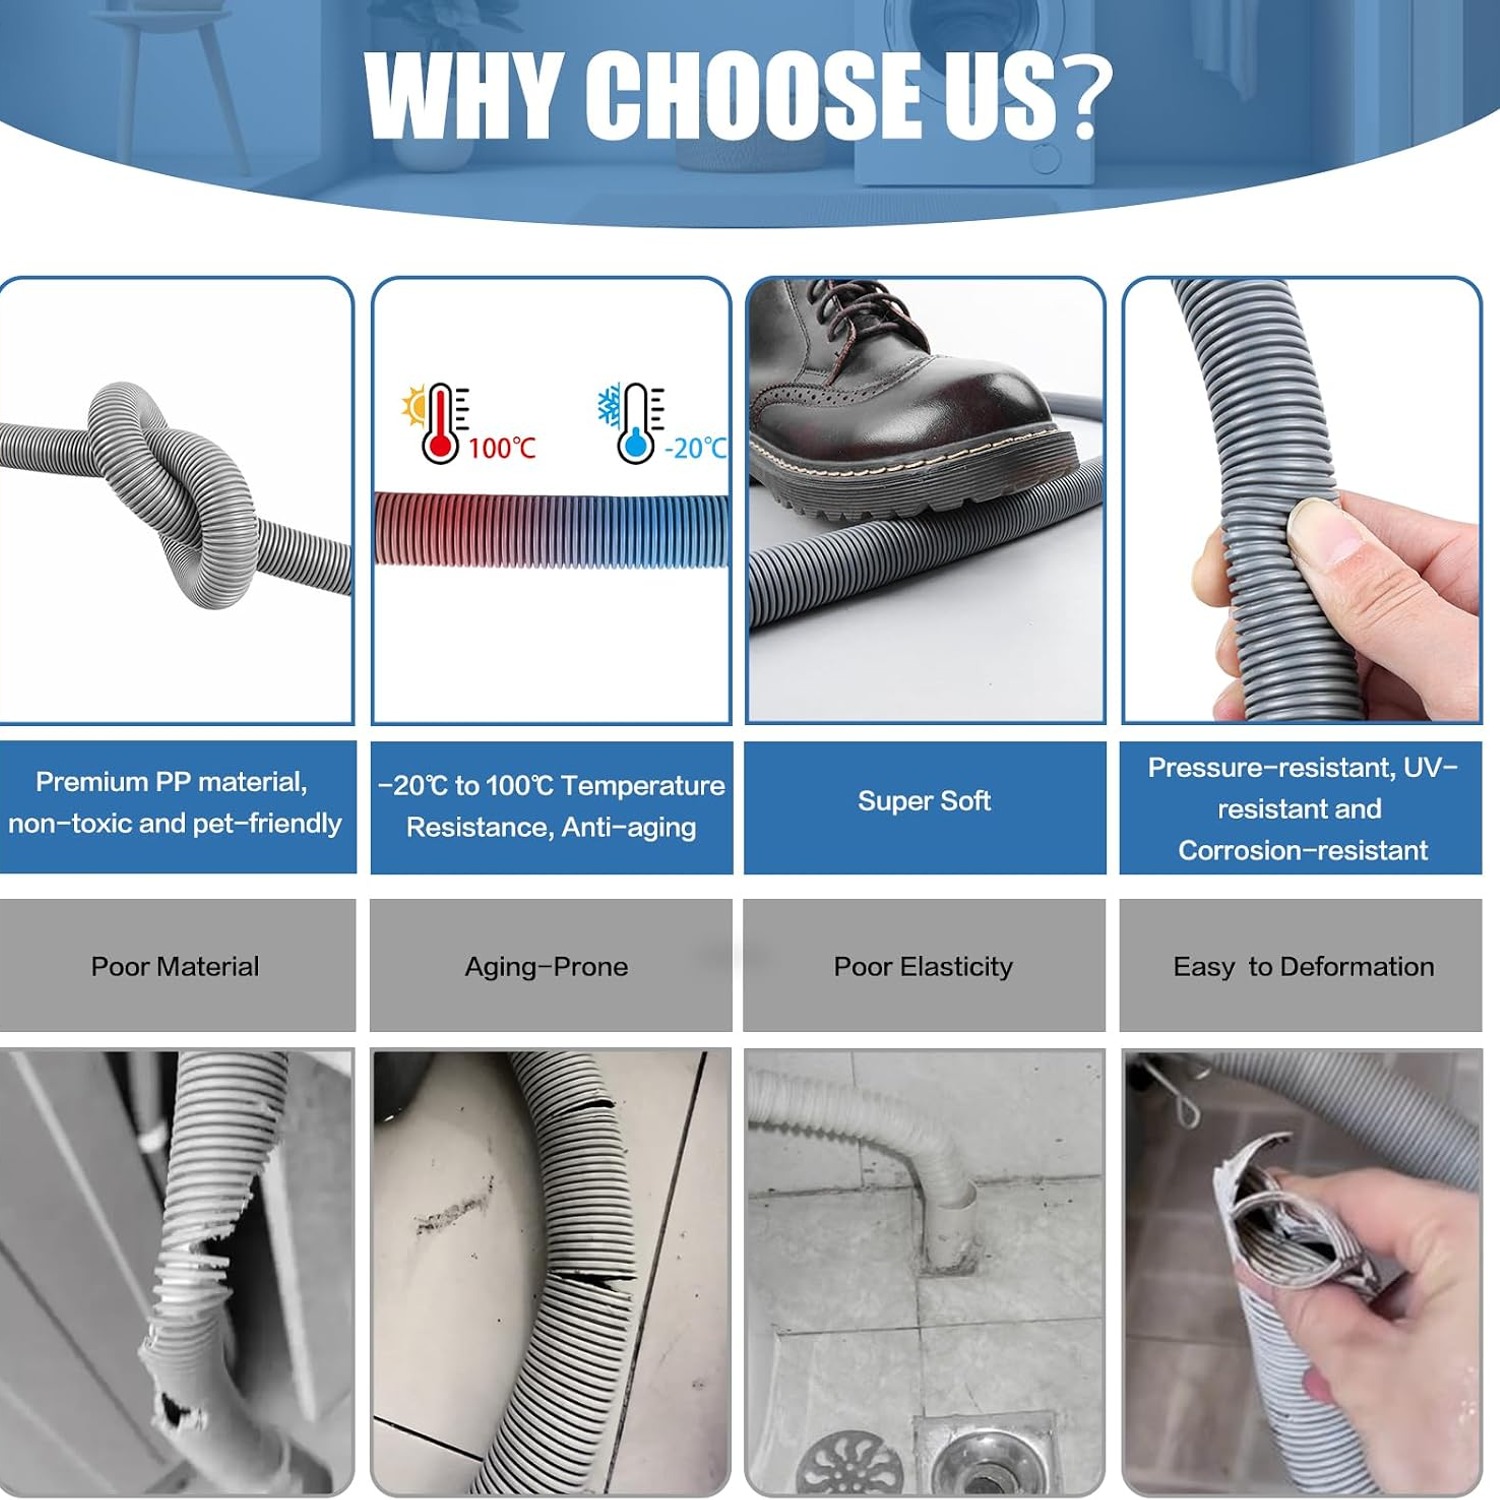
Inspect the hose body for cracks, hard spots and permanent kinks. Polypropylene stays flexible for a long time but not forever, especially if it runs near a heat source or sits in direct sun on a balcony. A hose that has gone stiff is a hose that is about to split.
And keep it off the floor where it can be stood on or caught by a vacuum cleaner. Most hose failures are mechanical damage, not age.
A few things to avoid
Do not join lengths together to make a very long run unless your appliance manual allows it. Pumps are rated for a certain head and distance, and pushing past that shortens the pump's life.
Do not run the hose uphill for most of its length. A rise over the sink rim is normal and expected. A long climb is not.
Do not push the hose deep into a standpipe so it seals against the sides. Air needs to escape past it, or you create a siphon. A loose fit with the U-bracket holding position is correct.
Do not use silicone or tape as a substitute for a clamp. The clamp is doing real mechanical work against pump pressure and vibration.
The short version
This kit gives you two metres of flexible hose, an adapter that cuts to four common waste sizes, a bracket that holds the end where it belongs, and eight clamps so you are not short.
Measure your waste pipe. Cut the adapter conservatively. Clamp both ends properly. Hook the U-bracket over the rim so the hose cannot escape. Leave slack so nothing kinks when you push the machine back.
Do that and the appliance goes where you want it, the water goes where it should, and you stop thinking about it. That is the whole point.