

The complete guide
How to Choose and Use a Sink and Drain Plunger
The sink that stopped draining
Nobody buys a plunger early. It happens the night the washing up water sits in the bowl, swirls once, and then just stays there while you stand with a tea towel wondering whether the hardware shop is still open.
That slow drain has usually been building for weeks. In a kitchen it is grease, which cools on the inside of the pipe and catches bits of food on the way past. In a bathroom basin it is hair bound together with soap scum and toothpaste. Either way the pipe narrows gradually, and the day it finally blocks is rarely the day it started.
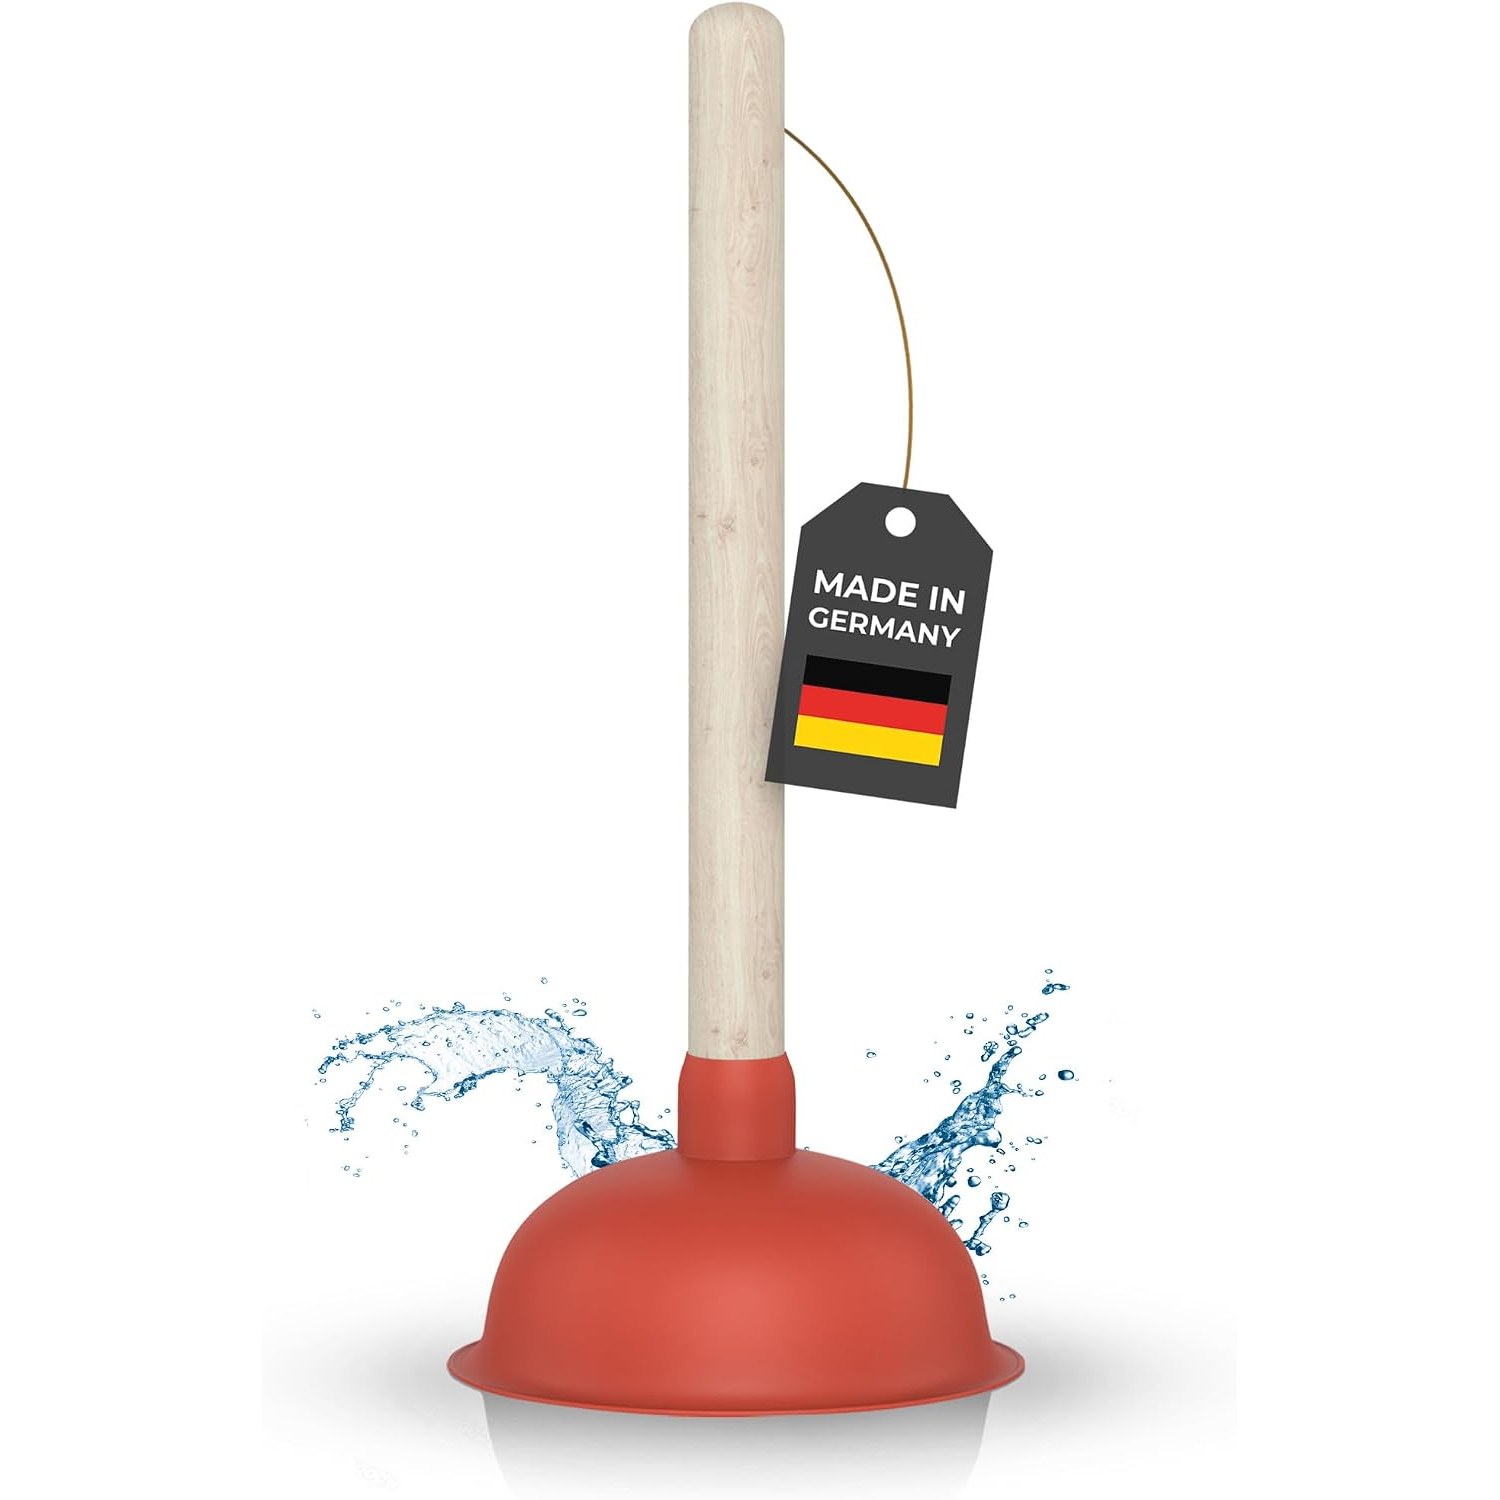
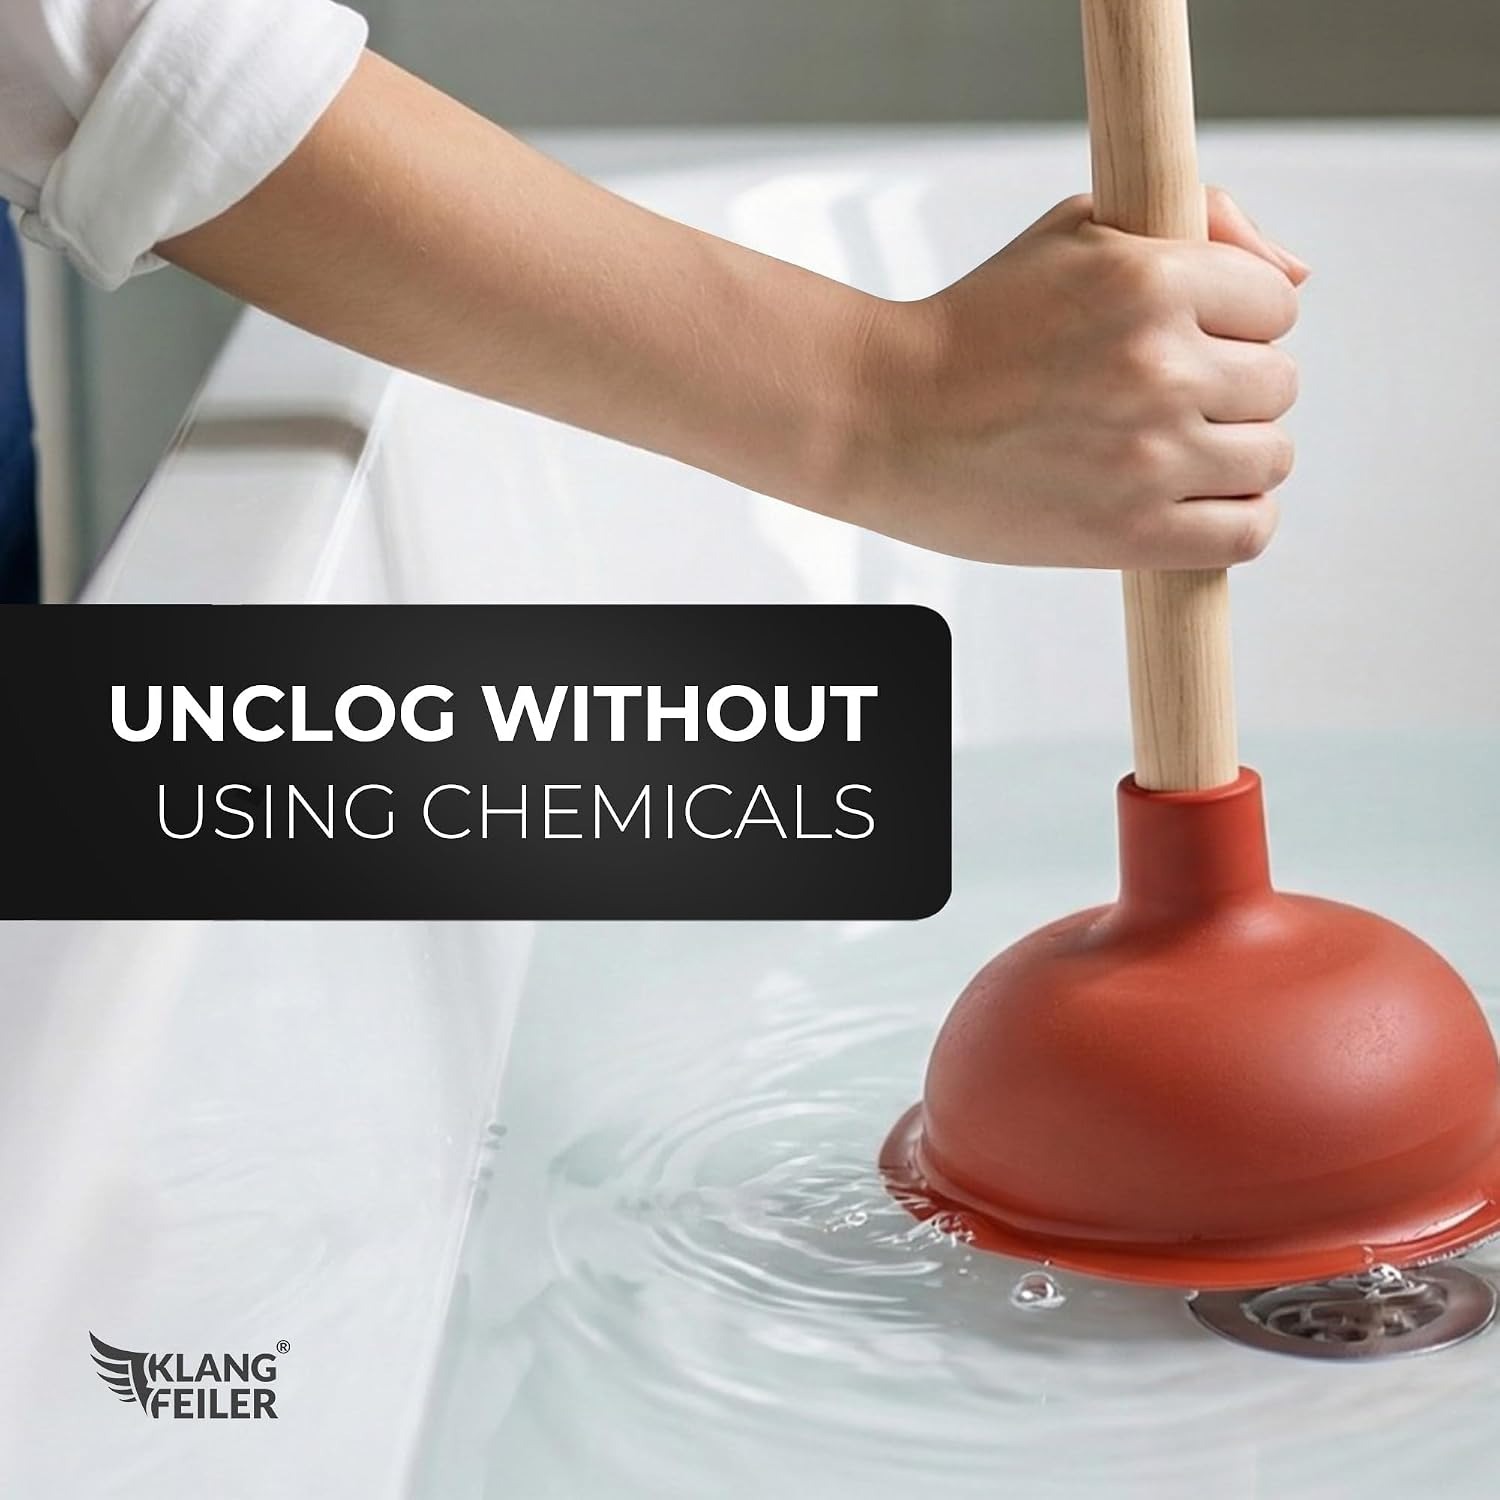
A sink and drain plunger 140mm fixes the common version of this problem in a few minutes. It does not need power, bottled chemicals or a plumber. It just needs a decent seal and a bit of effort.
How a plunger actually works
A lot of people plunge wrong because they think the tool pushes the blockage down the pipe. It does not, or at least not mainly.
What a plunger does is move the column of water already sitting in the drain. When you press down, that water is forced against the clog. When you pull up, the cup creates suction and drags the water back towards you. That back-and-forth action is what breaks the blockage apart, and loosened debris then washes away when you run the tap.
The key word there is water. Air compresses, water does not. If you plunge a dry sink you are just squashing air in the cup and achieving very little. Leave two or three centimetres of water over the outlet and the same arm movement becomes several times more effective.
This also explains why the seal matters so much. Any gap, whether it is under the rim of the cup or through an open overflow slot, lets pressure escape sideways instead of travelling down the pipe.
Why cup size and handle length matter
A 140mm cup is a useful width for household sinks. It is big enough to span a standard kitchen sink outlet with plenty of rubber left over to grip the flat surface around it, which is where the seal is actually formed. Narrower cups sized for small basins often sit awkwardly in a wide kitchen bowl and keep slipping off the rim.
Handle length is the part buyers overlook. A 33cm wooden handle changes your working position. With a short stub handle you end up hunched over the sink, pushing from the wrist, and your technique falls apart after a dozen strokes. With a longer shaft you can stand up straighter, grip with both hands, and drive from the shoulders. The stroke stays consistent, the cup stays flat, and you can keep going long enough to actually shift something stubborn.
Weight plays into it too. At 0.2 kg this is a light tool, which sounds like a drawback but is not. The power comes from your arms and the water, not from the mass of the plunger. Light means you can work it quickly without tiring.
Getting the assembly right
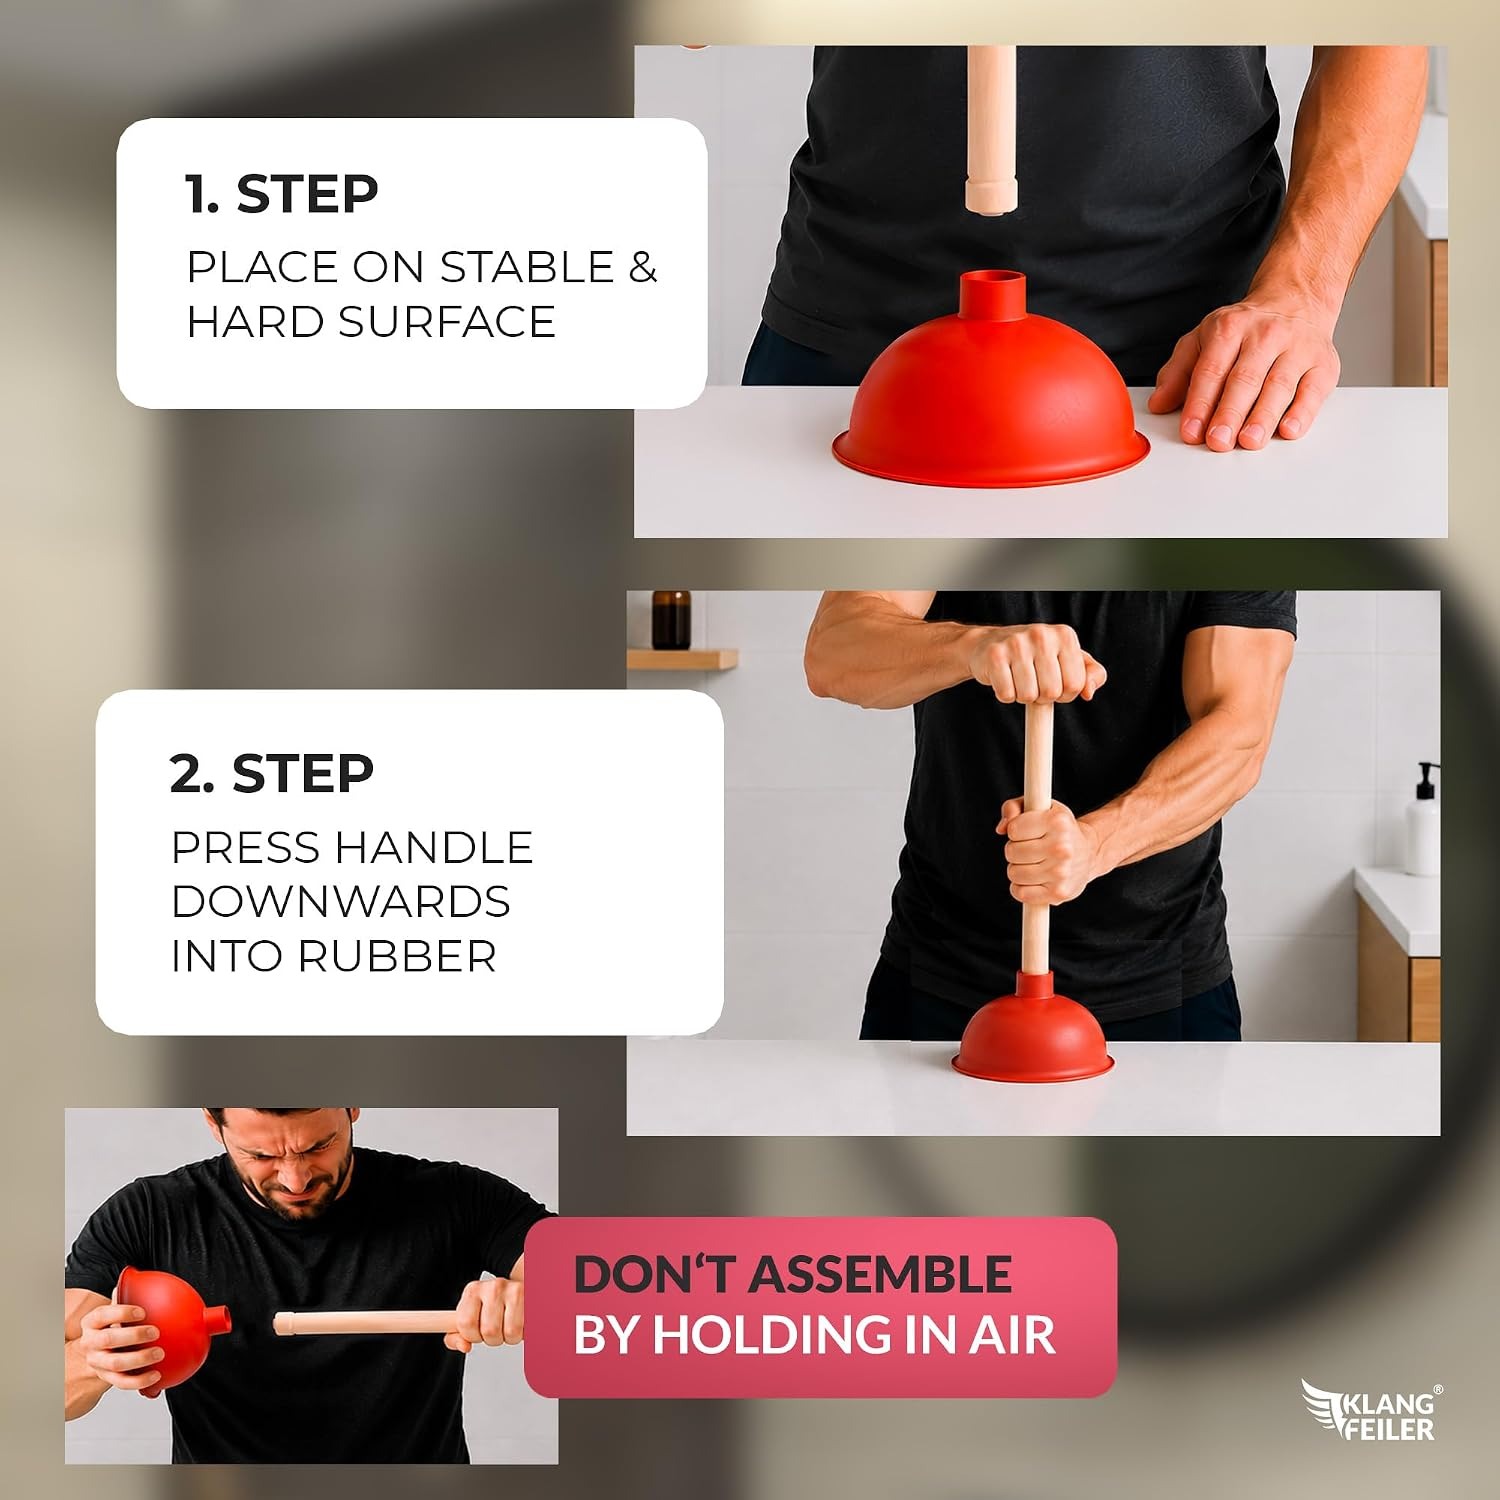
The cup and handle ship separately and you join them yourself. There is one rule worth repeating, do it on a hard surface.
Put the rubber cup on the floor or a sturdy worktop, line up the handle, and press down with real weight behind it until the handle seats fully into the socket. If you try to push the two parts together while holding them in the air, your arms simply push against each other and the handle never goes in deep enough. A half-seated handle feels wobbly and can work loose while you plunge.
Done properly it takes about five seconds and stays firm from then on.
Technique that works
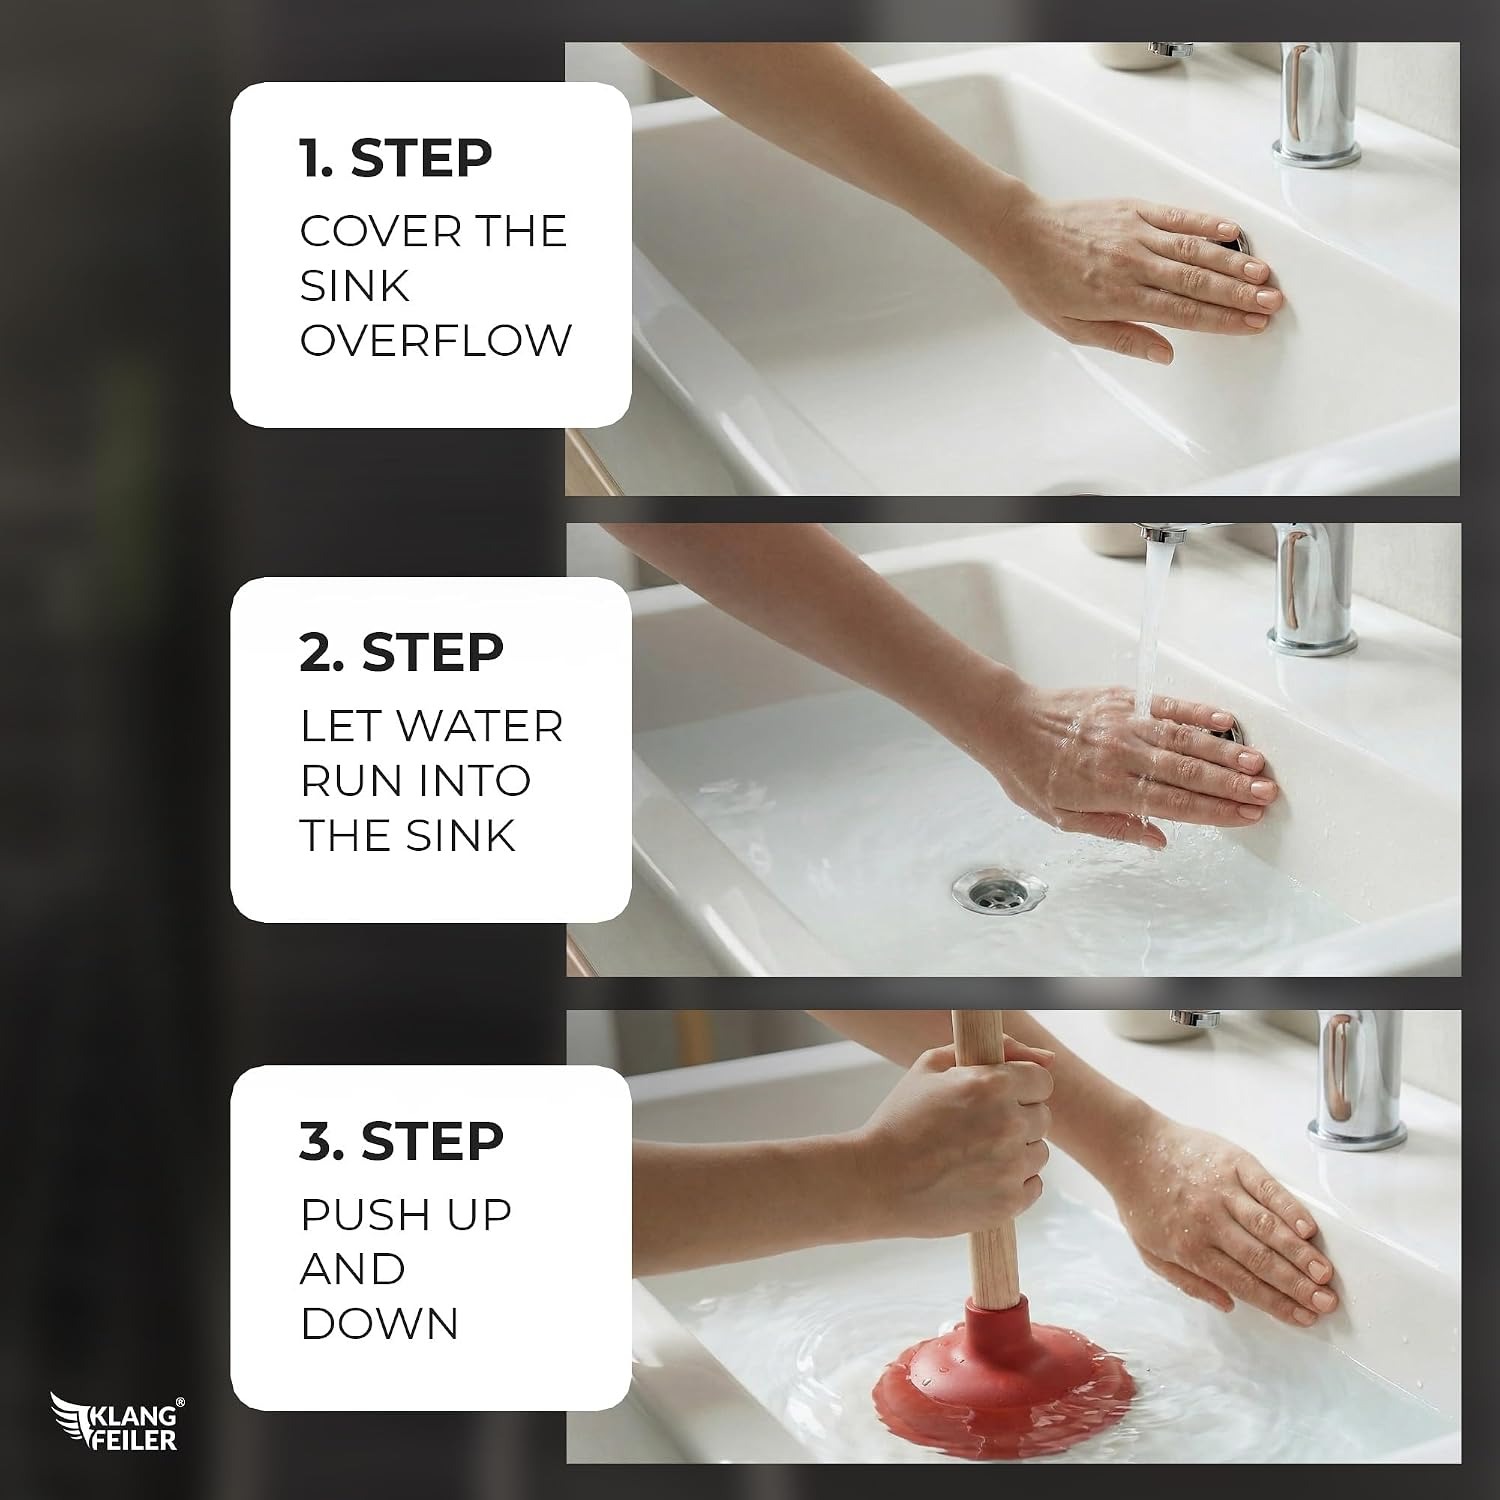
Start by filling the sink with a few centimetres of water. If there is already standing water, you are halfway there.
Find the overflow hole, the small slot near the top of a kitchen sink or basin, and block it with a damp cloth. Press firmly. This is the single most common reason people decide their plunger is useless, all their pressure vanishes out of that hole.
Place the cup flat over the outlet and push down slowly the first time, squeezing the trapped air out from under the rim. You should feel it grab. Then plunge with firm, even strokes, up and down, keeping the rim in contact with the basin the whole time. Do fifteen or so, then lift the cup off and watch the water.
If it drains, run the hot tap for a minute to flush the loosened debris well clear of the trap. If the water level drops a little but still lags, repeat the sequence. Most slow drains clear in two or three rounds.
A double sink needs one extra step. Plug the second outlet with a stopper or hold a wet cloth firmly over it, otherwise your pressure takes the easy route sideways and you will see water bubbling up in the other bowl instead of a clear drain.
When a plunger is not the answer
Being honest about limits saves time. If you have plunged properly several times with a good seal and nothing has moved, the blockage is probably past the trap or it is something solid like a bottle cap or a child's toy. Opening the trap under the sink with a bucket underneath is the next move, and it is usually a ten-minute job.
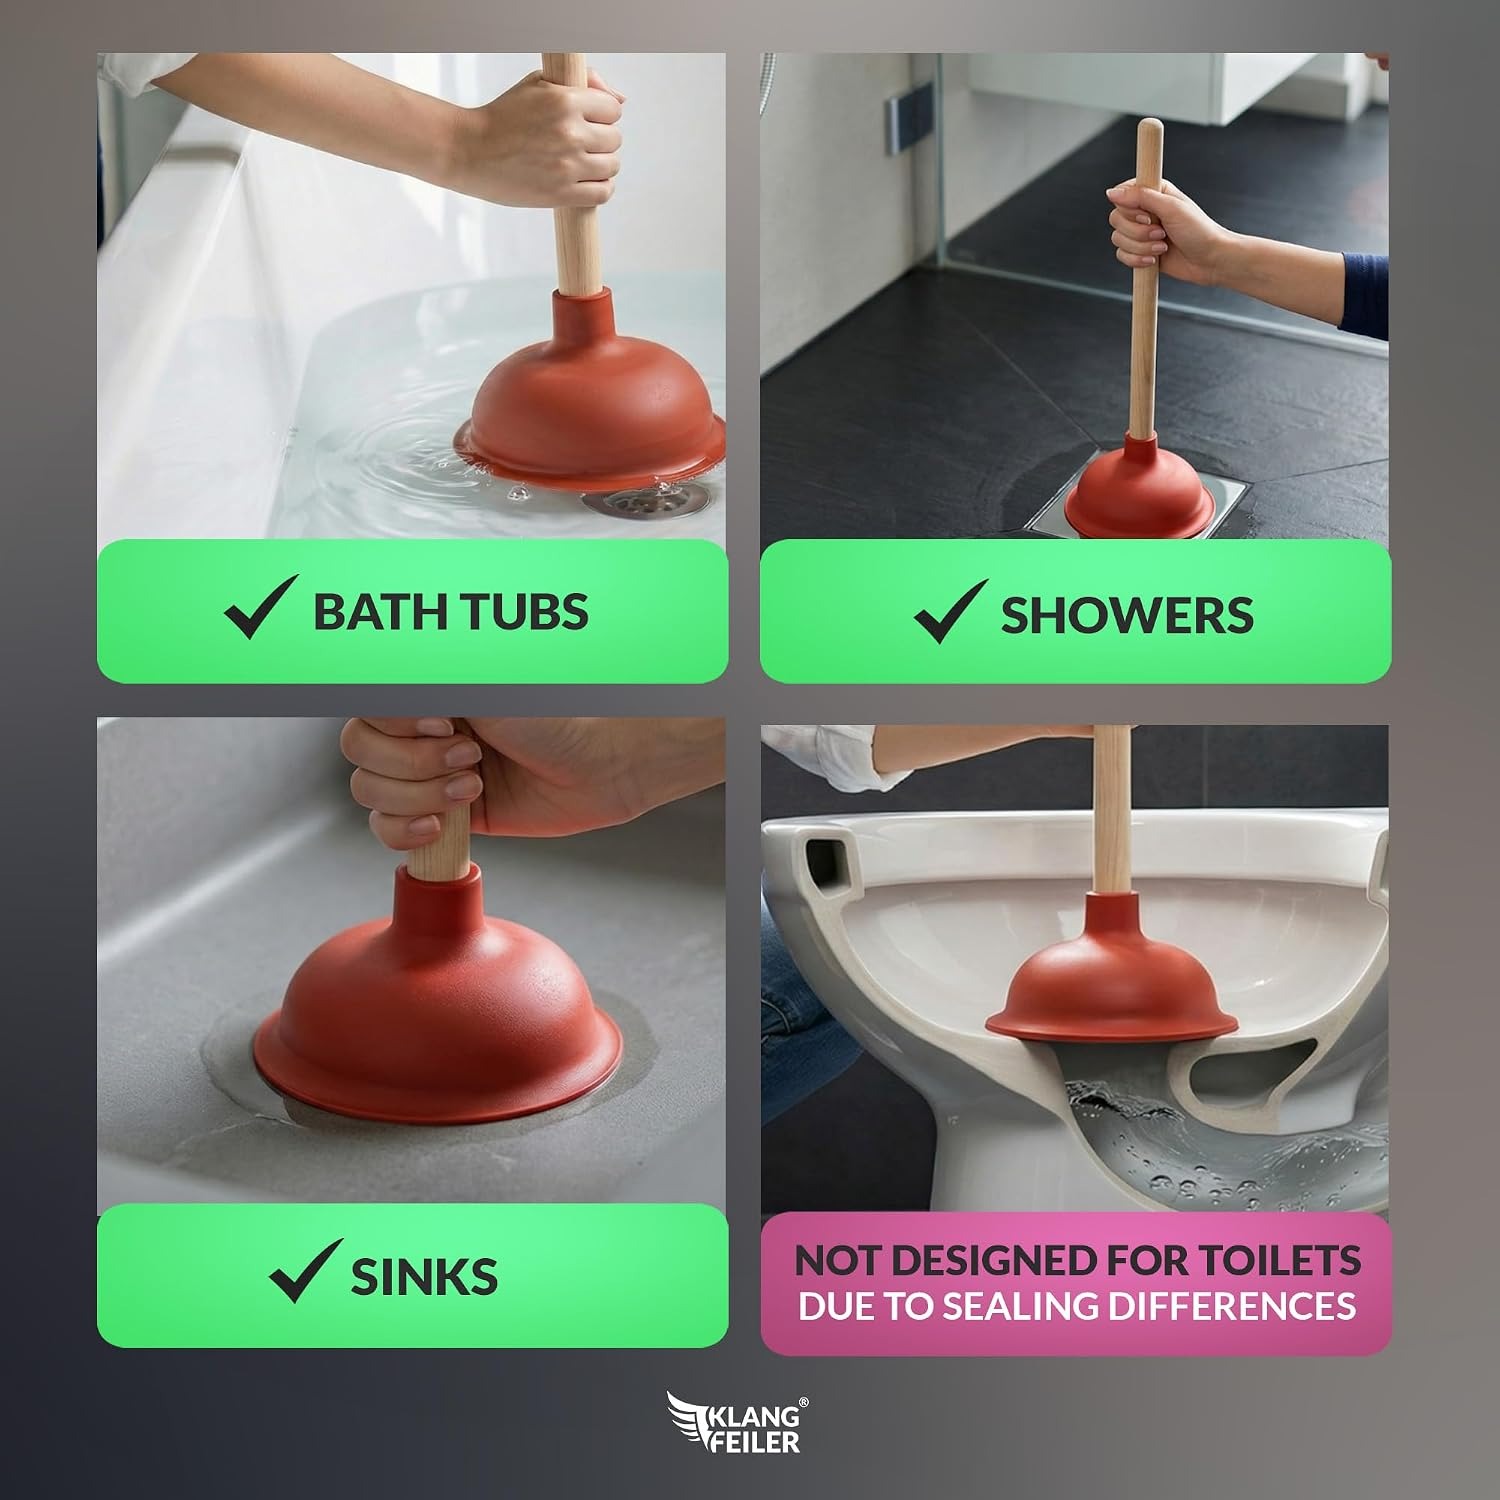
This plunger is also not for toilets. Toilet pans have a curved outlet that a flat cup cannot seal against, which is why flanged plungers exist, with a rubber extension that folds out and pushes into the hole. Using the wrong shape on a toilet is frustrating and messy. Keep a sink tool for sinks.
Why skipping the chemicals is worth it
Caustic drain cleaners get a lot of shelf space, but they have real downsides. They are harsh on skin and eyes. If the blockage does not clear, the product sits in the trap, which turns the next step into a hazard. They can be rough on older pipe joints and are not welcome in septic systems.
A plunger introduces nothing new to the drain. It works the water that is already in there. You can use it as often as you like, at any hour, with no fumes, no waiting period and no warning label. For routine household blockages it is the sensible first choice, and plenty of people never need anything else.
Looking after it
Rubber lasts a long time if you treat it reasonably. Rinse the cup after each use, give it a wash in warm soapy water, and let it dry properly rather than tossing it damp into a cupboard.
The wooden handle wants the same courtesy. Wipe it down, do not leave it standing in a puddle, and keep it somewhere dry. Wood that is repeatedly soaked and dried will eventually roughen or swell; wood that is kept dry lasts for years.
Storage with the cup up off the floor, hanging or standing handle-down, keeps air moving around the rubber and stops it sitting in grime.
Where to keep it
Under the kitchen sink is the obvious spot, because that is where most blockages happen. If you have a utility room or a separate cleaning cupboard, that works too, as long as it is dry and you can reach it quickly. A plunger buried behind the vacuum cleaner is a plunger you will not bother getting out until the water is over the rim.
The short version
Buy a plunger before you need one. Fill the sink with a little water, block the overflow, seal the cup flat and work it with steady strokes rather than panic jabs. A 140mm cup covers household sinks and basins properly, and a 33cm wooden handle lets you put your body weight behind it without crouching.
Assemble it on a hard surface, keep it rinsed and dry, and remember it is a sink tool, not a toilet tool. Do all that and most of the blockages that would otherwise ruin an evening become a quick job you handle yourself.